Most people enjoy a cup of hot coffee upon waking. However, a dirty or coffee-stained coffee machine is not only unhygienic, but if the deposits of limescale are not checked regularly the coffee maker might not work at all. Like any other kitchen equipment, it is crucial to maintain the functionality of the equipment and at the same time produce a presentable end product.
There are several different methods for cleaning a coffee maker, and this guide will tell you step by step what to do, ensuring you can enjoy your morning coffee safely and in the knowledge that it is hygienic.
Why Should You Clean Your Coffee Maker
Cleaning your coffee maker is not just a regular task – it has several crucial purposes that affect your health, the taste of the coffee, and the lifespan of the machine. Here's why regular cleaning is vital:
1. Better Tasting Coffee
Most coffee makers can become dirty over time from oils from coffee, coffee residue, or even tiny mineral deposits from the water you use. Accumulation may distort the appropriate taste of coffee to become bitter, staling, or even having metallic or off-flavors.
Cleaning out these residues simply means that you are removing buildup from each part of the machine so that each cup of coffee is as promising and tasty as it can be.
2. Preventing Bacteria and Mold Growth
Coffee maker's coolers and interior parts become very suitable breeding grounds for bacteria, mold, and yeast due to the warmth and wetness in the water reservoirs.
Bacteria and fungi are capable of infesting your coffee, causing certain illnesses. Such bacteria and fungus are washed away by cleaning and descaling, thus making the coffee you consume safe to undertake.
3. Ensuring Consistent Brewing Performance
A clean coffee maker is more efficient in that a clean coffee maker yields the right brewing temperature of water together with the right flow of water. First, if the internal parts of the coffee maker are jammed with the scale or residue, you’re likely to get a little less than the desired brewing temperature of the coffee and hence weak or under-extracted coffee.
Cleanliness enhances the steadiness of the brewing process, and every pot of coffee is brewed to the correct standard.
4. Saving Money in the Long Run
Regular cleaning of the coffee maker also helps in solving some of the problems that may lead to expensive repairing or replacement of the machine. A well-cared coffee maker is less likely to develop some issues that will need to be repaired or parts to be replaced at enormous cost.
5. Maintaining Appliance Hygiene
Like most kitchen utensils, your coffee maker is bound to get dirty and be a home to bunch of bacteria if not cleaned often. A contaminated machine may cause inter-bay contamination of other foods or drinks which may be undesired in areas such as workplaces.
Regular cleaning of the coffee maker helps it become a clean appliance in the kitchen to be used for making coffee.
The vinegar and water technique is one of the most efficient techniques for cleaning the coffee machine. Although coffee is harmless to most of the surfaces in your coffee maker, mineral build-up and bacteria can be troublesome.
Another advantage of vinegar is its disinfected attribute that will eliminate germs on your coffee maker.
What You’ll Need:
White vinegar
Water
A clean sponge or cloth
Measuring cups
Steps:
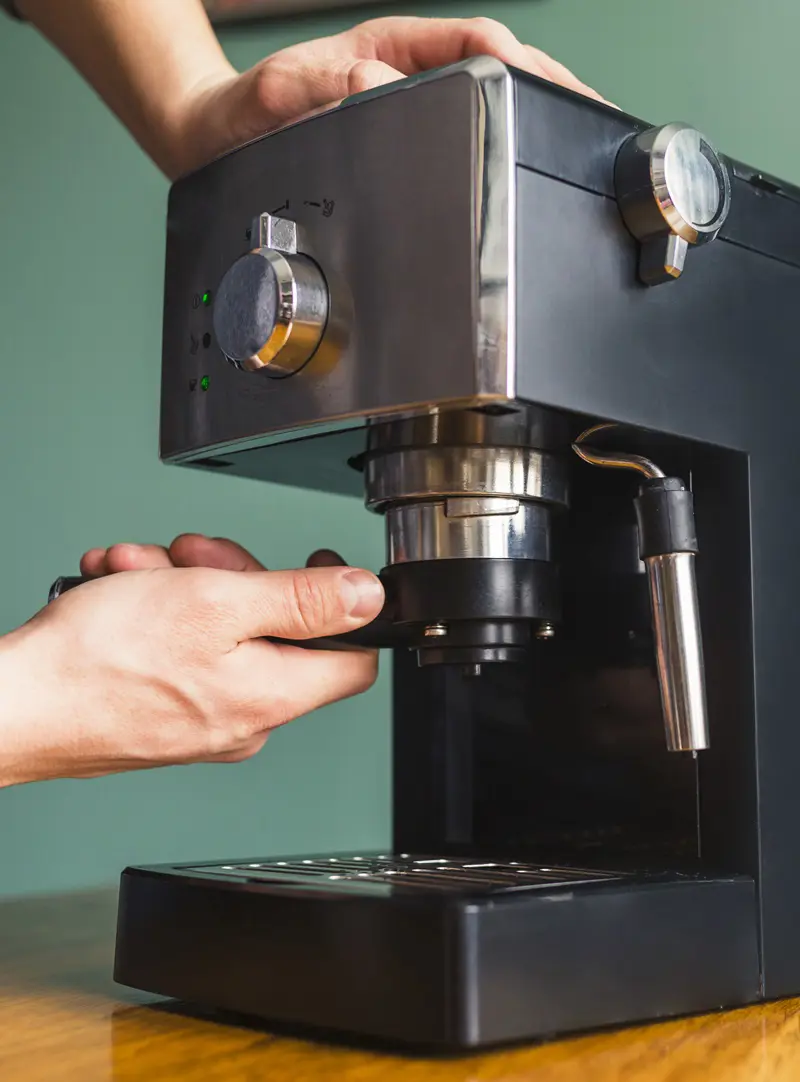
Empty the Coffee Maker: Pour out any leftover coffee from the carafe and also discard used coffee grounds from the filter basket.
Prepare the Cleaning Solution: Pour equal parts concentrated white vinegar and water into the water reservoir. For instance, if the tank of your coffee maker has a capacity of twelve cups then you should use 6 cups of water with 6 cups of vinegar.
Run a Brew Cycle: Start a brewing cycle without any coffee grounds. About halfway through the cycle, turn off the machine and let the vinegar solution sit in the reservoir and internal components for 30 to 60 minutes. This soak helps in breaking all the tough mineral deposits that have built up on the appliance.
Complete the Cycle: After soaking turn the coffee maker back on and let the cycle complete.
Rinse with Fresh Water: To neutralize any remaining flavor of vinegar, operate 2-3 cycles using ordinary purified water. Make sure to let the water cool between cycles to avoid damaging the machine.
Wipe Down: Wipe the external surface of the coffee maker using the sponge or cloth in a bid to clean off any splash or dust.
Note: If the smell of vinegar is overpowering you can decrease the amount of vinegar that you mix with water, but it will be necessary to wash the machine with more water.
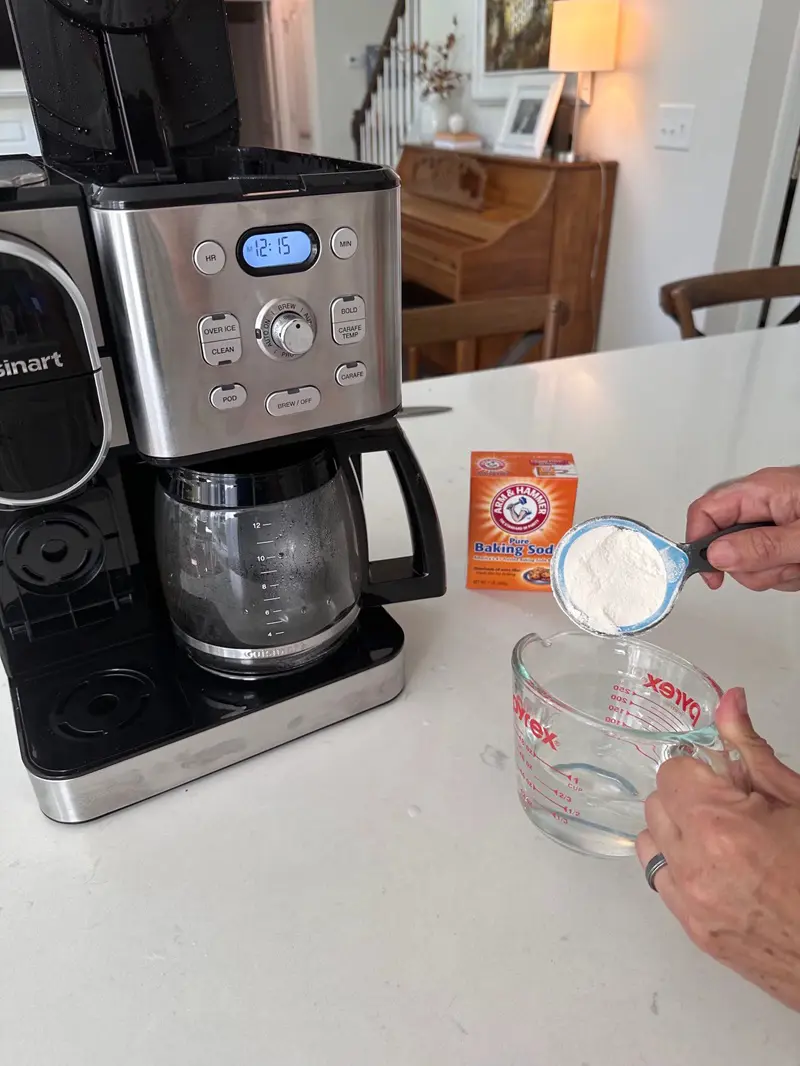
Stains or odors on the inside of your coffee maker may be removed using baking soda which is a mild abrasive and natural deodorizer.
What You’ll Need:
Baking soda
Water
A clean sponge or cloth
Measuring cup
Steps:
Create a Paste: To make the paste, combine baking soda in a small bowl and a few tablespoons of water, around 1/4 cup each.
Scrub the Coffee Maker: Using a soft cloth or sponge, apply the baking soda paste and use it to clean the filter basket, carafe, and any other detachable elements. Concentrate on any locations where accumulation or stains are evident.
Rinse Everything Well: After cleaning, thoroughly rinse everything under warm water to remove any remaining baking soda residue. Before reassembling the pieces, ensure that they have dried fully.
Wipe Down the Exterior: To get rid of dust and coffee splatters, wet a sponge or towel with water and wash down the coffee maker's outside
Note: A spoonful of baking soda is added to the water reservoir and a brew cycle followed by a plain water cycle may also be used to deodorize your coffee machine.
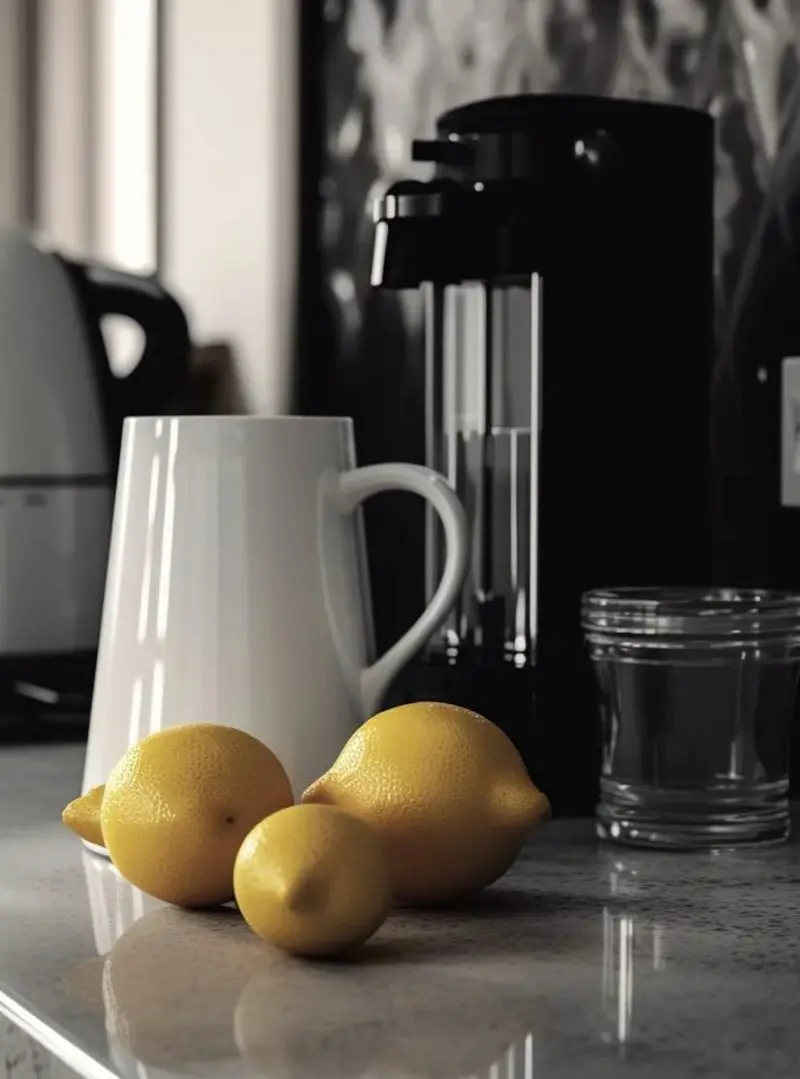
Lemon juice is an excellent option for cleaning your coffee maker instead of vinegar. It has similar descaling and antibacterial qualities and will make your appliance emit a nice fragrance of citrus.
What You’ll Need:
Lemon juice (fresh or bottled)
Water
A clean sponge or cloth
Measuring cup
Steps:
Prepare the Solution: To fill the water reservoir, mix equal amounts of lemon juice and water.
Run a Cleaning Cycle: Pour the lemon juice mixture into the water reservoir and start a brew cycle. Just as with vinegar switch off the cycle halfway through the period and leave the solution to work on any mineral deposit for 30 minutes.
Complete the Cycle and Rinse: Once the soaking is done, complete brewing. Rinse 2-3 times with clean water to get rid of any grains of lemon and so that your next cup of coffee isn’t contaminated with lemon flavors.
Wipe Down: Take a damp sponge or cloth and wash around the outside of the coffee maker where there may be splashes or dust.
Note: So, if you want to avoid the rather sharp smell of vinegar, you should switch to lemon juice; nonetheless, it may not work so effectively for softening the hard mineral deposits.
For those who are not up for the process involving manual preparation of the descaling solution, commercial coffee maker cleaners are available in the market and recommended for use because they are designed for cleaning and de-scaling coffee makers.
These products can be in the form of liquid, powder, or tablet and are designed to provide a tough fight against coffee stains and mineral deposits.
What You’ll Need:
A commercial coffee maker cleaner (follow the instructions on the packaging)
Steps:
Read the Instructions: Each cleaner will have its specific instructions, so it’s important to follow them closely. In most cases, liquid cleaners are mixed with water while others are used in their liquid form in case they are liquid solutions.
Fill the Water Reservoir: Pour the cleaning solution into the coffee maker’s water reservoir. Some cleaners are pre-measured, so you can simply add water, while others may come in liquid or powder form that needs to be mixed first.
Run a Cleaning Cycle: Brew a cup of coffee without coffee beans. Pass the solution over the inside of the machine to remove any mineral deposits build up on the parts. Some products may advise that the cycle be run twice to get the best clean.
Rinse Thoroughly: Following the cleaning cycle, it is recommended that you rinse the machine with 2 to 3 cycles of clean water to wash out the cleaning solution.
Note: Store-bought cleaners are usually stronger than those that can be prepared at home so they are suitable for very dirty coffee makers or for a coffee maker that has not been cleaned for a long time.
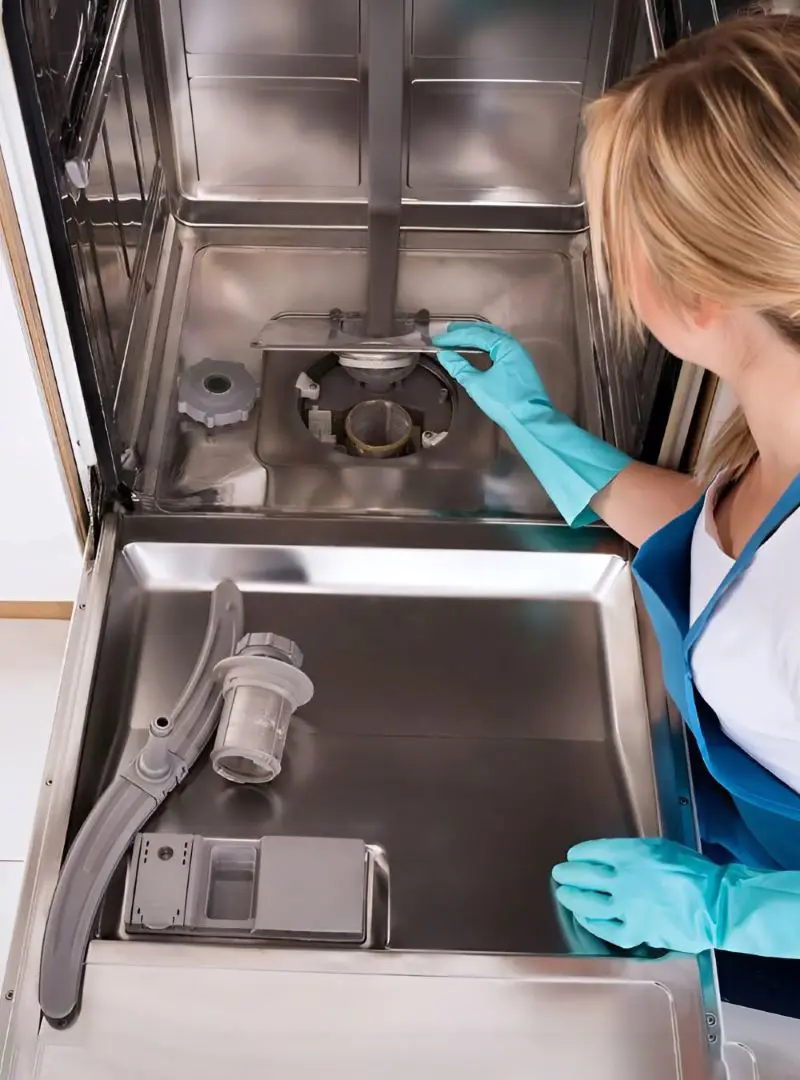
In case it is composed of detachable parts such as the carafe, filter basket, and drip tray, all these can go to the dishwasher hence making the process very easy and quick to clean the parts.
What You’ll Need:
Dishwasher detergent
Dishwasher (optional)
Steps:
Check Compatibility: Check with the manufacturer’s manual to ensure the removable parts of your coffee makers can be washed in the dishwasher. Some components such as the carafe, filter basket, and drip tray are normally dishwasher safe, however, the consumer should always check in order not to damage any part.
Disassemble the Coffee Maker: Take off all those pieces that are safe for use in the dishwasher. Wash it normally and this involves the carafe, filter basin, and in the case of some coffee makers, take out the drip trays or slots lids.
Rinse the Parts: Rinse with warm water for about twenty seconds, for instance, for the removable parts of the coffee maker if there are still particles of coffee grounds or residues present. This helps in avoiding clogging of the filter of the dishwasher and helps in producing cleaner utensils.
Place in the Dishwasher: Organize the parts in the dishwasher. Put them on the top shelf to reduce their exposure to heat since some of the elements are sensitive to heat exposure and can be easily deformed. Make sure are properly arranged in such a way that the water should be able to sprinkle on all parts of the specimens.
Add Dish Detergent: Don’t use any highly concentrated soap and always operate the dishwasher at a normal or low cycle. Stay away from abrasive and chemical cleaners or hot cycle settings to prevent the demising of the parts.
Dry and Reassemble: Some of the appliance’s components that require cleaning are its parts; after washing with a dishwasher cycle, rinse them then let them dry. Make sure they are dried sufficiently well before putting them back in your coffee maker to avoid the presence of molds or mildew.
Wipe Down Non-Removable Parts: While cleaning them, it is recommended to use clean water only to wash the nonremovable body parts of the coffee maker like the outer surface and buttons if any. This assists in ensuring that the general hygiene is kept as much as possible.
Reassemble the Coffee Maker: After all the parts are dried up re-fix your coffee maker again. Make sure that all the components are well fixed before taking it back into use.
Note: However, certain parts of the coffee maker may not be safely placed in dishwasher therefore one is advised to refer to the user’s guide.
How Often Should You Clean Your Coffee Maker
It is very important to keep your coffee maker clean so that the taste of the coffee that is being brewed is not changed. It also has the advantage of making your machine last longer.
But how often should you be cleaning it? Here is a guide below that explains it in basic terms.
Daily Cleaning
After each time you brew coffee, it’s a good idea to do a quick clean-up. Wash the carafe that is the pot you use to brew the coffee with warm water and soap. The same treatment should be given for the filter basket, this is where the coffee grounds go.
This way it avoids lingering previous brew oils and residue that will make your coffee taste a little off. And, do not forget to clean the outside part of the coffee maker if it has any stains or spilled coffee.
Weekly Cleaning
Once a week, Coffee making requires you to pay a bit extra attention. It is best to start sessions with the water reservoir in the appliance being emptied and then rinsed.
If there are any other components, which can be removed from the coffee maker such as a drip tray or a lid, they should also be washed with warm water containing some soap. It also prevents the forming of mold and bacteria in areas or parts of the machine that cannot be washed daily.
Monthly Deep Cleaning
Every month, it is recommended that you take extra time to clean your coffee maker to wash off any minerals that may result from the water used. This is particularly important if your water is ‘hard’ as this means it contains more minerals.
To do this fill the water reservoir with white vinegar and water solution and brew a cycle without coffee grounds. It is recommended that after preparing the mixture to this stage, the blend should be allowed to rest for about 30 minutes then continue with the cycle.
Then let the appliance run for a few cycles using only plain water to help flush out the vinegar.
Adjusting for Your Needs
Different coffee makers may require different cleaning frequencies depending on the frequency of their usage of the kind of water that is available. In those cases, it is advised to incorporate deep washing at least once every fortnight as opposed to a once-a-month service.
To keep your coffee maker in peak condition, follow these practical tips that will make the cleaning process easier and more effective:
Use Filtered Water: Replaced tap water with filtered water may help to lessen the chance of mineral deposits that form inside your coffee maker. It can culminate in an improved flavor of coffee and also extend the intervals in which deep cleaning of the maker is necessary.
Run a Water Cycle Before the First Brew: Before making your first pot of coffee each day, run a cycle with just water. This helps to preheat the machine and can flush out any dust or residue that may have settled overnight.
Use a Soft Brush for Hard-to-Reach Areas: Cleansing hard-to-reach specific areas where the water spout or filter basket holder is tricky; gently use a brush, perhaps a toothbrush to clean hard surfaces of the coffee deposit and mineral leftovers.
Maintain the aesthetic appeal: Keep your coffee maker looking good by wiping the exterior part of it with a damp cloth daily. This helps in shielding the covering of the machine from dust, coffee spillage, or even fingerprints.
Store Your Coffee Maker in a Dry Area: If your coffee maker is not used every day, ensure you leave it in a dry place to ensure that any form of moisture that may develop does not give the molds a chance to grow. Be certain that all the parts are as dry as can be before storing the equipment.
Check Your Coffee Maker’s Manual: Each model of the coffee maker is special in some way. If your machine is different from the usual model, then it is wise to go back to the manufacturer’s manual to know how to clean it better.