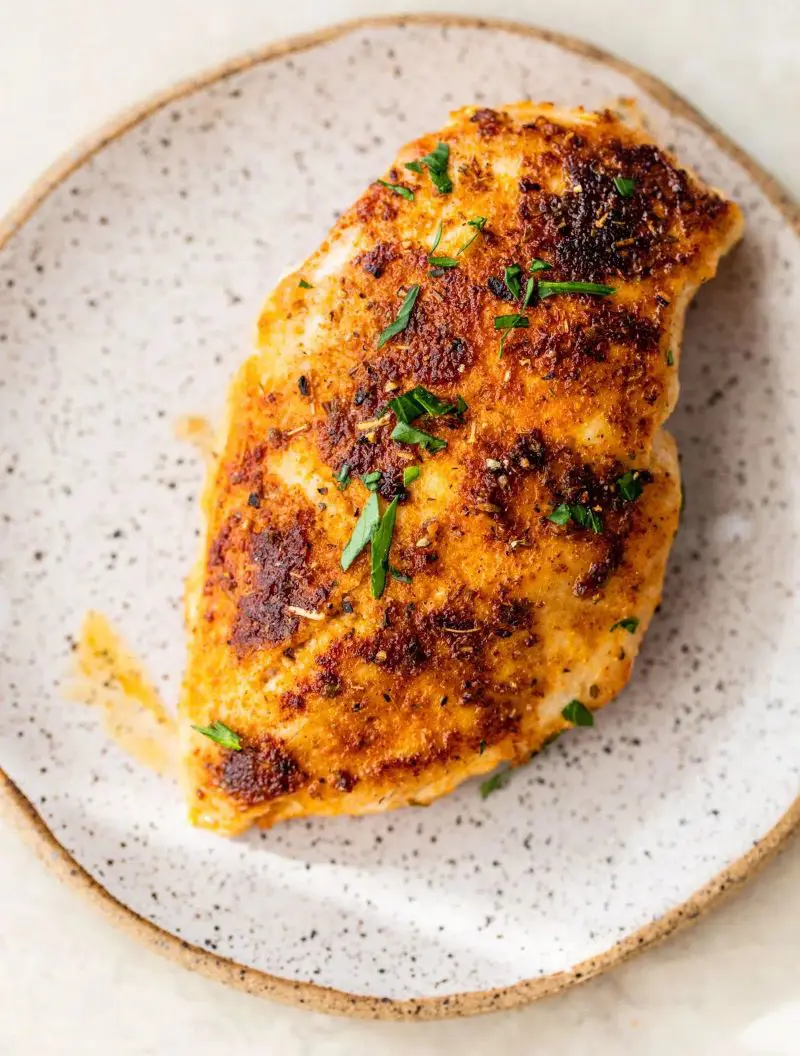
Chicken breast is indeed loved by many. This tender and juicy meat can be prepared in multiple ways. But we’ll talk about the most common method: the stove or pan-searing method.
We know the method sounds so easy. But when the right steps are not followed properly, everything can go wrong. So, to save you from unwanted hassles, we have come up with a chicken breast recipe. Read and learn how to cook chicken breast on the stove at home.
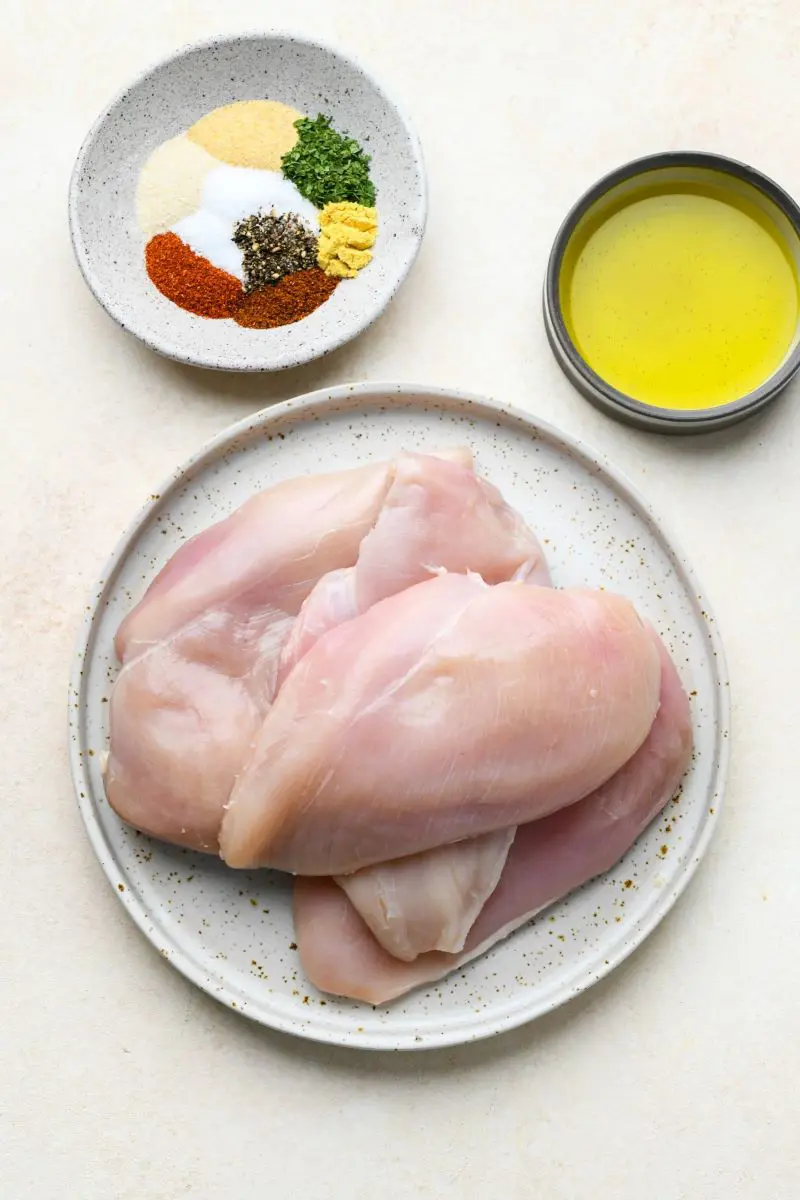
A mouthwatering chicken breast is possible with a combination of essential ingredients. So take a look and gather the ingredients accordingly:
Chicken Breast: Use the chicken breast with boneless. This results in a tender meaty texture. Plus, boneless chicken breast packs good nutrients. Bone-in chicken breast can also be opted for but the cooking time extends with it. So, choose based on the convenience.
Oil: It moisturizes the pan to allow the meat to sear without being sticky. Use any vegetable oil.
Butter: As for creamy rich paste, include unsalted butter.
Salt: A flavor enhancer. This makes the chicken more tasty so add salt according to the taste.
Black Pepper: To bring slight hotness to the chicken, sprinkle some black pepper.
Garlic and Onion Powder: These ingredients bring slight sweetness and warmness to the meat.
Dried Oregano: A refreshing aroma is what calls people towards the chicken. Bring that aroma by adding dried oregano.
Paprika: It gives a spicy hit to the chicken. So use this only if you like the chicken to be a bit more spicy.
Tools Needed
Skillet or Frying Pan
Knife and Cutting Board
Tongs or Spatula
Meat Thermometer
Measuring Spoons
Paper Towels
Plate or Bowl
How To Cook Chicken Breast On The Stove
Here, a detailed description of each step is included. Read the instructions carefully and make the best chicken breast at home:
1. Prepare the Chicken Breats
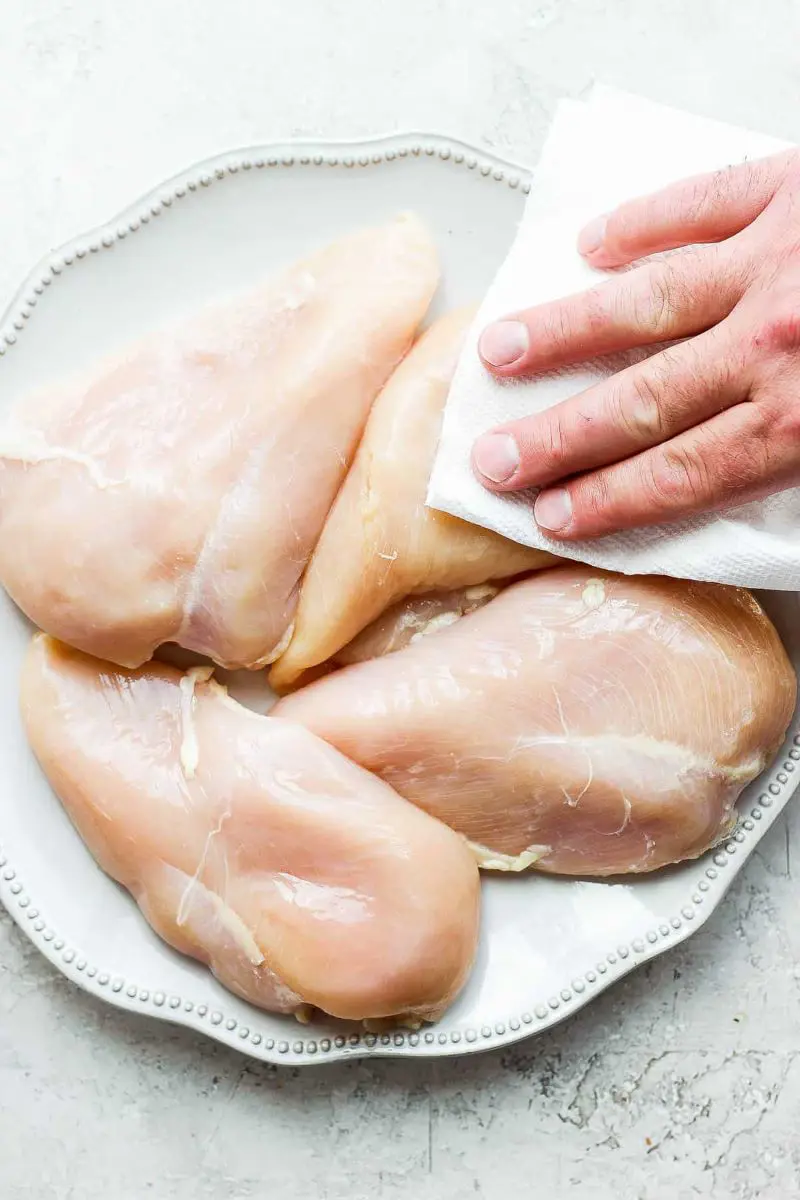
Unpack the freshly bought chicken breasts (1 pound). Rinsing removes any impurities or dirt from the chicken. So, wash them with water. Swash the meat gently and rub well with your hands.
You might need to gently squeeze the meat to let go of the remained water. After squeezing the water, pat the chicken dry using paper towels. This way the excess moisture gets absorbed into the paper. As a result, there will be a minimal amount of moisture released during the meat searing.
In case frozen chicken breast is to be used, thaw it. Don’t just jump to season the frozen chicken. Thawing the meat in a pan or refrigerator loosens the meat. Also, the frozen ice crystals melt into water, and the chicken cooks evenly.
Move towards preparing the seasonings in a bowl. For that, use the following measurements: garlic powder (½ teaspoon), onion powder (½ teaspoon), kosher salt (2 teaspoons), and black pepper (½ teaspoon). As for a spicy kick, include paprika around ½ teaspoon.
If you want the chicken to leave a refreshing aromatic fragrance, add 1 teaspoon of dried oregano or any dried herbs. Look, adjust these ingredients' measurements based on your preference.
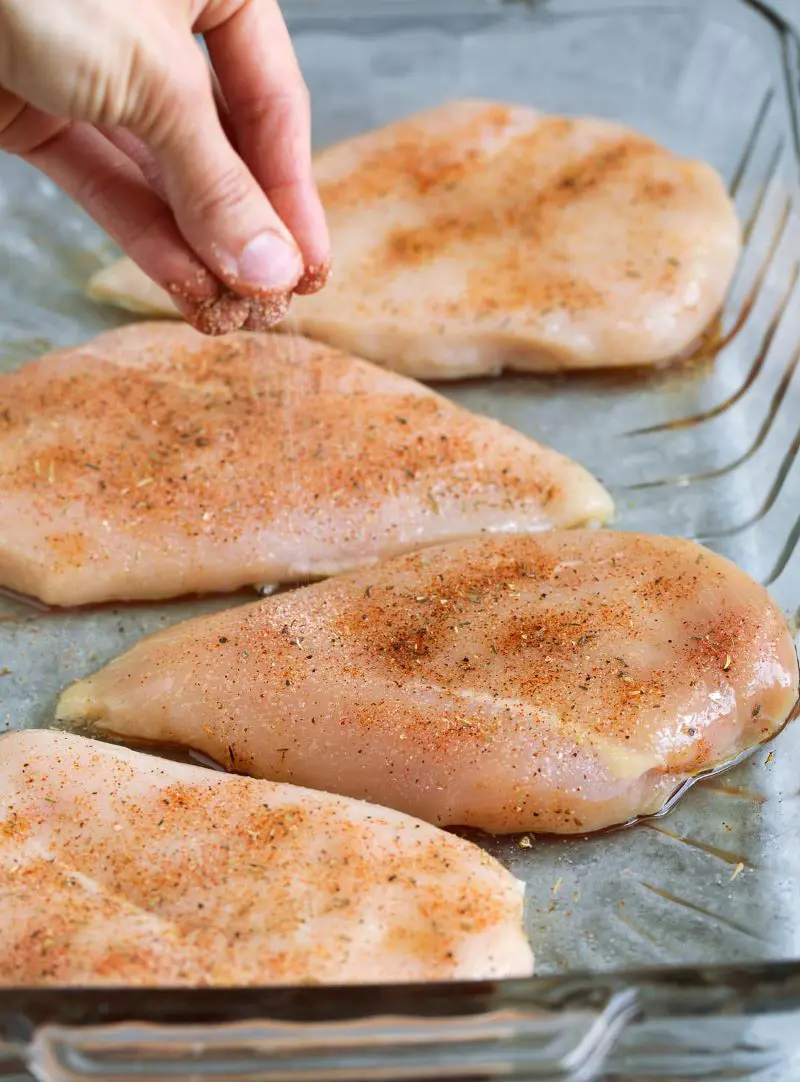
Mix the ingredients with a spoon. Set aside the bowl and proceed to apply the seasoning all over the chicken breasts. Do this application thing in a way that both sides of the meat are well coated with seasonings.
Don’t just focus on a particular area while spreading the seasonings. If the chicken starts to lose moisture after being seasoned, wrap it up with paper towels for some time. It soaks out the moisture from the chicken. So to avoid this, properly follow the chicken preparation step.
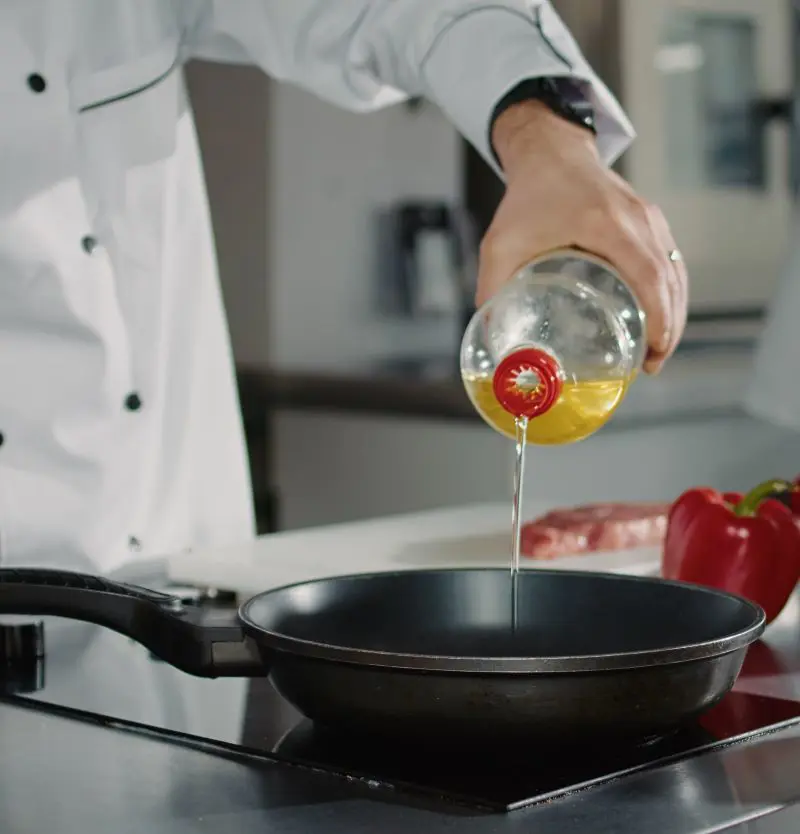
The skillet must be heated before proceeding with the oil or butter. So, place the skillet and allow it to heat in medium flames. You could feel the heat from the skillet once it's heated well.
Now the cooking of chicken breast begins. Pour 1 tablespoon of olive oil or you could go with butter too. Leave the oil to heat or butter to melt until the foaming stops occurring. This won’t take more than 2 minutes. So just wait patiently till then.
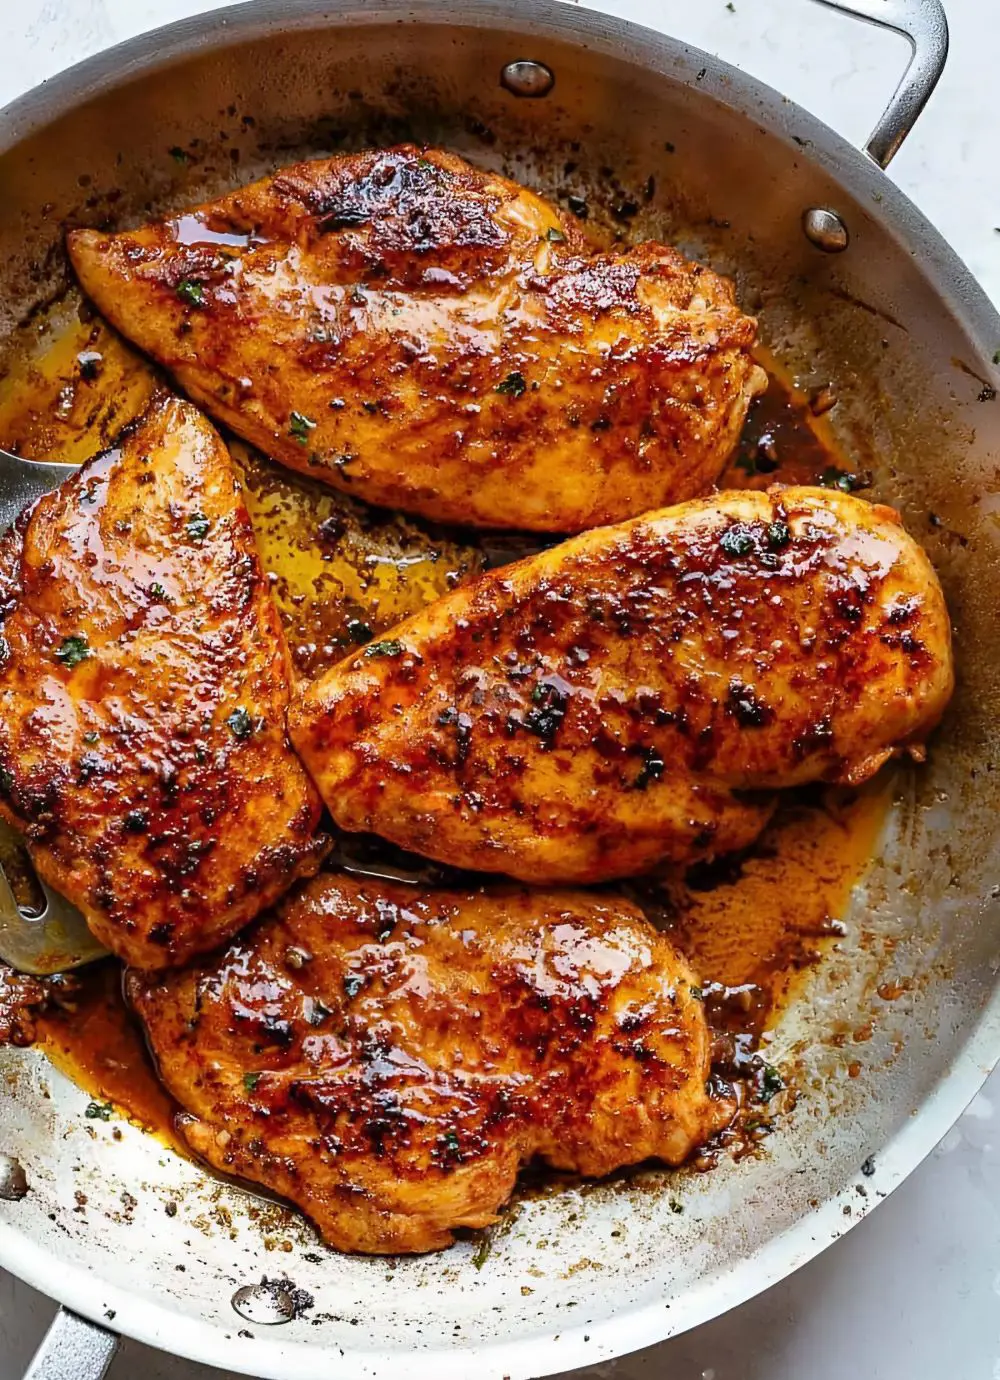
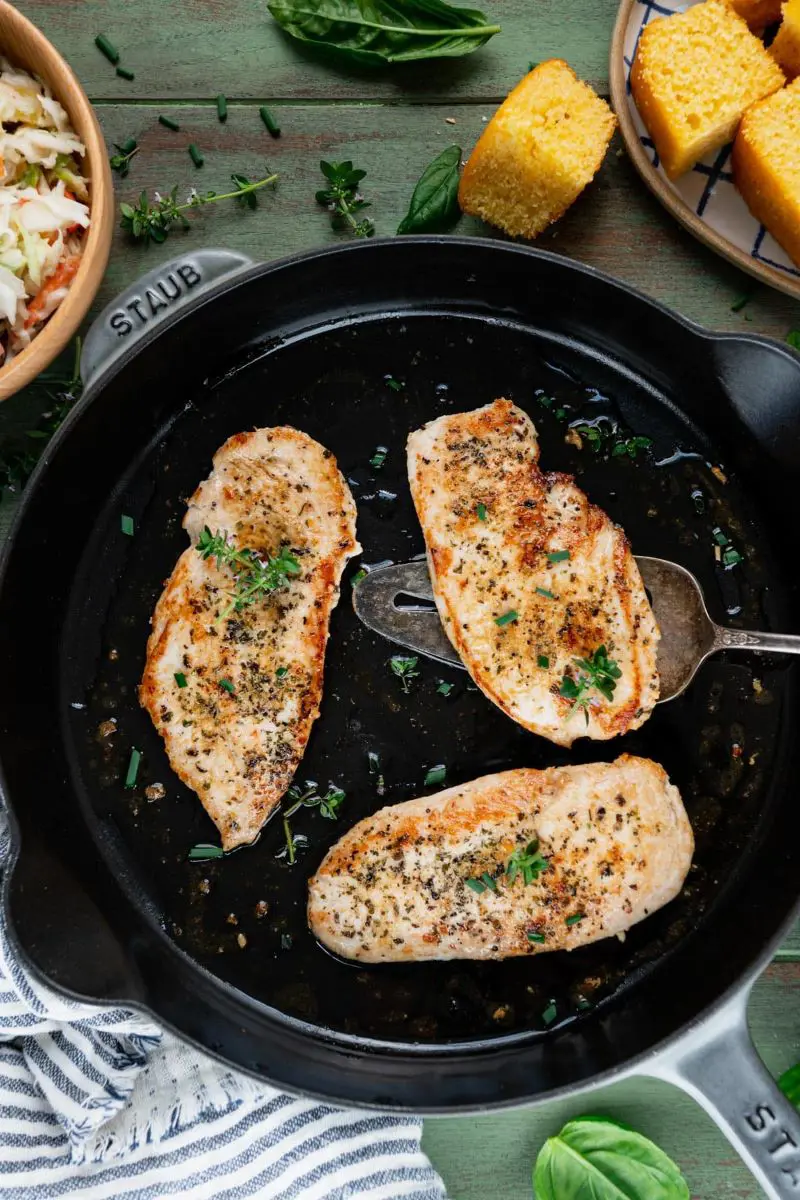
Searing means to allow the chicken to turn into a deep golden or brown color. When the chicken changes to that color, know that it has cooked well to that side.
So, take a chicken breast and put it into the heated oil or butter. You will hear a chirring sound from the skillet. But don’t try to adjust all chicken breasts at once. In one go, around 2 chicken breasts are ideal to cook. This way the chicken cooks evenly.
Overcrowding will lead to steaming due to the reduced temperature in the skillet. As a result, you end up spending more time on that.
Let the chicken cook without moving it for about 5-8 minutes. The bottom should develop a nice golden-brown crust. And when that happens, switch the sides of the chicken using tongs. The flipped side also takes 5-8 minutes to be ready.
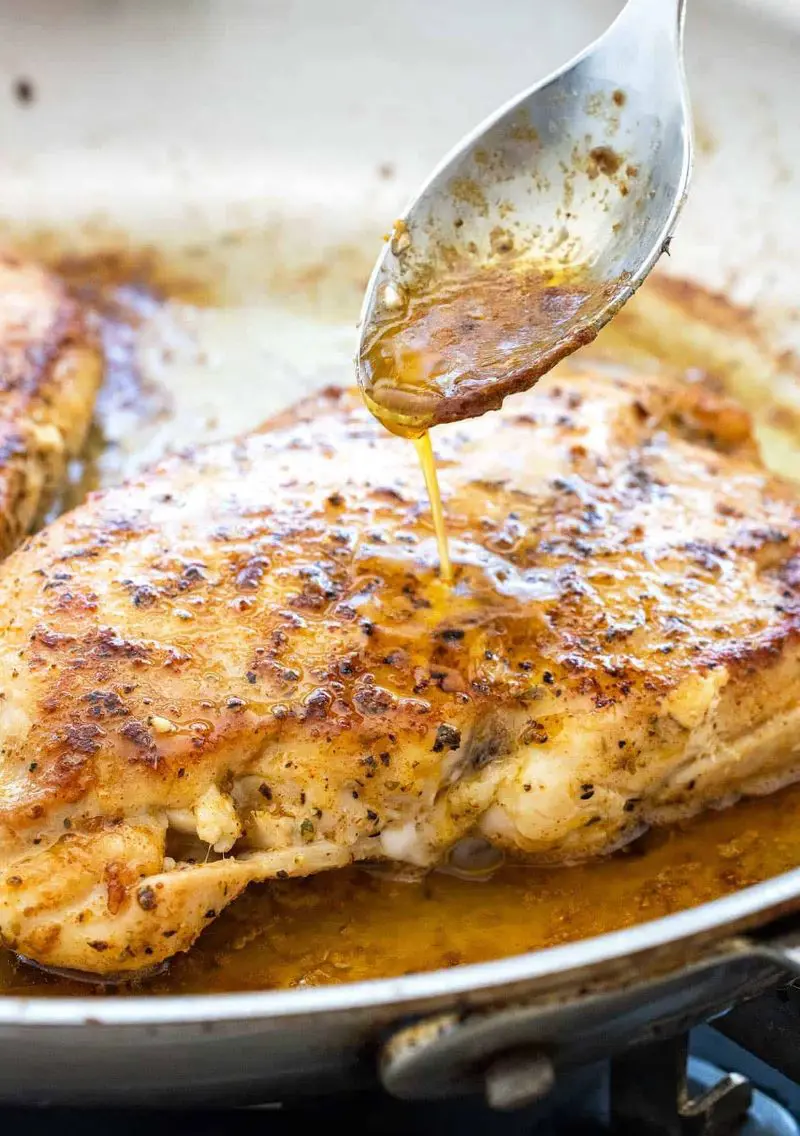
Basting with butter is optional, but it’s highly recommended! As butter makes the chicken more delicious and creamy, so add around 1 tablespoon of it.
First, let the butter melt and then spread it with a spoon over the chicken. Besides the creamy flavor, the butter adds moisture to the chicken. This results in a more tender chicken breast.
If you could gather some fresh green herbs, sprinkle them over the chicken. The fragrance will make you drool.
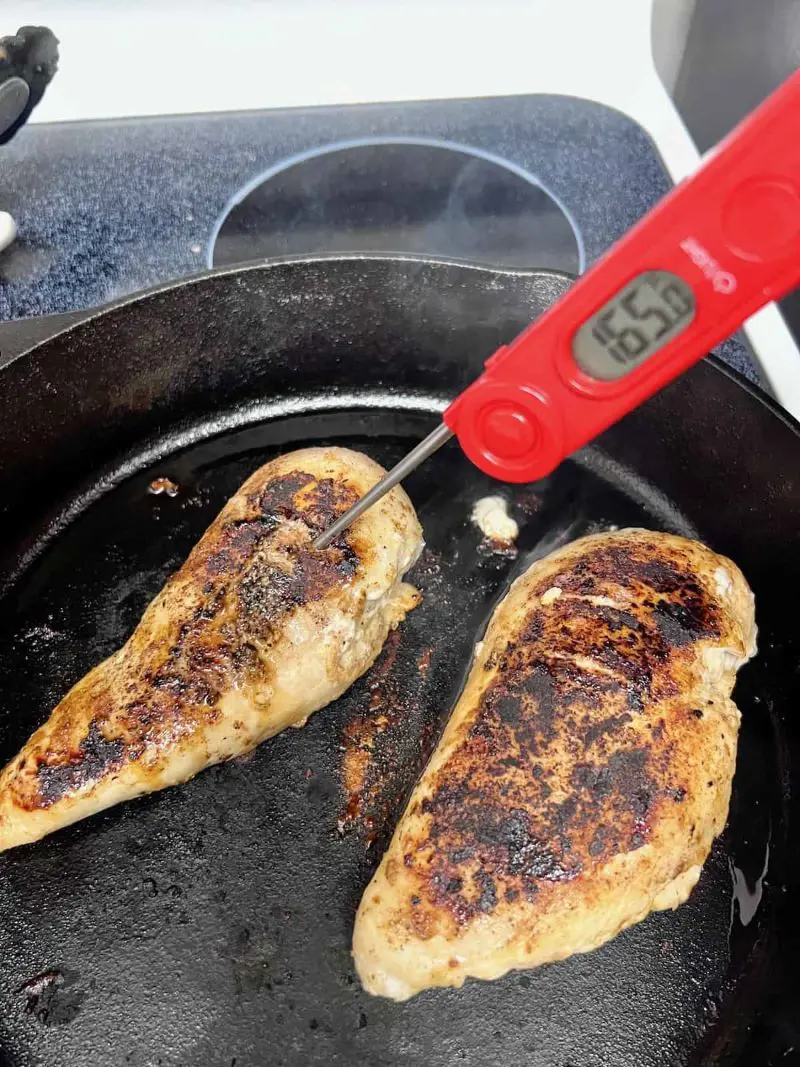
Here comes the time to test the readiness of the meat. Searing for 5-8 minutes should be enough to cook the chicken. But for the surety use a thermometer.
How to check doneness with a thermometer? The process is easy, simply target the thickest part of the meat and insert the device into it.
An ideal cooking temperature is 165°F (74°C). If the internal temp of chicken breast reaches to that degree, be sure the meat has cooked nicely. Otherwise, you might need to continue cooking.
Now we know the chicken is ready, turn off the stove. Take out all the chicken breast with tongs and put it on a plate. Since it’s too hot to eat so allow it to cool for some time. This cooling time makes the meat more tender and juicy.
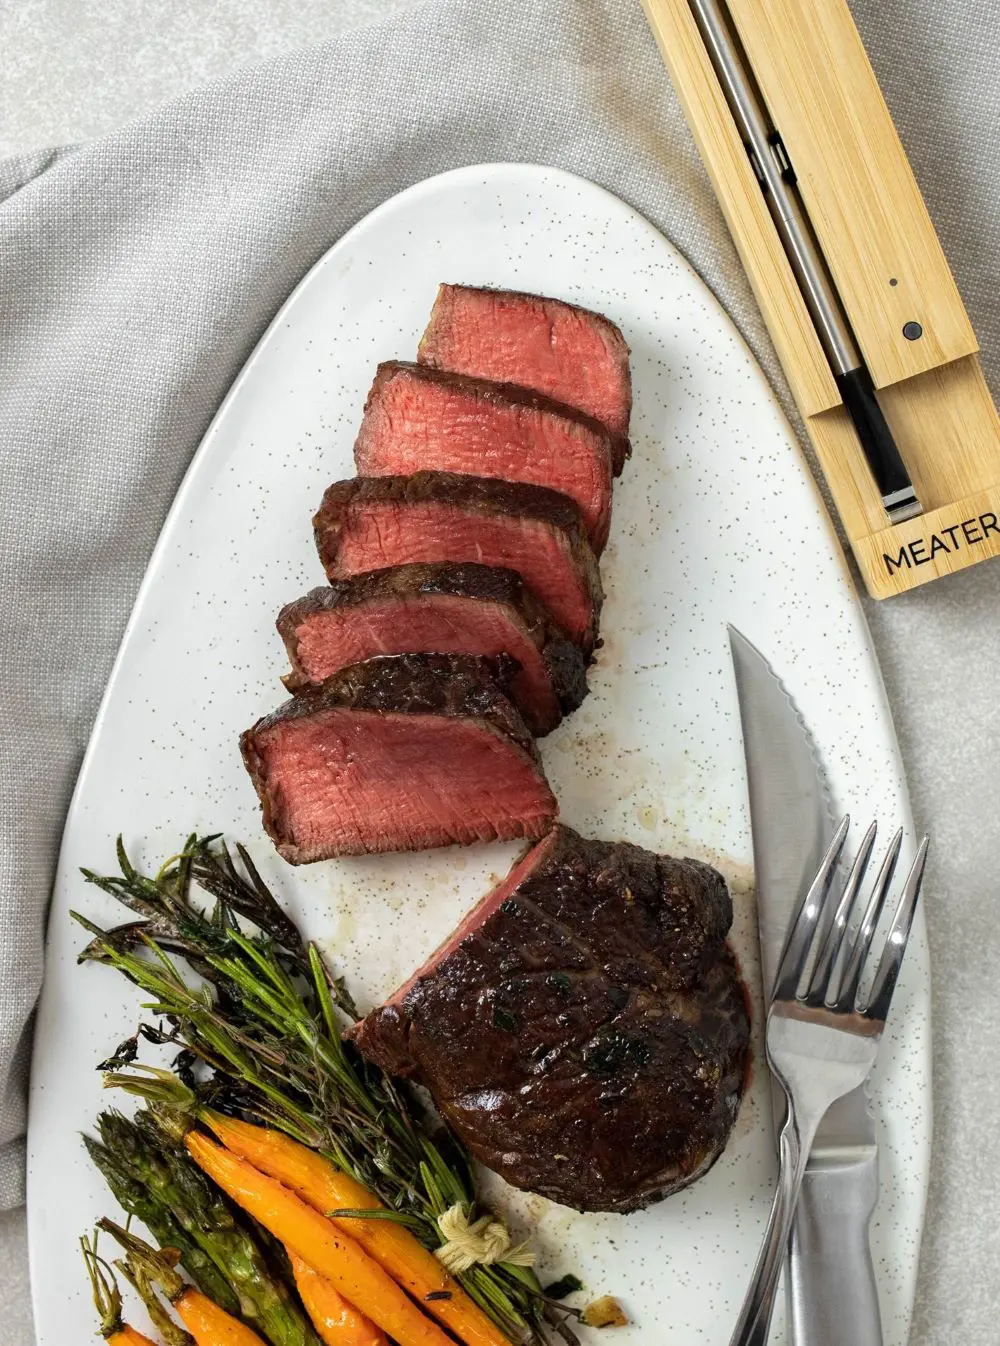
Once the resting time is over, proceed to slice the chicken breast against the grain. This gives more tender pieces. Serve the meat with your favorite side dishes and enjoy!
Flatten the chicken breasts: The original size of the chicken is normally thick. To make it slightly slimmer, flatten the chicken with a rolling pin. Place the chicken inside the sealable plastic bag and gently press down with a rolling pin. This reduces the searing time for chicken.
Marinade the Chicken: Instead of sprinkling dry seasonings, the chicken can be marinated. This gives a more intense flavor to the meat. Allocate at least 30 minutes to 1 hour of time for marination. Choose from our list of delicious chicken marinades.
Deglaze the Pan: Deglazing simply means splashing out some liquid in the pan and simmering the substance. This creates a meaty sauce with browned bits on the pan. Use chicken broth or wine for deglazing. And pour a bit of sauce over the chicken to make it more juicy.
How Long To Cook Chicken Breast On Stove
The cooking time for chicken breast depends on its thickness. The thicker the chicken is longer it takes to cook. But normally it takes around 5-8 minutes per side for an inch-thick boneless chicken breast.
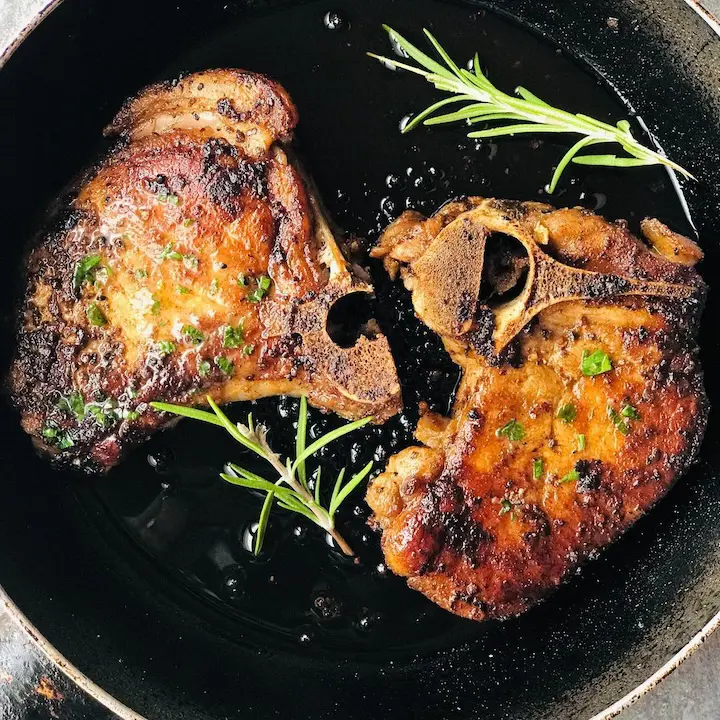
As for bone-in, extend the time by 4-5 minutes. So in total a bone-in chicken gets ready in 8-12 minutes on each side.
The same timing varies based on the method used. In case of oven, it will be around 20-25 minutes for boneless chicken breast. While an air fryer may cook the same chicken breast in 10-12 minutes. And the variations in timing keep changing.
What To Serve With Chicken Breast
We must say the seared chicken tastes just so good when eaten as it is. But the flavor goes to the next level when paired with some side dishes. So, let’s look at some options:
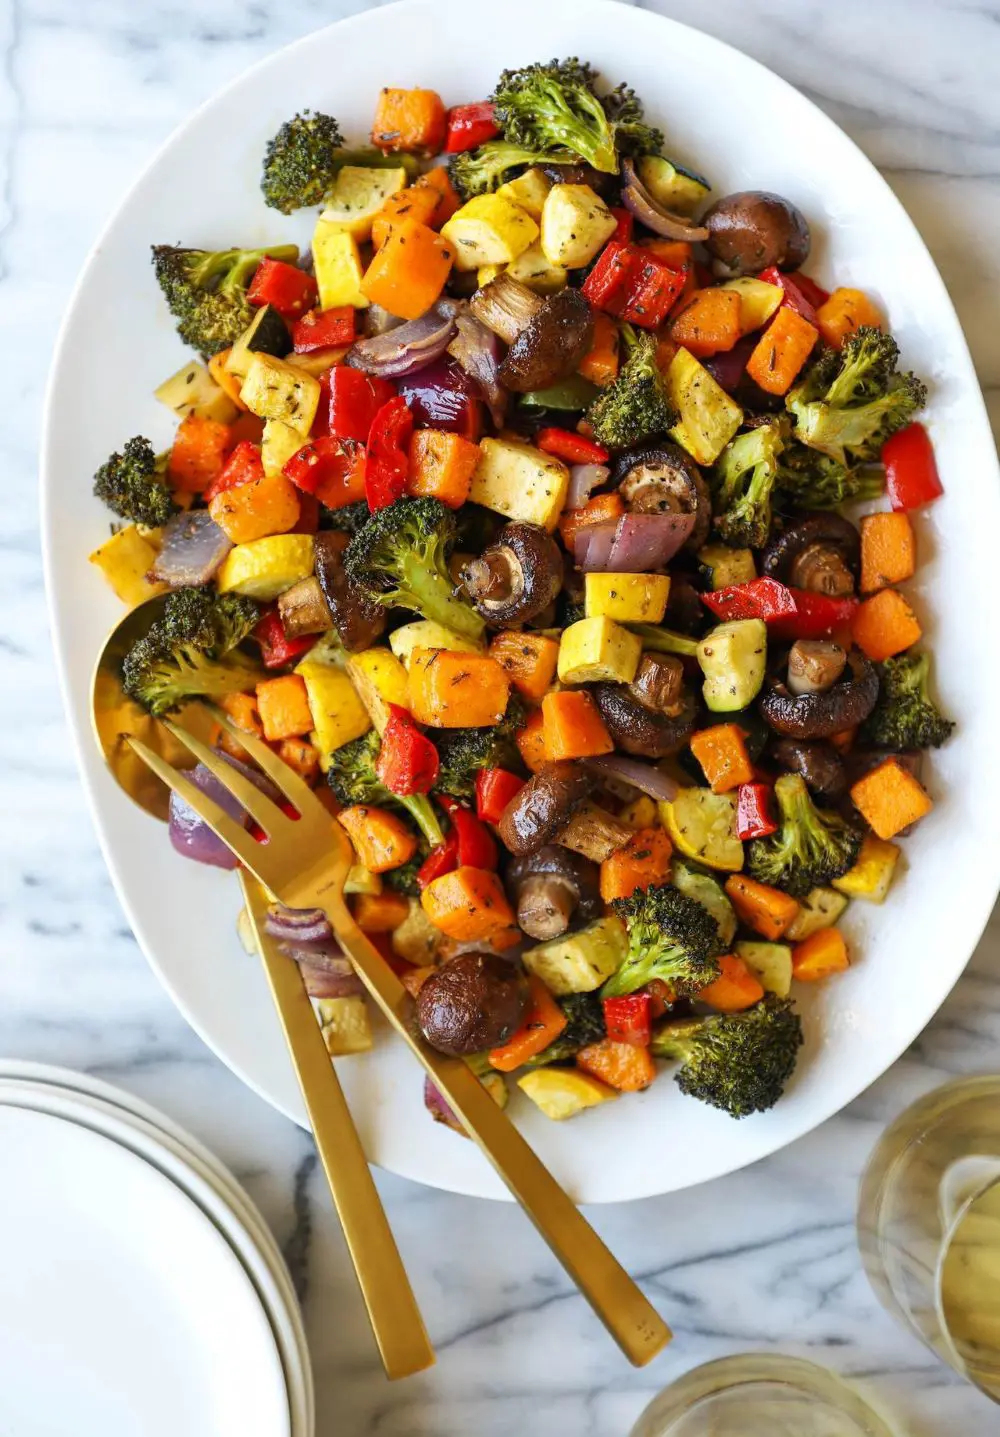
Roasted Carrots: Carrots have natural sweetness. The same sweetness just gets elevated when tossed in a pan with some olive oil, salt, and black pepper. Both the roasted carrots and seared chicken breast blend nicely.
Steamed Green Beans: Sprinkling some salt and pepper on the steamed beans means bringing flavor to it. This healthy side dish helps to balance the flavors in the chicken. And also smooths digestion with its antioxidant content.
Green Salads: We have all seen people eating meat with green salads. Do you know why? The greens have a good pack of nutrients. This fuels the stomach as well as the body with crucial nutrients. So, the salads and chicken serve as a healthy combo.
Rice: Pairing rice with seared chicken breast is indeed a comfy combo. The chewy textured rice and nutty flavored chicken give a filling and nutritious base. And you feel more content after eating this.
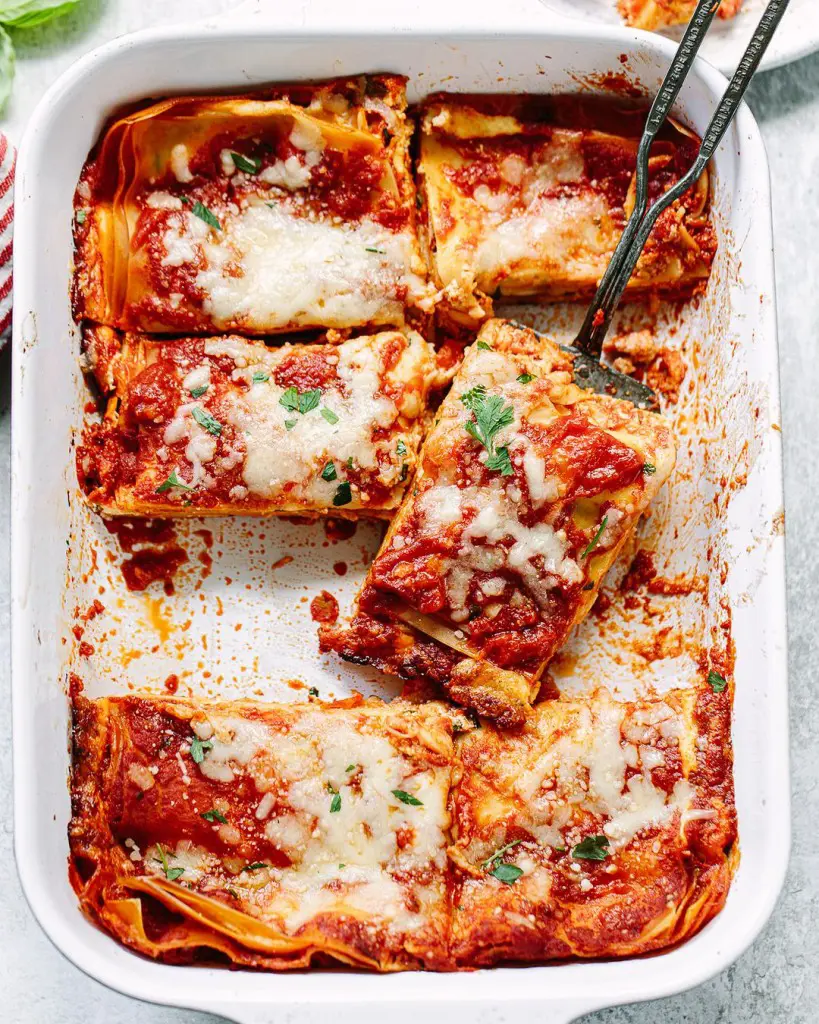
Creamy Pasta: If pasta is the usual go-to snack, then try pairing it with seared chicken. You will be amazed as you experience the blend of creaminess and nutty flavor.
How To Store Chicken Breast
Storage of cooked chicken breast is way too easy. You just need to follow some steps:
Cool the Chicken Down
Allow the chicken breast to cool to room temperature before storing it. This helps prevent condensation and keeps it from becoming soggy. Avoid leaving it out for more than 2 hours to ensure food safety.
Warp the Chicken or Place in a Container
For shorter use, wrap the chicken breast with plastic wrap or aluminum foil. It stops the chicken from drying out.
A very good option for freezer storage of chicken is airtight containers. One can take the breast and place it inside airtight containers and seal the lid on tight. This keeps the freshness in the chicken. Also, it does not allow odors from the freezer to be absorbed into the chicken.
Refrigerate the Chicken
A refrigerator keeps chicken fresh. Normally it lasts for up to 4-5 days. Pick the coolest spot and place the wrapped chicken there. Most importantly make sure to maintain the temprature at 40°F (4°C) or below. This retains the freshness of the meat.
Freeze the Chicken
For long-term storage, freeze the chicken breast. Store the chicken container in the freezer. And make sure to label it. So that the stored date can be tracked to know its expiry date. The freezer’s temperature plays a big part here. So, maintain the temperature at 0°F (-18°C) or lower. This allows chicken breast to last for up to 6 months.
Reheat Before Use
Storing allows you to use the chicken at any time. Frozen chicken always has to go through reheat before using. You can microwave, or use an oven or stovetop to reheat the frozen meat. So, Choose any based on convenience.