Recipe

How To Cook Juicy Ribs On The Grill

Source : onceuponachef

Summer brings the perfect opportunity to fire up the grill and enjoy outdoor dining. Grilled ribs are an absolute favorite for backyard barbecues, offering a mouthwatering dish that tastes like it's been slow-smoked by a seasoned pitmaster.

If you are wondering how to cook ribs on grill, this easy method delivers impressive results that will have your whole neighborhood envious. Paired with classic sides like ambrosia salad, these ribs create the ultimate summer meal.

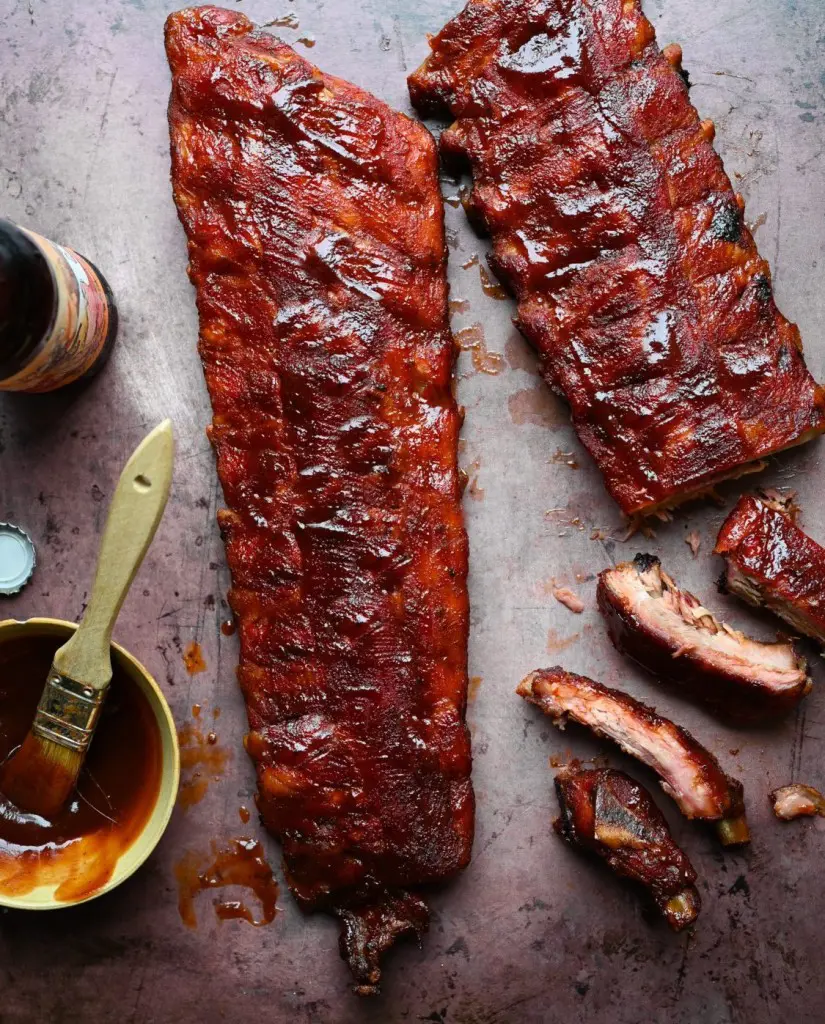
Ingredients Needed For Cooking Ribs On The Grill

This recipe combines classic flavors with a unique twist to create tender, flavorful ribs. Here's what you'll need to grill bbq ribs on bbq:
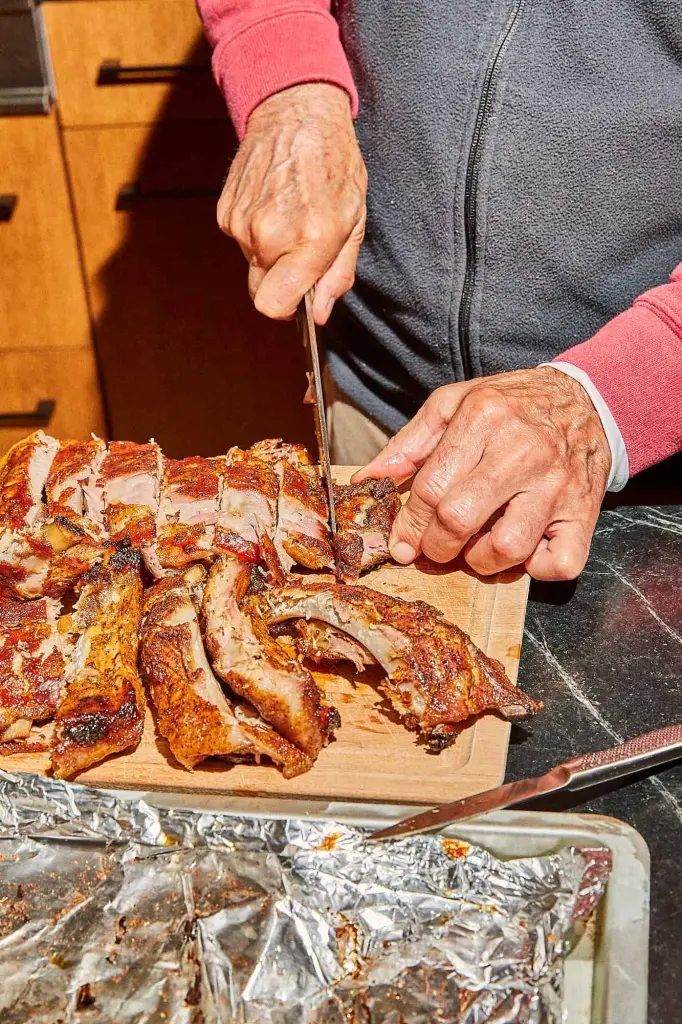
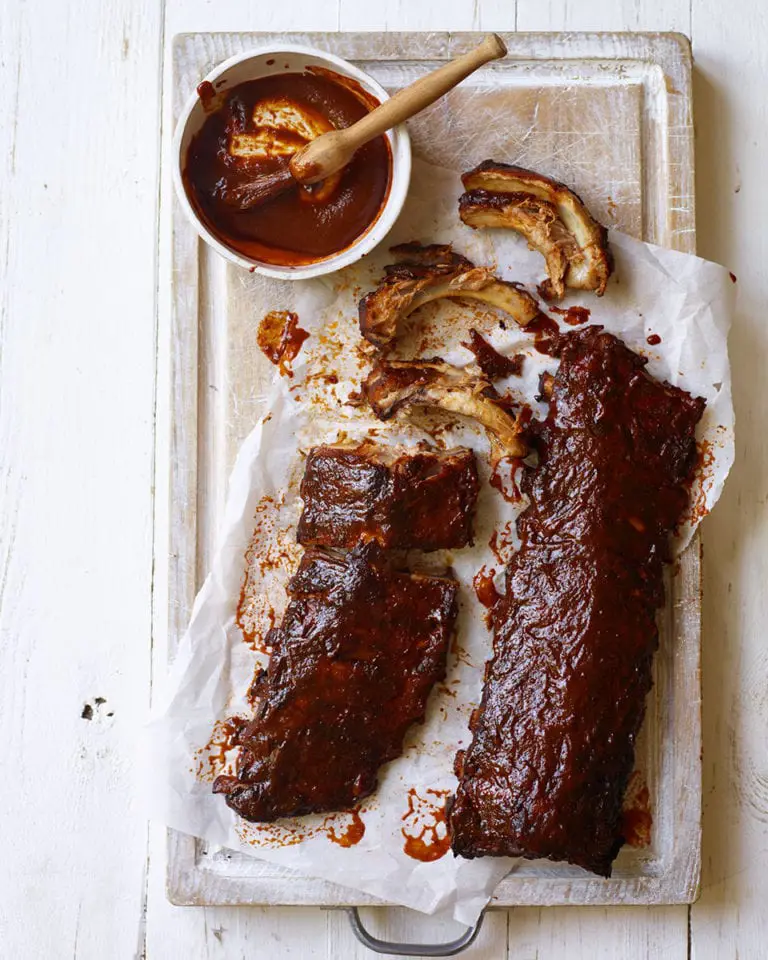
Baby Back Ribs

Source : acabonacfarms

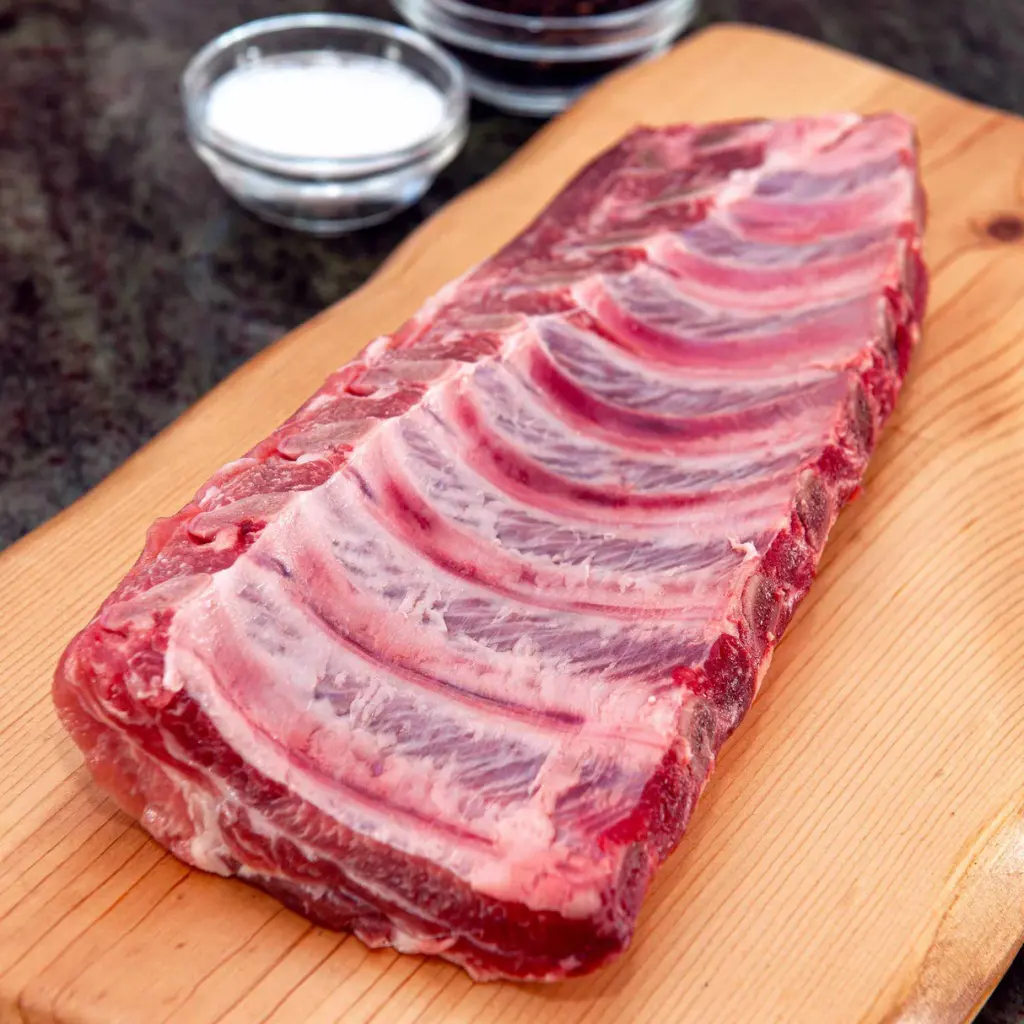
Baby back ribs, also known as pork loin ribs, are the star of this dish. These ribs come from the top of the rib cage between the spine and the spare ribs, just below the loin muscle. They're shorter and more curved than spare ribs, with meat between the bones and on top.

Baby back ribs are prized for their tender, lean meat that cooks relatively quickly. While this recipe is optimized for baby backs, you can also use St. Louis style ribs, which are spare ribs trimmed to remove the cartilage, sternum bone, and rib tips.
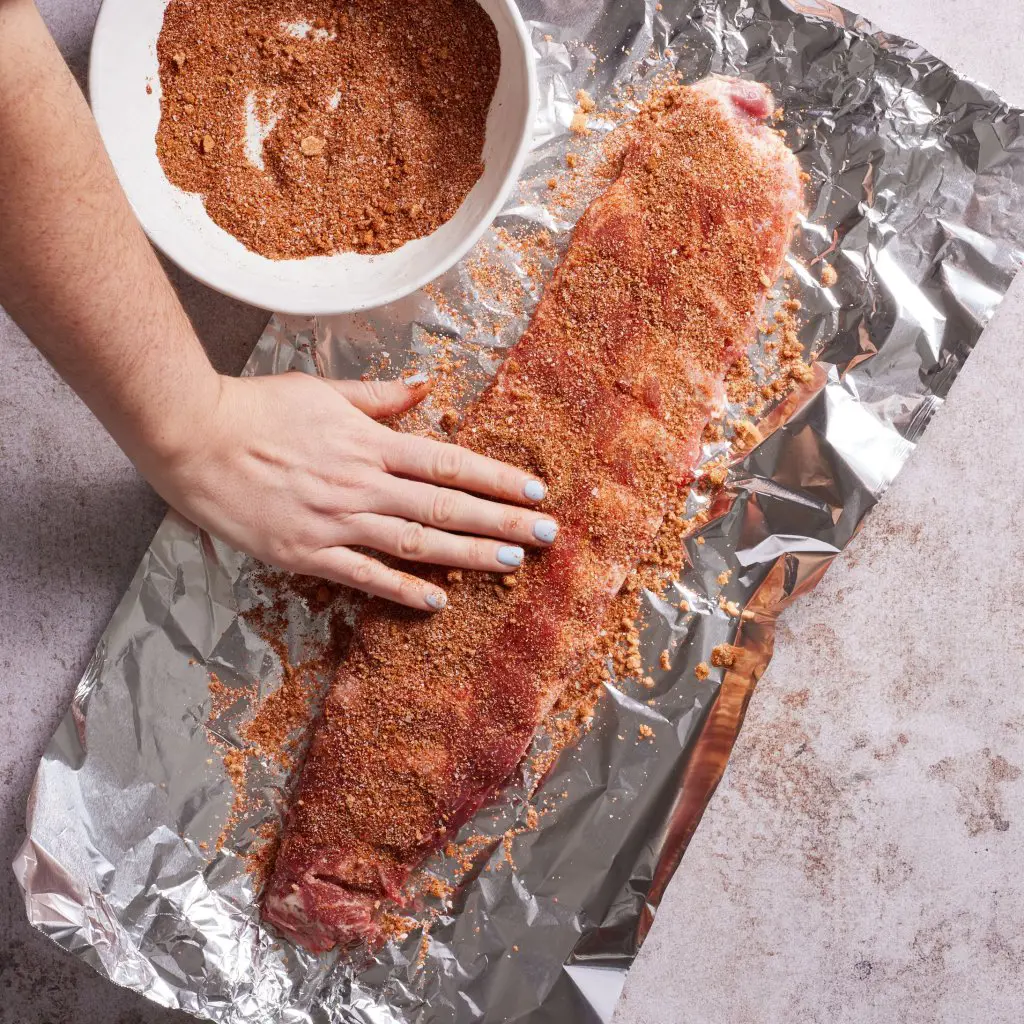
Pork Seasoning Rub

A good pork rub is crucial for developing a flavorful crust on your ribs. You can use your favorite store-bought blend, or try the homemade recipe provided in the recipe card.

A typical pork rub often includes a mix of brown sugar, paprika, garlic powder, onion powder, salt, black pepper, and sometimes cayenne for heat. The rub not only seasons the meat but also helps create a delicious bark during cooking.

Unsweetened Apple Juice

Source : alsothecrumbsplease

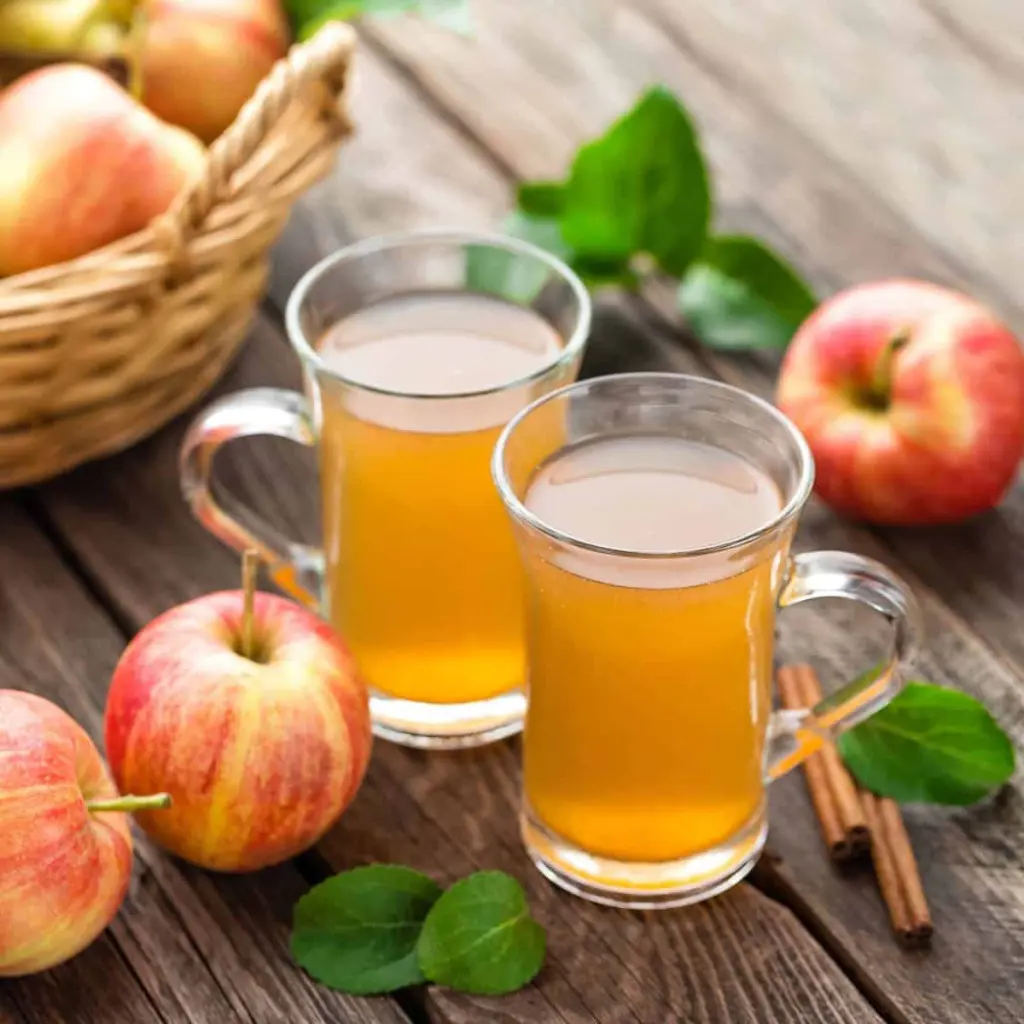
Unsweetened apple juice adds moisture and a subtle fruity flavor to the ribs without overwhelming sweetness. It complements the pork's natural flavors and helps to tenderize the meat.

If you can only find sweetened apple juice, it will work, but you might want to adjust other sweet elements in the recipe to maintain balance. The juice also creates steam during cooking, which helps keep the ribs moist.
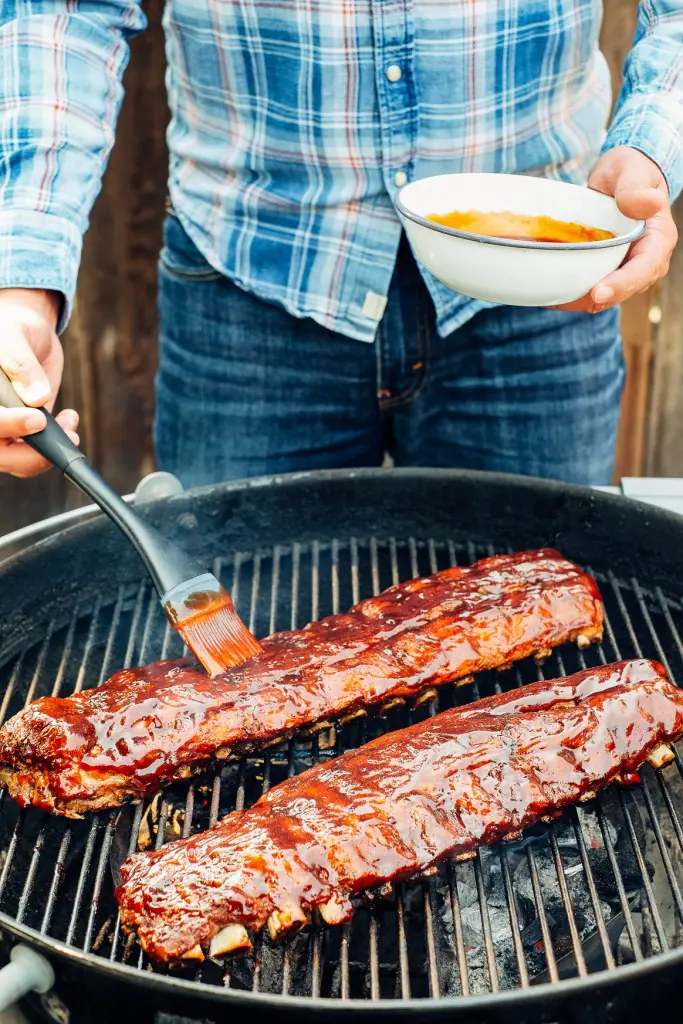
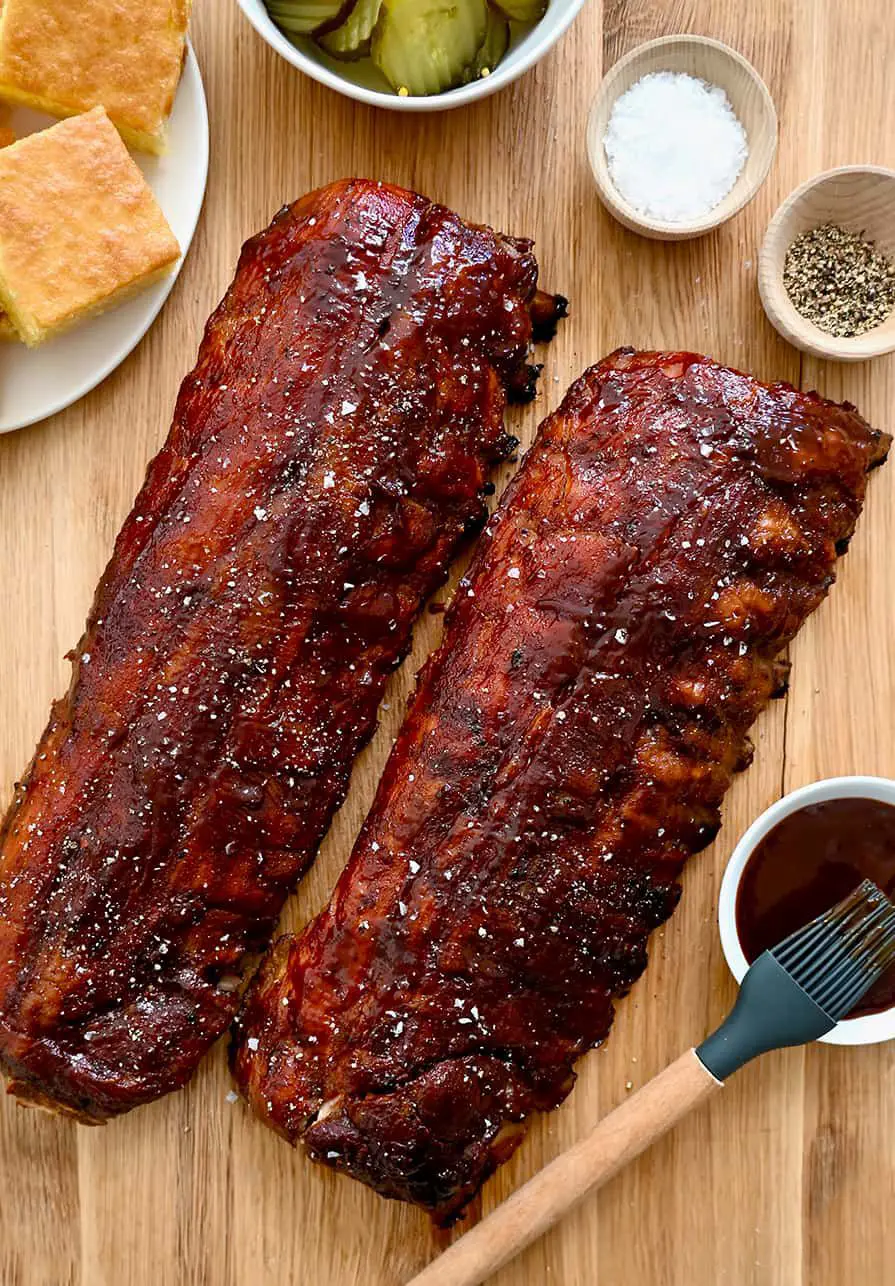
Orange Marmalade

Source : tashasartisanfoods

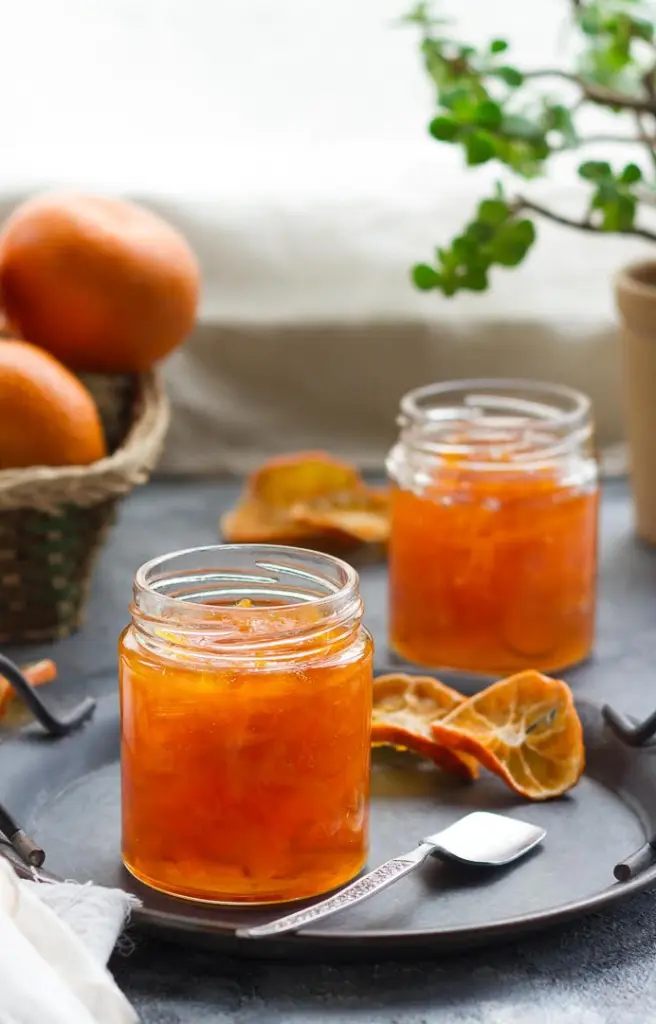
While it might seem unusual, orange marmalade is a secret weapon in this recipe. It adds a complex sweetness with a slightly bitter edge from the orange peel, creating a sophisticated flavor profile.

The marmalade also helps form a thick, glossy glaze on the ribs as they cook. If you're not a fan of orange or can't find marmalade, peach or apricot preserves can be substituted, each bringing its own unique fruity notes to the dish.

Apple Cider Vinegar

Apple cider vinegar serves multiple purposes in this recipe. Its acidity helps to tenderize the meat by breaking down tough fibers. It also adds a tangy flavor that balances the sweetness of the juice and marmalade.

Additionally, the vinegar contributes to the overall moisture of the dish, helping to keep the ribs juicy during the cooking process.

How To Cook Ribs On A Grill

Ingredients

  • 1 rack baby back pork ribs
  • Half cup pork seasoning rub
  • 1 cup unsweetened apple juice
  • 1 large disposable aluminum tray
  • aluminum foil
  • Half cup orange marmalade
  • ¼ cup apple cider vinegar

How Do You Make Ribs On The Grill

1. Prepare the Ribs

  • Begin by removing the ribs from their packaging and patting them dry with paper towels. This step is crucial as it helps the seasoning adhere better to the meat.
  • Next, prepare your cooking vessel by spraying a large aluminum pan with nonstick cooking spray or rubbing it with oil. This prevents sticking and makes cleanup easier later.
  • Place the ribs in the prepared pan. For optimal tenderness and flavor absorption, consider removing the silver skin from the back of the ribs. This thin membrane can be tough and chewy when cooked, and removing it allows the best way to cook ribs on the grill to be more effective.
  • To remove it, simply slide a knife under the membrane and pull it off in one piece.

2. Season the Ribs

  • Seasoning is where the magic begins. Generously sprinkle your chosen pork rub seasoning onto both sides of the ribs. Remember, it's called a "rub" for a reason - use your hands to massage the seasoning into the meat, ensuring every inch is covered. The pressure helps the spices penetrate the meat for deeper flavor.
  • If you're using a large rack, you might find it easier to cut it in half at this stage for easier handling on the grill later.
  • Once seasoned, pour apple juice into the bottom of the pan. This will create steam during cooking, helping to keep the ribs moist.
  • Cover the pan tightly with aluminum foil and refrigerate until your grill is ready.

Source : delish

3. Prepare the Grill

  • Start by ensuring your propane tank is full - these ribs will be cooking low and slow for over an hour, so you don't want to run out of fuel midway.
  • Preheat your grill to 300°F (150°C). Maintaining this low temperature throughout the cooking process is crucial for tender ribs, so you may need to adjust your burners.
  • For a three-burner grill, try keeping the middle burner off and the two-end burners on low for nice, indirect heat. While the grill is heating, clean the grates thoroughly and wipe them down with a bit of oil.

4. Grill the Ribs

  • Once your grill is at a steady 300°F (150°C), it's time to start cooking. Place the covered pan of ribs onto the grill and close the lid.
  • Let them cook for about an hour, regularly checking to ensure the temperature remains constant. Depending on your grill and the outside temperature, you might need up to 2 hours, so plan accordingly.
  • While ribs are safe to eat at an internal temperature of 145°F (63°C), cooking them low and slow to 180-190°F (82-88°C) results in more tender meat that easily falls off the bone.
  • After the initial cooking period, carefully remove the ribs from the pan and place them directly on the grill grates, keeping the heat on low.

Source : kitchenlaughter

5. Prepare the Glaze

  • While the ribs are in their final stages of cooking, it's time to prepare the glaze that will take them to the next level.
  • In a small pot over medium heat, whisk together orange marmalade and apple cider vinegar. This combination might seem unusual, but it creates a perfect balance of sweet and tangy flavors that complement the pork beautifully.
  • Continue whisking until the mixture is well combined and slightly warm, which should only take a minute or two. If your grill has a side burner, you can do this step right there for convenience.

6. Finish the Ribs

  • Now comes the fun part - glazing the ribs. Take your pot of glaze off the heat and use a basting brush to generously coat the ribs with the marmalade sauce. Make sure to cover every inch for maximum flavor.
  • Once basted, cover the grill and let the ribs cook for an additional 5 minutes. This allows the glaze to set slightly and start caramelizing.
  • After 5 minutes, repeat the process one more time - baste thoroughly and cook for another 5 minutes. This double glazing ensures a thick, flavorful coating on your ribs.

Source : kitchenkonfidence

7. Rest and Serve

  • The final step is crucial for juicy, tender ribs. Carefully remove the ribs from the grill and place them on a large cutting board.
  • Allow the meat to rest for a few minutes. This resting period lets the juices redistribute throughout the meat, ensuring every bite is moist and flavorful.
  • After resting, use a sharp knife to carefully cut between the bones, separating the ribs. If you've cooked these properly, the meat should easily slide off the bone.
  • Serve immediately and enjoy your perfectly grilled, glazed baby back ribs!

How Long Does It Take To Cook Pork Ribs

Source : mosthungry

When grilling ribs, the cooking time can vary based on the thickness of the meat and your grill's temperature. For the best results, it's recommended to use a low and slow approach. Set your grill to medium-low heat and plan to cook the ribs for grilling ribs how to about 1 to 2 hours.

This longer cooking time at a lower temperature is crucial for achieving tender, flavorful meat that easily falls off the bone. The goal is to reach an internal temperature between 180°F and 190°F. Using a meat thermometer is the most reliable way to check for doneness.

This temperature range ensures that the connective tissues in the ribs have broken down, resulting in that desirable melt-in-your-mouth texture. Remember, patience is key when grilling ribs.

Rushing the process can lead to tough, chewy meat, so resist the urge to increase the heat to speed things up. When considering how do you cook ribs on a grill, remember that patience is key. The slow cooking method allows the flavors to develop fully and the meat to become perfectly tender, making the wait well worth it in the end.

How to tell if ribs on the grill are done?

Determining when ribs are perfectly cooked requires attention to both safety and quality. The most reliable method is using a meat thermometer to check the internal temperature.

When considering how to BBQ ribs on the grill, it's important to note that while pork ribs are technically safe to eat at 145°F, for optimal tenderness, it's best to cook them longer.

Aim for an internal temperature between 180°F and 190°F, which aligns with the "low and slow" cooking principle. This higher temperature allows the connective tissues to break down, resulting in more tender meat.

If you don't have a thermometer, you can also assess doneness by checking the meat's tenderness. When ribs are fully cooked, the meat should easily separate from the bone when gently pulled. 

Should You Cook Ribs Before Grilling

Source : deliciousmagazine

When preparing traditional barbecue ribs, there's no need to cook them before grilling. This method is particularly appealing during hot summer months when you'd rather avoid using the oven. Instead, you can cook the ribs entirely on the grill, though it requires time and patience.

The process involves cooking the ribs over indirect heat at a low temperature, which takes longer than pre-cooking but yields superior results. This slow-cooking approach allows the smoky flavors to fully penetrate the meat, resulting in tender, flavorful ribs with an authentic barbecue taste.

While it may require more time at the grill, the outcome is well worth the effort, producing delicious, fall-off-the-bone meat that will surely impress your family and guests.

Should ribs be wrapped in foil when grilling?

Wrapping ribs in foil while grilling helps maintain moisture in the meat during long grilling sessions, preventing the ribs from drying out. Additionally, the foil acts as a heat trap, accelerating the cooking process. Typically, ribs are kept wrapped for about two hours.

After this initial cooking phase, the ribs are unwrapped, brushed with barbecue sauce, and returned to the grill without the foil. This final stage allows the sauce to caramelize and creates those desirable char marks on the meat's surface.

The result is a perfect balance of tenderness, flavor, and texture – juicy on the inside with a slightly crispy, flavorful exterior. This method combines the benefits of slow-cooking with the traditional grilled finish, offering the best of both worlds for delicious, crowd-pleasing ribs.

How To Store Cooked Ribs

There are three primary methods for storing pork ribs: vacuum sealing in a plastic bag, using a foil pan covered tightly with foil, or placing them in a freezer-safe zip-top bag. The storage duration also influences the method you should choose.

For short-term storage (1-2 days), refrigeration is sufficient. However, for longer periods, freezing is recommended to preserve flavor and prevent drying out. Vacuum sealing is the most versatile option, suitable for both refrigeration and freezing.

Without a vacuum sealer, a foil pan works well for refrigeration, but for freezing, opt for a freezer-safe zip-top bag. When using a foil pan, place whole racks or portions in the pan and cover tightly with foil.

For freezer storage in zip-top bags, it's best to cut the ribs into individual pieces or small portions of 2-3 ribs each. Remember to remove as much air as possible from the bag before sealing to minimize freezer burn.