Kitchen Tips

How To Cut The Whole Chicken

Source : freepik

Precut chicken is easy and convenient. But have you ever tried cutting a whole chicken yourself? It’s a basic butchery skill that every home cook should learn. Don’t mistake it as a tough assignment, as it’s not.

When you break down your chicken yourself, you've control over how many portions to cut based on your needs. This additionally saves you money, and you'll have a carcass left over to make a flavorful homemade bone broth.

What You Need For Cutting A Whole Chicken

You don't need fancy equipment here. Most home cooks already have these basic tools in their kitchen. The secret is to work with clean, sharp equipment and create a proper workspace. You'll need a few basic things to make this a smooth process.

Essential Supplies:

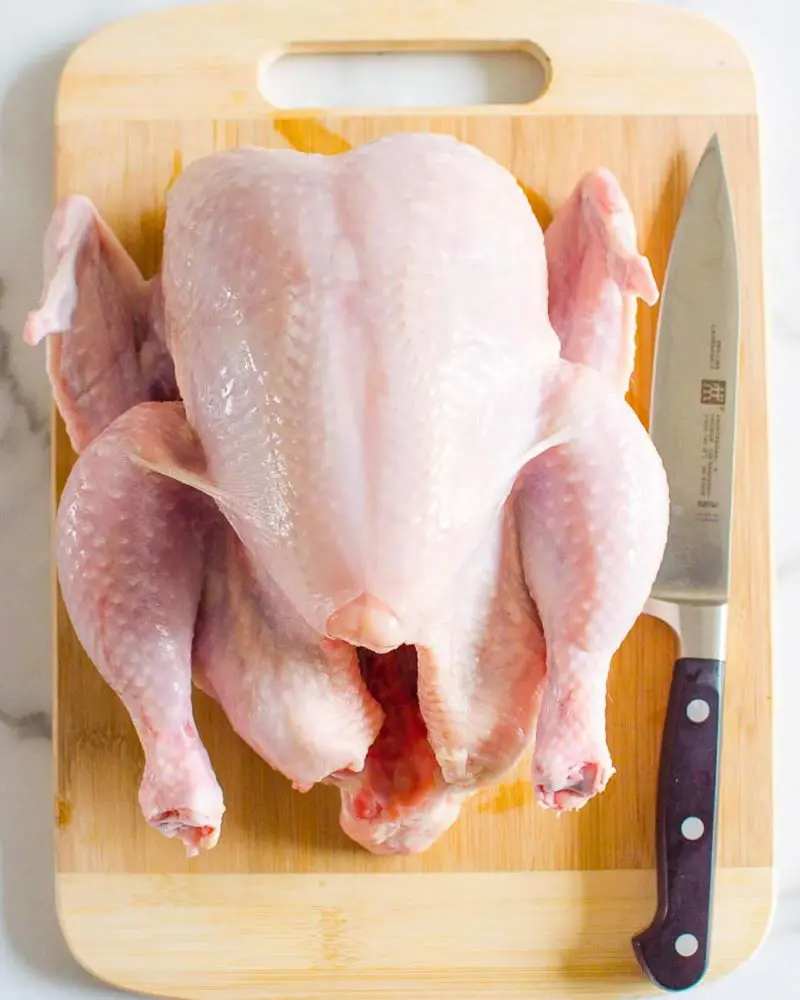
  • Chicken: Pick a plump bird with pinkish skin and no bruising. For a family of four, a 4-5 pound chicken works perfectly. Smaller 3-pound birds are great for two, while large 6-pound feeds bigger groups. If your budget allows, go for pasture-raised chickens – they just taste better, and the meat has a better bite to it.
  • Chef's Knife: First up is your knife - make sure it's sharp. Ever tried cutting through a sheet of paper? Your knife should glide right through it. Here's the thing about dull knives - they are clearly more risky because you end up forcing it, and that is when accidents occur.
  • Kitchen Shears: Grab some kitchen scissors too. Sure, you could get fancy poultry shears, but regular kitchen scissors work just fine. You'll use these to cut through the backbone (the tough part) and trim off the extra fat and loose bits of skin. Make sure they're clean and sharp!
  • Paper Towels: Keep plenty towels nearby! You'll need these to pat the chicken dry. Also, use them to clean up juices that come out of the cut or to wipe your hands between cuts. It makes the process less messy, and having them within arm's reach makes the task hygienic.
  • Cutting Board: Go big here – at least 15x20 inches. Pick a cutting board with a groove around the edge to catch any juices. Plastic boards are great considering the fact that you can pop them in the dishwasher afterward.
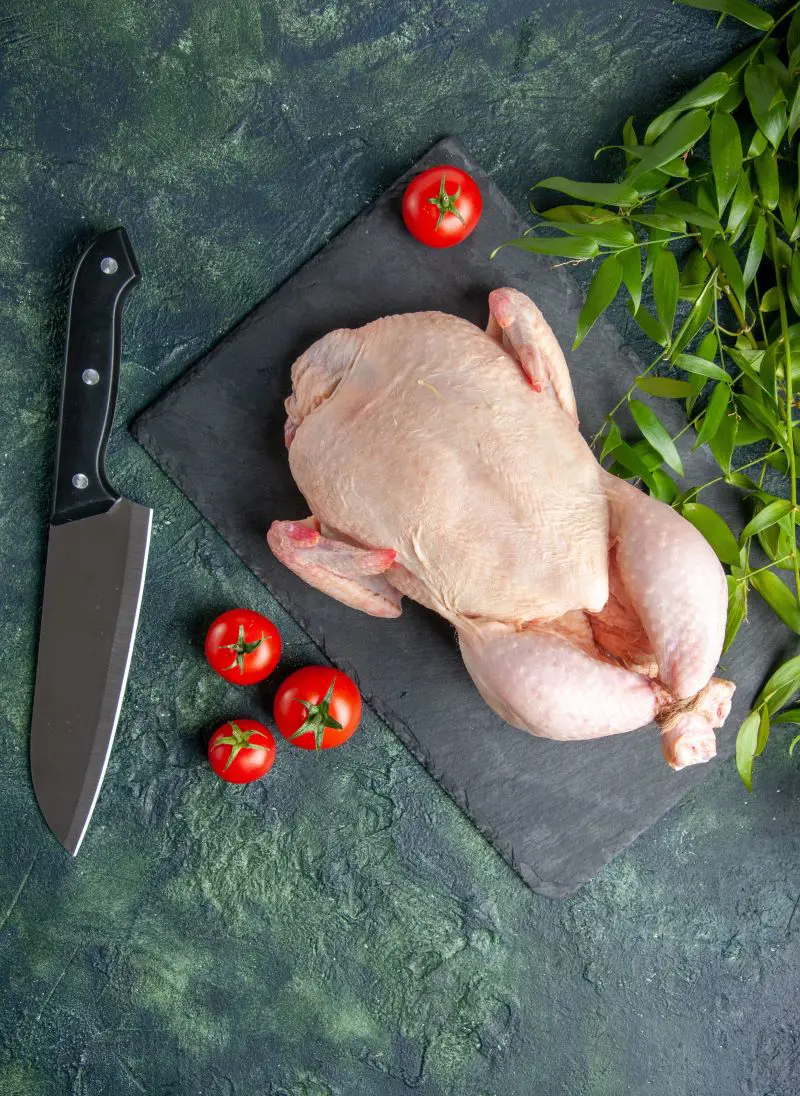
How Do You Cut A Whole Chicken

Learning to break a whole chicken is such a handy skill in the kitchen! Not only does it save you some money compared to buying packaged pieces, but it's actually quite simple once you get a hold of it.

Think about it - you may cut it exactly how you need, whether you are making chicken soup, frying chicken, or grilling. Get your supplies ready and follow this simple guide to cut your chicken.

1. Prepare Your Workspace

Source : facebook

First things first – let's create a clean, organized cutting station. Pull out your cutting board and place it on a stable counter. Having enough space makes all the difference here. Grab your paper towels and keep them nearby – you'll be reaching for these often.

Take your chicken out of its packaging and give it a good once-over with paper towels. Pat it thoroughly until it's completely dry – this prevents any slipping while cutting. A dry chicken is much easier to handle and gives you better control with your knife.

Place your chicken breast side up on the board. See how it naturally sits! That's the position we want. Keep your knife and kitchen shears within reach, but not so near they may get in your way.

Make certain your hands are clean and dry – wet arms and sharp knives do not mix properly.

Pro tip: Tuck a damp paper towel below your chopping board to keep it from sliding around.

2. Remove The Legs

Source : instagram

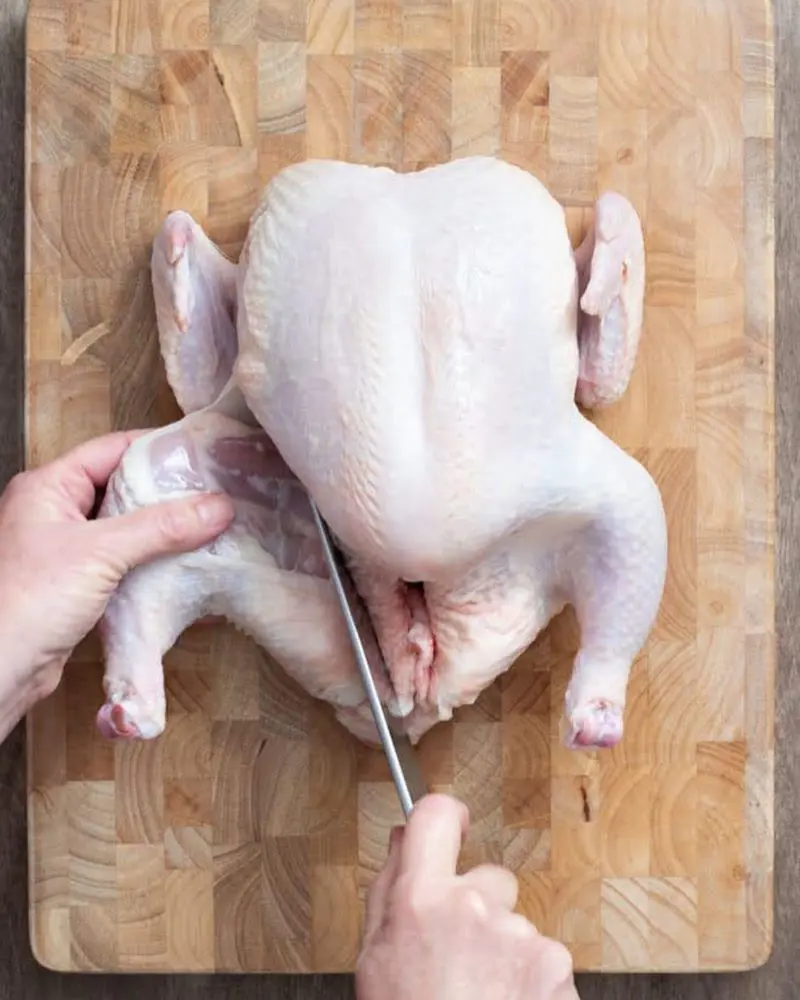
Look at your chicken and find where the leg meets the body. You can see that natural line in the skin. That is your cutting guide.

Start with your knife at the point where the leg connects to the breast. Make a confident cut through the skin – you'll see the meat underneath. Don't be shy here; pull the leg away from the body. You'll feel some resistance – that's normal.

You'll hear a little pop, that is the hip joint coming out of its socket. That pop is essential! It means you've found exactly where you need to cut next.

Once you hear that pop, take your knife and cut through the joint – not the bone, but right through that space where the joint separated. If you hit resistance, adjust your knife slightly until you find the sweet spot.

There's a little nugget of meat near the backbone called the "oyster" – don't forget to get that! It's the chef's favorite bite.

Repeat this same process on the other side. Left leg, right leg – same technique. Remember to keep your motions smooth and deliberate. You're not sawing through the meat; you're making clean, confident cuts.

3. Cut Off The Wings

Source : facebook

Time to tackle those wings! Flip your chicken so it is breast-side up, wings pointing away from you. Take a nice look at where each wing connects to the body. You will notice a natural line where they meet.

Grab one wing and gently pull it away from the body. Feel that joint: that's your target. Place your knife right at that connection point and cut through the skin first.

As you pull the wing further out, you'll feel the joint pop slightly. That's exactly what you want!

Now, slide your knife right through that joint space – not the bone, but the soft spot where the joint connects. If your knife hits resistance, don't force it.

Just adjust your angle slightly until you find that sweet spot where the knife glides through smoothly.

Once the first wing is off, repeat on the other side. If you want to take it a step further, snip off those wing tips right at their joint. Don't toss them though! Wing tips are packed with flavor and make fantastic stock.

4. Remove The Back

Source : marthastewart

Now for the backbone – this is where your kitchen shears become your best friend! Flip your chicken breast side down. See that line of fat running down each side of the backbone, that is your cutting guide.

Starting at the tail end, position your shears on one side of the backbone. Make sure you're cutting through the rib bones, not the backbone itself. Snip your way up one side, keeping your cuts as close to the backbone as possible.

The shears should cut through the ribs with a satisfying crunch.

Once you've cut all the way up one side, repeat on the other side. Work steadily and deliberately – there's no rush here. When both sides are cut, the backbone will lift right out.

Pop it into your freezer bag along with those wing tips – you're well on your way to making amazing homemade chicken stock!

Remember to wipe your board clean between cuts, and keep those paper towels handy. You're doing great – look at those clean, professional cuts!

5. Separate The Breast

Source : facebook

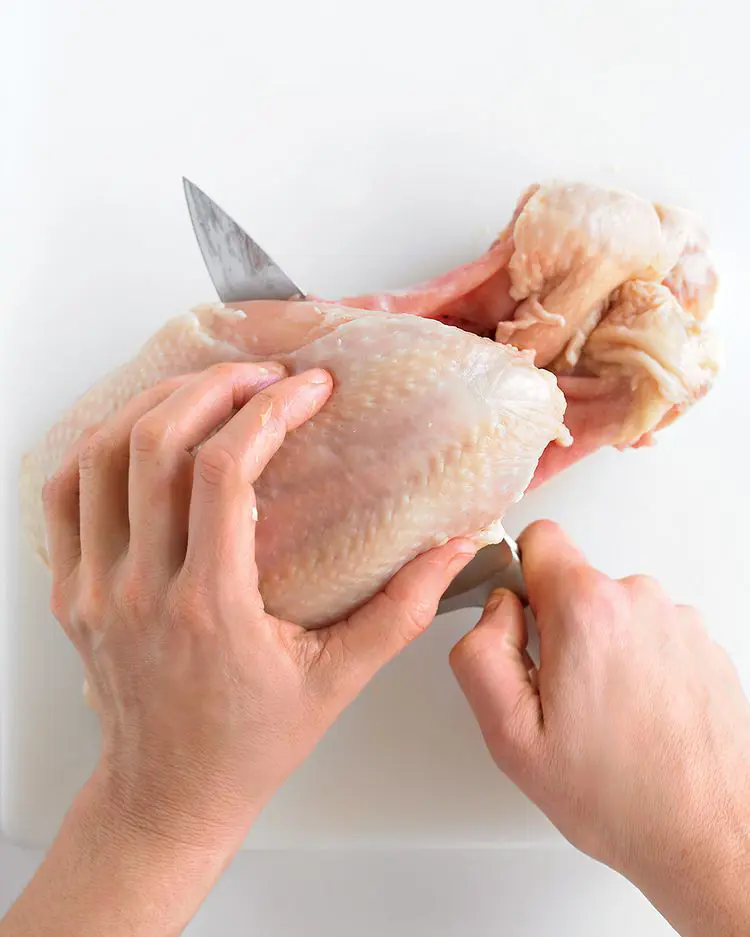
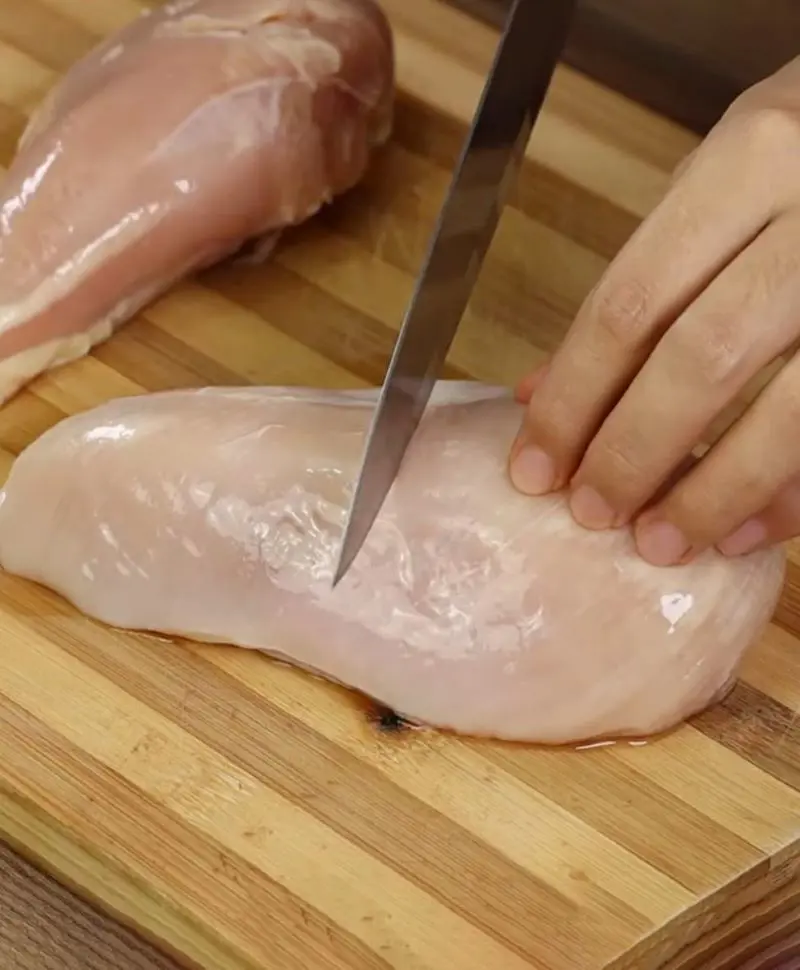
Flip your breast piece so it's skin-side down. Take a peek at the center – notice that whitish line running right down the middle. That's your cartilage, and it's like nature's dotted line showing you exactly where to cut. Pretty neat!

Position your knife right on that line. Unlike other cuts where we've been working around joints, here we're going straight through.

Apply firm, steady pressure – you might feel a bit of resistance, but your sharp knife should handle it smoothly.

Some individuals like using quality kitchen shears for this part, and that's totally fine! Whether you're using a knife or shears, the goal is the same: split that breast right down its center line.

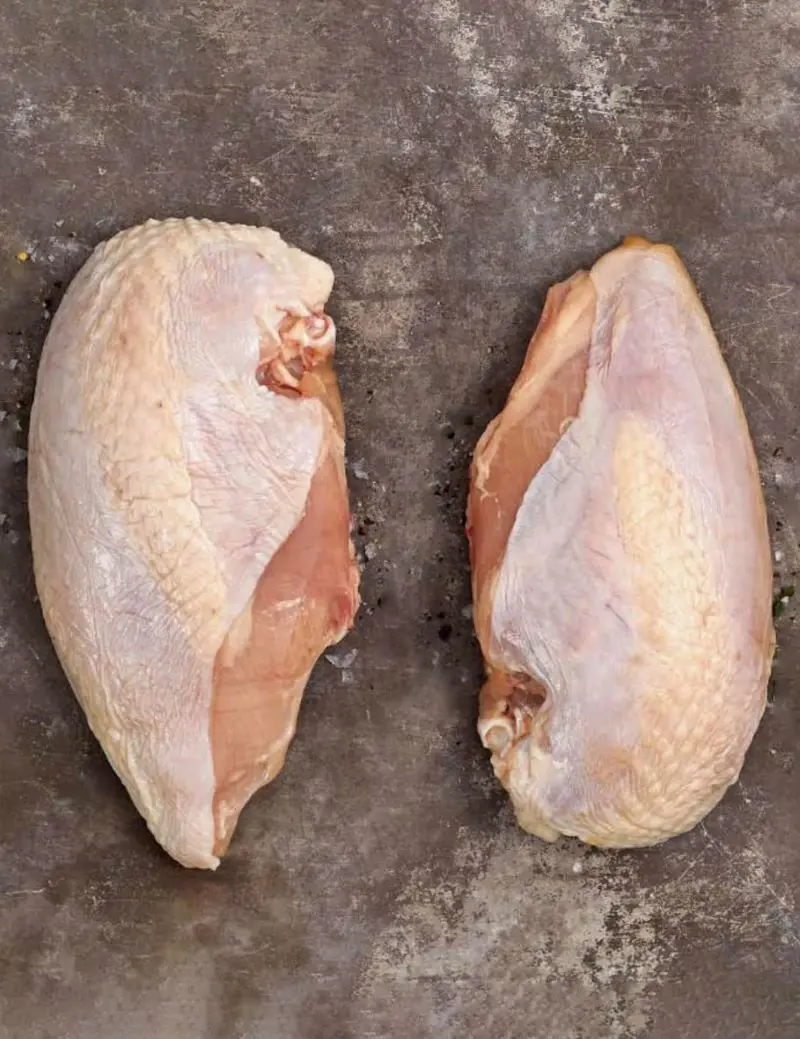
As you cut, make sure you're getting through both the cartilage and the meat. When you're done, you'll have two beautiful, even breast halves.

6. Cut The Breast Halves Into Quarters

Source : facebook

Turn your breast halves skin-side up. We're going for even cooking here, so pay attention to the thickness.

Instead of cutting straight down the middle, go slightly off-center toward the thicker side. Because chicken breasts naturally have a thicker and thinner end.

By cutting them this way, your pieces will cook more evenly – no more dry thin ends while the thick parts are still raw!

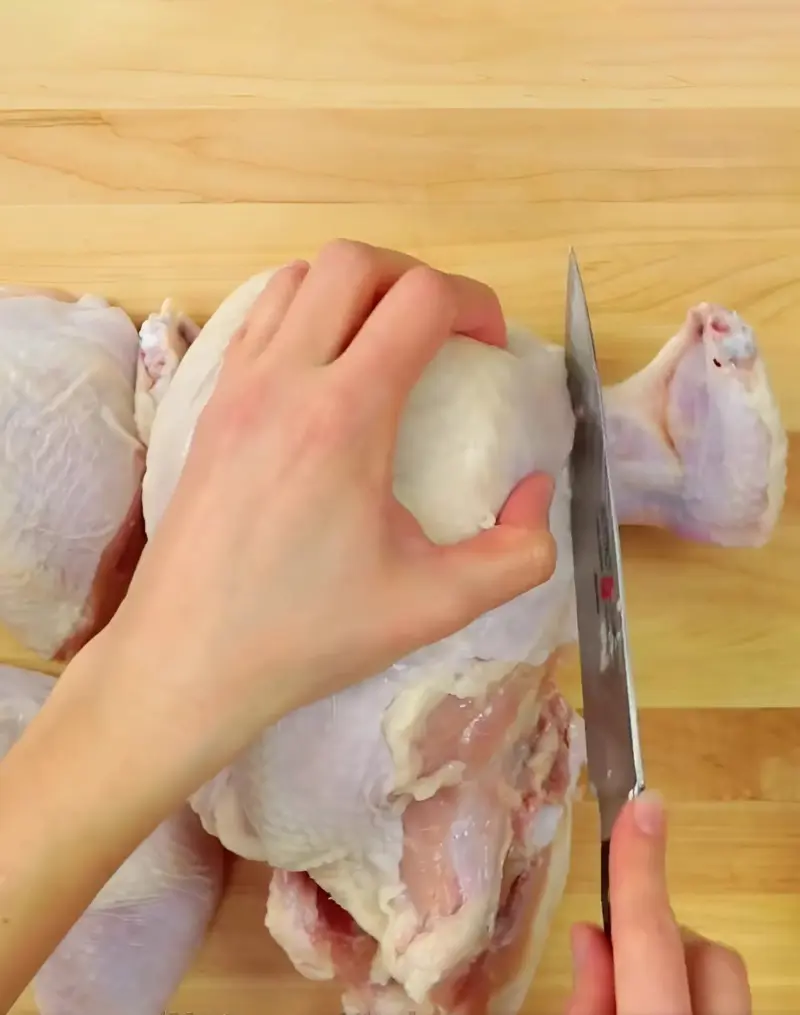
Look at your breast half and imagine a diagonal line from the top corner to the opposite bottom corner. That's your cutting line. Press down firmly with your knife – you're going through bone here! One confident cut is better than several hesitant ones.

Remember that thicker side we talked about? Your diagonal cut should give you a slightly bigger piece on the thin side, which balances out perfectly with the smaller but thicker piece. Repeat this process with your second breast half.

You should now have four beautiful breast portions that'll cook evenly and look fantastic on the plate. Each piece should be roughly the same size as your thighs, which means everything will be done cooking at the same time.

7. Separate The Drumstick From Thigh

Source : instagram

Let's tackle those big leg pieces! This is a super satisfying cut that turns each leg into two perfect portions. No more fighting over who gets the drumstick!

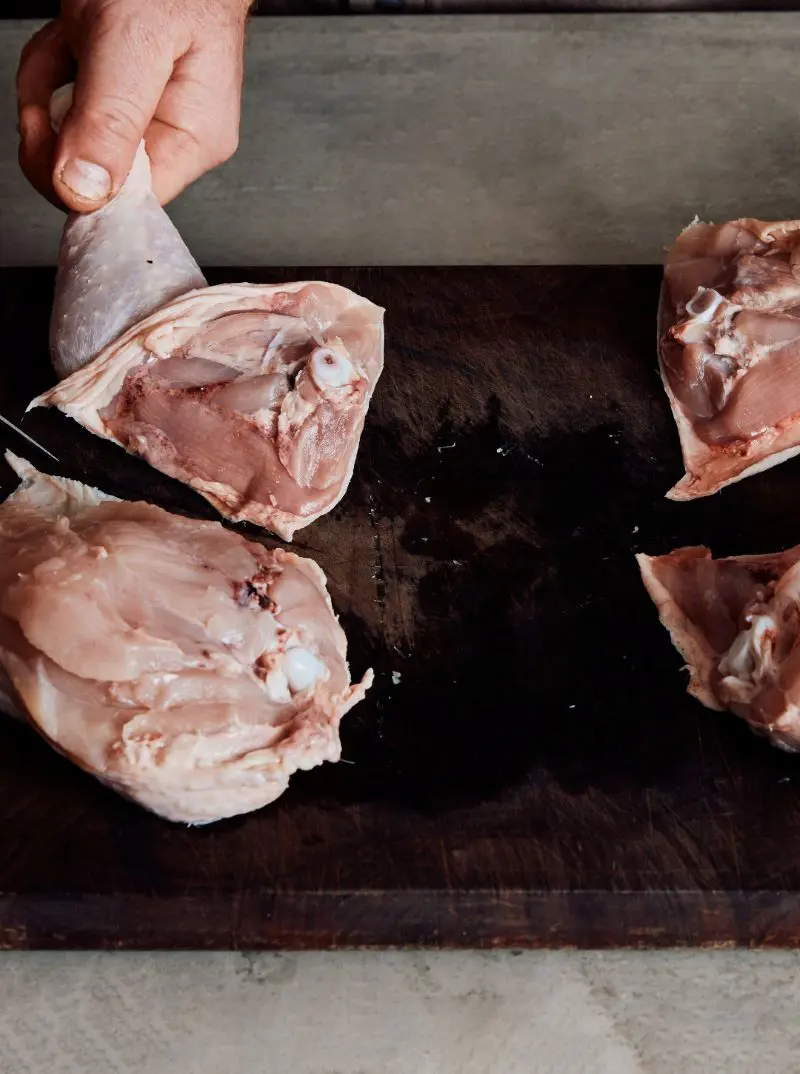
Start by laying your leg piece skin-side down on your board. Look for the natural fat line between the drumstick and thigh. This is your guide for where to cut. It's like the chicken is showing you exactly where to cut. Pretty helpful!

Find the joint by gently bending the leg pieces back and forth. Feel the connection point; that’s your cutting spot. Much like popping off the wings earlier, you want to hit that sweet spot in the joint, not the bone itself.

Place your knife right along that fat line and press down firmly. If you meet resistance, wiggle the pieces a bit to find the joint space. Once you find it, your knife should glide right through.

Done correctly, you'll get a nice clean separation with no splintered bones. Now you've got two beautiful pieces – a meaty thigh and a perfect drumstick!

8. Trim Any Excess Fat

Source : instagram

Time for some cleanup work! This step may appear small, but it makes a big difference to your final dish. Think of it as giving your chicken pieces a nice little makeover.

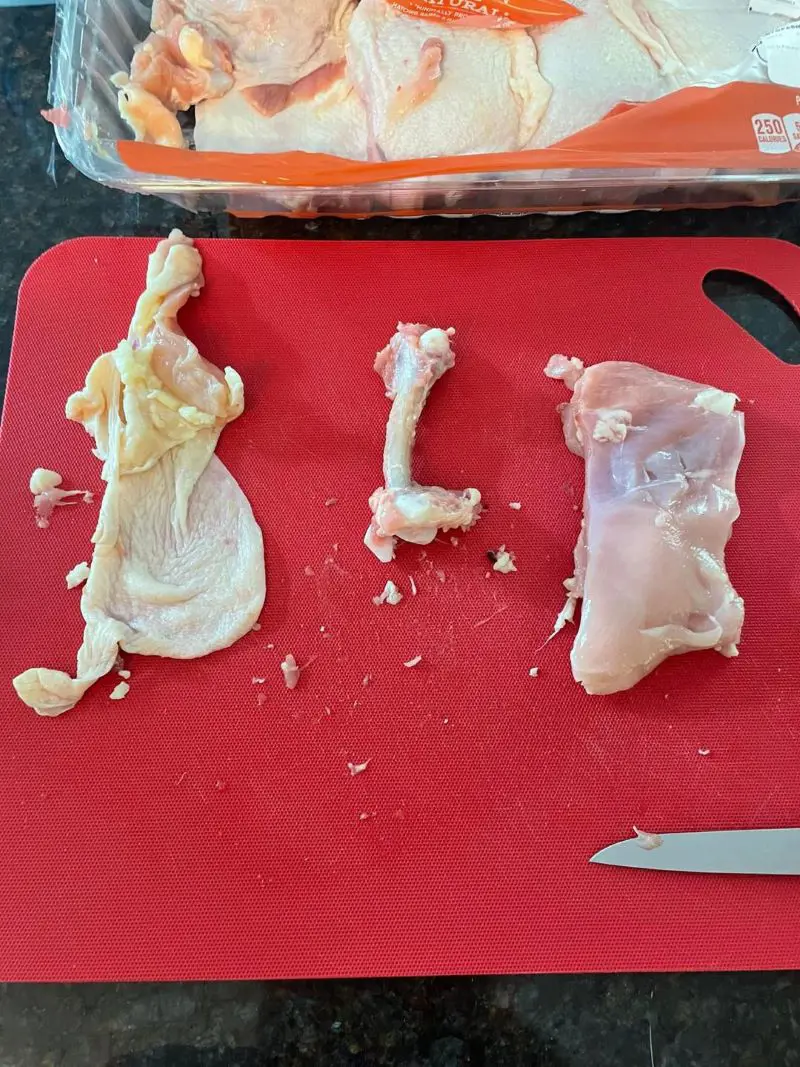
Take a good look at each piece. You'll probably spot some loose bits of fat or excess skin hanging around. While some fat adds flavor, too much can make your dish greasy. Run your fingers over each piece to feel for any wobbly bits that need to go.

Using your knife (or kitchen shears if you prefer), trim away any large fat deposits or loose skin flaps. Don't go crazy here – we're just cleaning things up, not trying to make it completely fat-free. Leave a nice, even layer of skin on each piece.

Pay special attention to the thighs – they tend to have extra fat around the edges. Just snip or slice away anything that looks excessive.

For the drumsticks, check around the meaty end where it connected to the thigh. Sometimes there's a bit of torn skin there that could use a quick trim.

How Many Pieces Do You Get From A Whole Chicken

The beauty of cutting your own chicken lies in its flexibility! You get to decide exactly how you want to portion your bird. Let's break down what you'll get from a whole chicken:

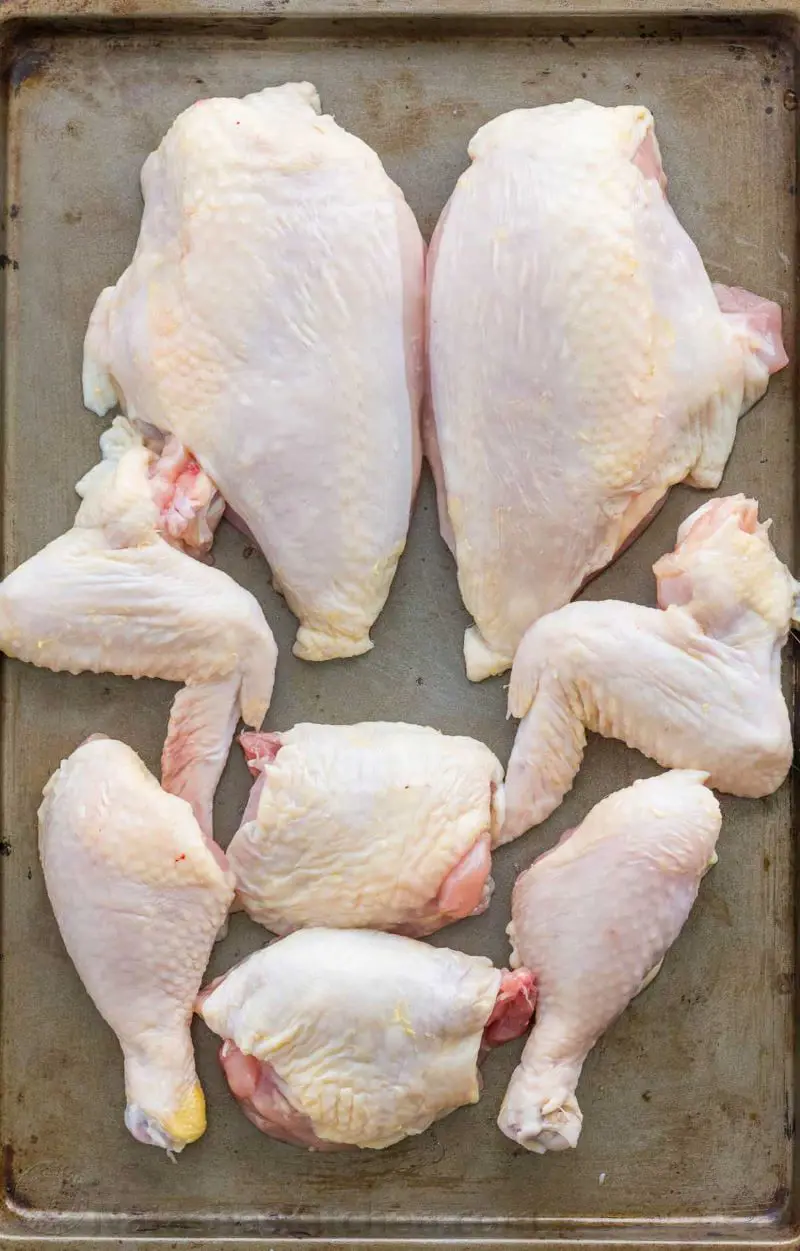
The 6-Piece Cut: Perfect for Roasting

Source : facebook

This is your classic "less is more" approach. By keeping the breasts and legs whole, you get larger, juicier pieces that are fantastic for roasting or grilling. The whole legs (thigh and drumstick together) stay especially moist while cooking. This cut gives you:

  • 2 large breast halves (great for family-style meals)
  • 2 whole legs (thigh and drumstick in one piece)
  • 2 wings

Perfect when you want those impressive, restaurant-style portions!

The 8-Piece Cut: The Family Favorite

Source : facebook

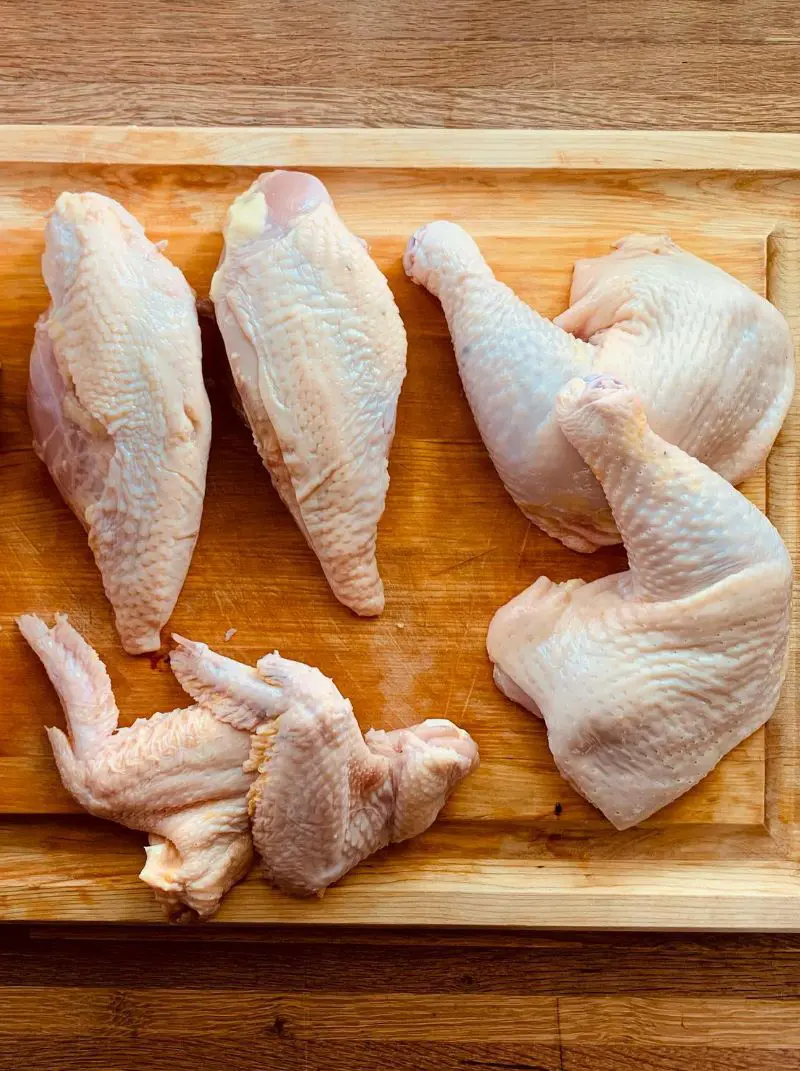
This is probably the most well-known technique to break down a chicken and for very good reason. You get a nice mix of white and dark meat, with pieces that are similar in size. Here's what you'll have:

  • 2 breast halves (still plenty big for hungry eaters)
  • 2 thighs (dark meat lovers, rejoice!)
  • 2 drumsticks (perfect for kids or BBQs)
  • 2 wings (great for snacking)

These pieces cook evenly and are ideal for most recipes, from frying to baking.

The 10-Piece Cut: Feeding a Crowd

This is your go-to cut when you're serving more people. By quartering the breasts, you get more manageable portions that cook quickly and evenly. You'll end up with:

  • 4 breast quarters (smaller, quicker-cooking pieces)
  • 2 thighs
  • 2 drumsticks
  • 2 wings

This cut is perfect for fried chicken or when you're serving a variety of people with different portion size preferences.

The Bonus Pieces

Don't forget about those essential extras: the backbone and breastbone. These are not simply scraps – they are flavor bombs! Stash them in your freezer, and when you've collected enough, make a batch of self-made stock.

The depth of flavor you'll get from these bones is unbeatable in soups, sauces, and risotto.

Remember, the best part about cutting your own chicken is adapting it to your needs. Having a cozy dinner for two? Maybe stick with the 6-piece cut. Meal prepping for the week? The 8-piece gives you perfect portions.

For a big family gathering, go for the full 10-piece spread. The choice is yours!