Leftover pizza doesn’t have to be a bummer. Although most of us have eaten cold wet wedged slices reeking from the fridge, there is a better way to eat the pizza slice the following day.
If you try the right heating-up procedures, you can revive your pizza and get that crisp crust and delicious toppings again. Here is a guide elucidating how to reheat the pizza to be as appetizing as it was when you first ordered it. No more rubbery cheese or the overly floppy crust!
How To Reheat Pizza
If you are like me, you perhaps like your pizza hot especially when the crust is crispy and the cheese is melting. Luckily, there are several possibilities as to how the slices should be reheated later on.
All these methods yield unique outcomes and the degree of work and time needed is also distinct. Here are some of the most effective reheating methods so you can decide which is the best for you.
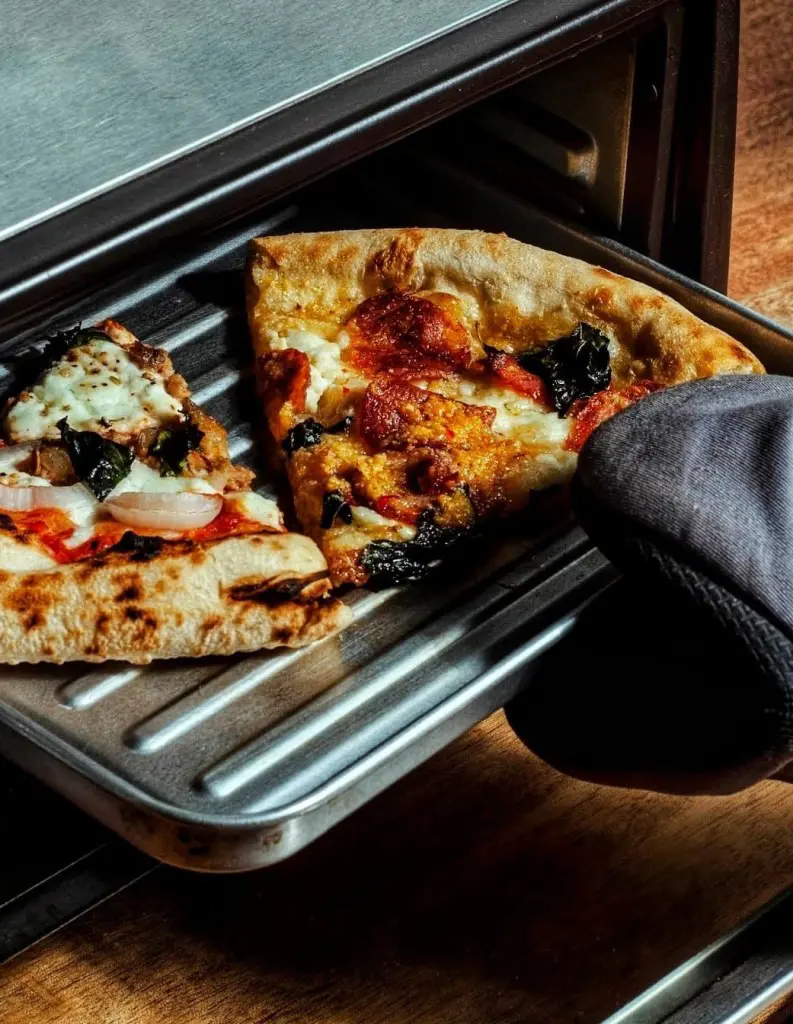
1. Reheating Pizza in Oven
This reheating technique is ideal for restoring that desirable crispness of your pizza. Here what you need to do:
Step 1: Preheat your oven
Put your oven at 475℉. It should be close enough to the fiery heat that gets pulled in from a pizzeria's wood-fired or brick ovens.
Step 2: Prepare your cooking surface
Put a cast-iron skillet or pizza stone in the lower or middle rack of the oven. This will get red-hot to cook your pizza crust crispy on the bottom.
Step 3: Let it fully preheat
Give your oven some time to reach the temperature you set. This gives ample time for your skillet or stone to heat through and be ready for the task at hand - to revive your leftover slices.
For more flavor and to prevent dryness, you can place a pan of water at the bottom of your oven. It builds a moist environment, safe from drying, that protects your pizza and adds to its perfect texture.
Step 5: Reheat Your Pizza
Carefully place your pizza slices on the hot skillet or stone. It will instantly crisp up the bottom of the pizza because of the preheated surface.
Let the square slices cook for 4-5 minutes, but if you are reheating thin-crust slices, they only require about 2 minutes. During this time, the oven's heat will remelt the cheese and reheat the toppings, bringing your slice back to life.
Step 7: Enjoy your revived pizza
Remove the utterly reheated pizza: crispy bottom, gooey melted cheese, piping-hot toppings that taste like a fresh slice from your favorite pizzeria, or even better.
Consistent results: Ovens provide reliable, even heating.
Large batches: You can reheat multiple slices or whole pizzas at once.
Crispy texture: Restores crispiness to both crust and toppings.
No added oil: Doesn't require extra fat for reheating.
Versatile: Works well for various pizza styles and thicknesses.
Cons:
Time-consuming: Takes longer than other methods, including preheating.
Energy use: Less efficient for small portions, uses more electricity.
Potential drying: Can dry out the pizza if not watched carefully.
Temperature guesswork: Might require experimentation to find ideal settings.
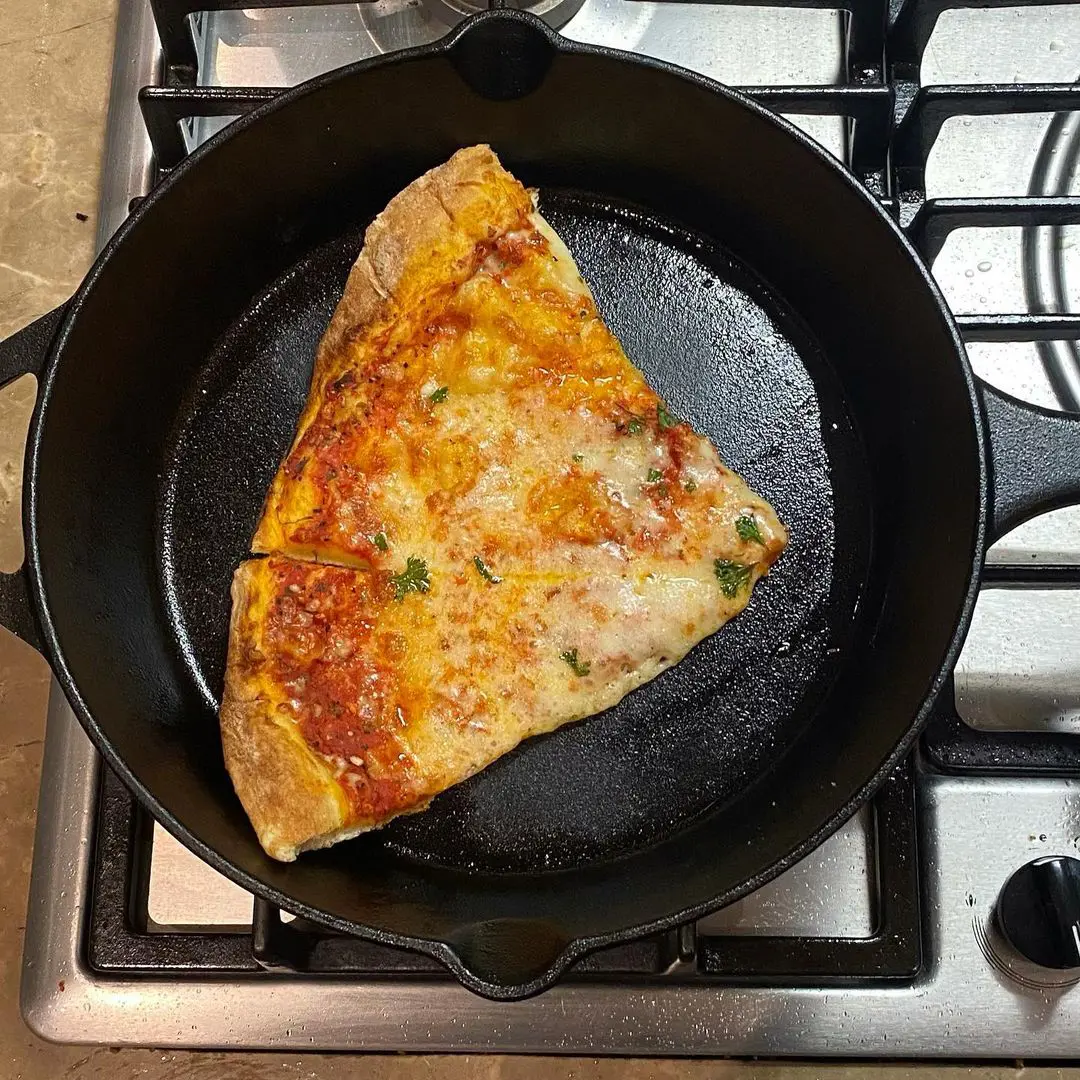
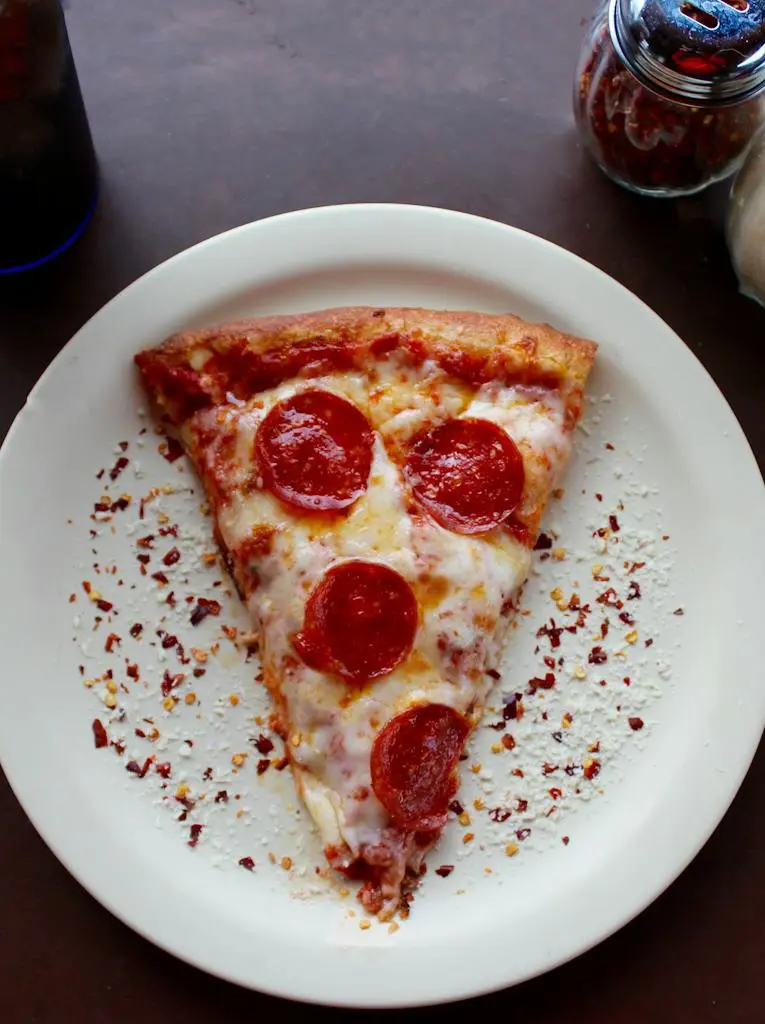
2. Reheating Pizza in a Pan
The stovetop technique is the best option for reheating pizza, this gives you a crispy crust with melted cheese; this will make the slice almost taste as good as if it were new.
Step 1: Prepare the pan
Heat a non-stick pan over medium heat. Take a pan that will be big enough to hold your pizza slice easily. Let the pan warm up for about a minute or two before use.
No need to put oil in it, as the residual oil of the pizza will be enough to crisp the crust.
Step 2: Cooking the Pizza
Place one cold pizza slice in the center of the skillet. Let it be cooking, without stirring, for about two minutes (the bottom of the crust starting to get crisp and gold).
You can lift an edge over the slice with a spatula to see if it's crisping to your liking.
When the crust has crisped up to your liking, it's time to sum up a little moisture. Sprinkle 2-3 drops of water into the pan, add the water only to the empty portion of the pan-not directly onto the pizza slice. Immediately top the pan with a tight-fitting lid.
Step 4: Steam and Melt
Allow the pizza to cook for a few more minutes. The resultant steam from the water would be in a position to melt the cheese and regulate hot toppings of the meal.
Step 5: Finishing touches and serving
Once the cheese has melted and toppings are hot, then remove the pan from the heat and remove the lid. Allow the pizza to cool for about a minute in the pan.
Crispy crust: The pan revives the pizza's crispy bottom.
Control: You can easily adjust heat and cooking time.
No extra appliance: Uses a common kitchen item you already own.
Even heating: Warms the pizza evenly from bottom to top.
Retains moisture: Keeps the pizza toppings from drying out.
Quick: Takes just a few minutes to reheat your slice.
Cons:
Attention required: You need to watch the pizza to avoid burning.
Single servings: Usually only fits one or two slices at a time.
Possible sticking: Pizza might stick if the pan isn't properly prepared.
Oil needed: May require a small amount of oil, adding calories.
Limited topping heating: The top might not get as hot as the bottom.
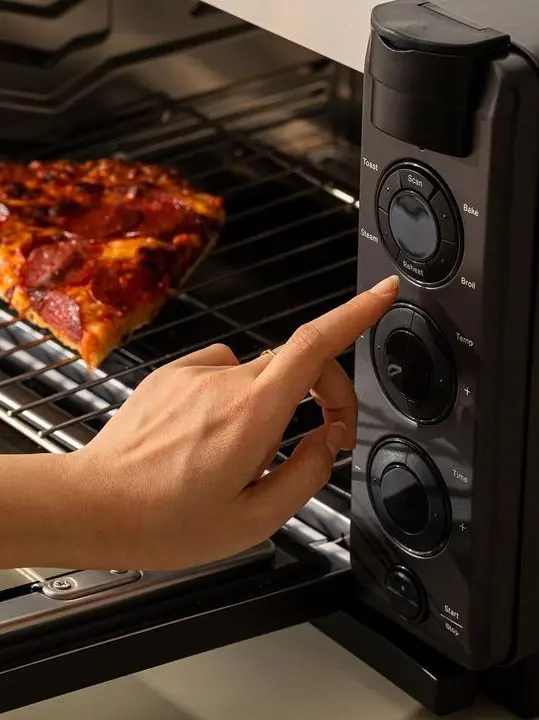
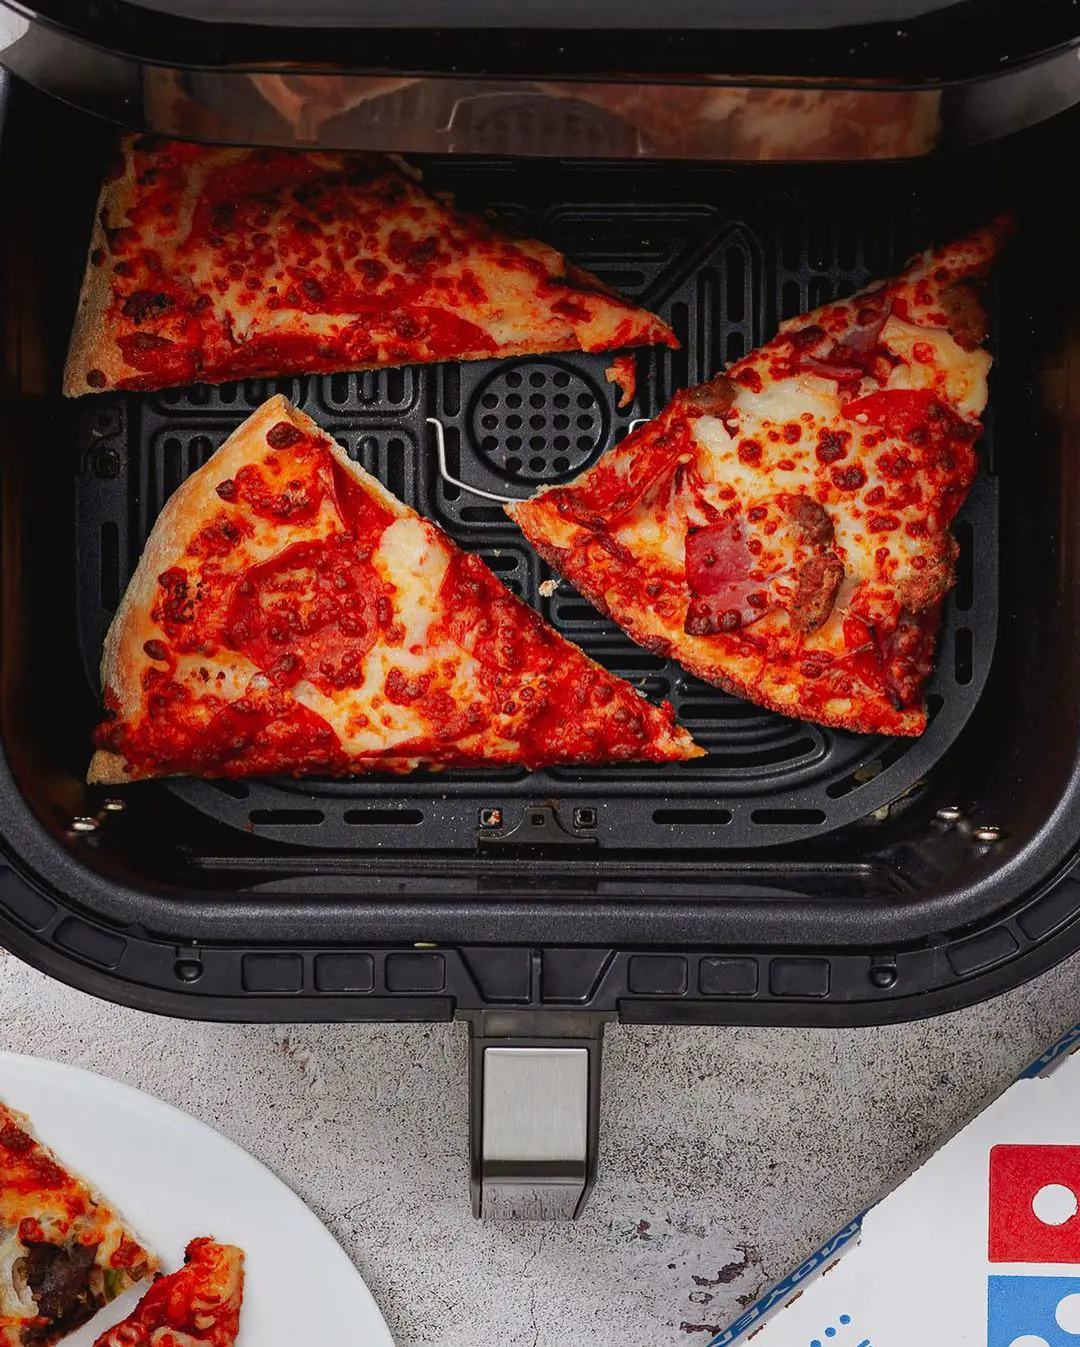
3. Reheating Pizza in Air Fryer
Air fryers offer a swift and efficient technique for reheating pizza, resulting in a friable crust without drying out the toppings.
Step 1: Set the temperature
Dial your air fryer to 350°F. This is that Goldilocks zone for pizza-hot enough not to burn the cheese, cool enough not to keep it lukewarm. It's just perfect to bring that slice back to life.
Step 2: Pop in your pizza
Put your cold, lonely pizza slice in the air fryer basket. Do not overload it; leave some space between each slice. If there is more than one slice you are heating up, it may be necessary to do them in batches so that they turn out the best.
Set the time for 2-4 minutes. The time will be slightly different based on the model of your air fryer and how thick your pizza is. Thin crust? Use the 2-minute side.
Thick slices, loaded up? You probably will need the whole 4 minutes. Don't be afraid to peek halfway through and adjust as needed.
Step 4: Enjoy Pizza Perfection
Open up your air fryer when the timer dings, and voila! The once-cold slice is steaming hot, crust marvelously crispy on the outside, yet still tender inside, while the cheese has returned to its stringy old glory.
The toppings are also heated through without drying out.
Even heating: Warms toppings and cheese uniformly.
Energy-saving: Uses less power than a traditional oven.
No preheating: Saves time by starting immediately.
Better texture: Avoids the sogginess often caused by microwaving.
Cons:
Small capacity: Typically fits only one or two slices at a time.
Drying risk: Can make pizza too dry if left too long.
Sticky cheese: Melted cheese might adhere to the air fryer basket.
Limited pizza types: Doesn't work well with very thick or loaded pizzas.
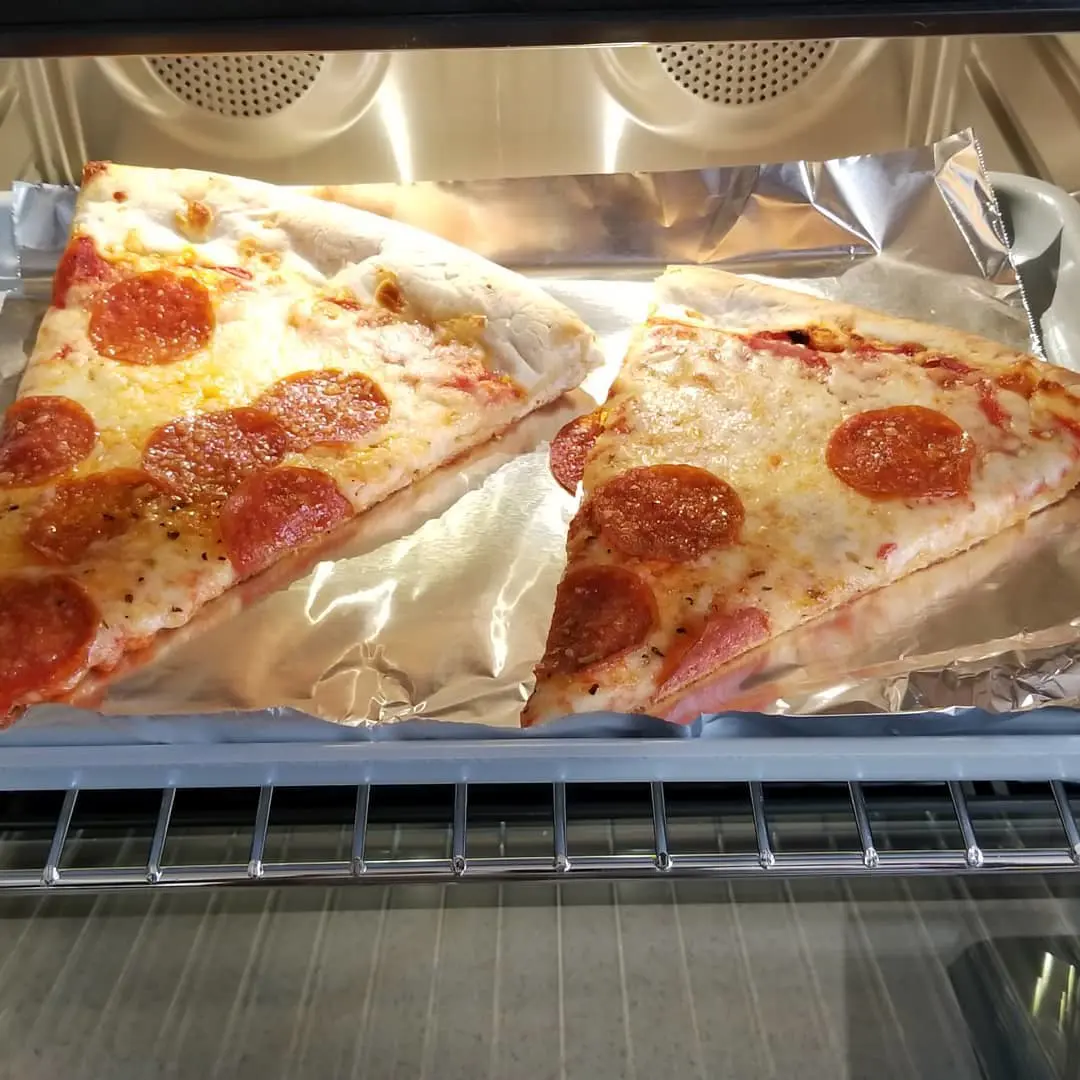
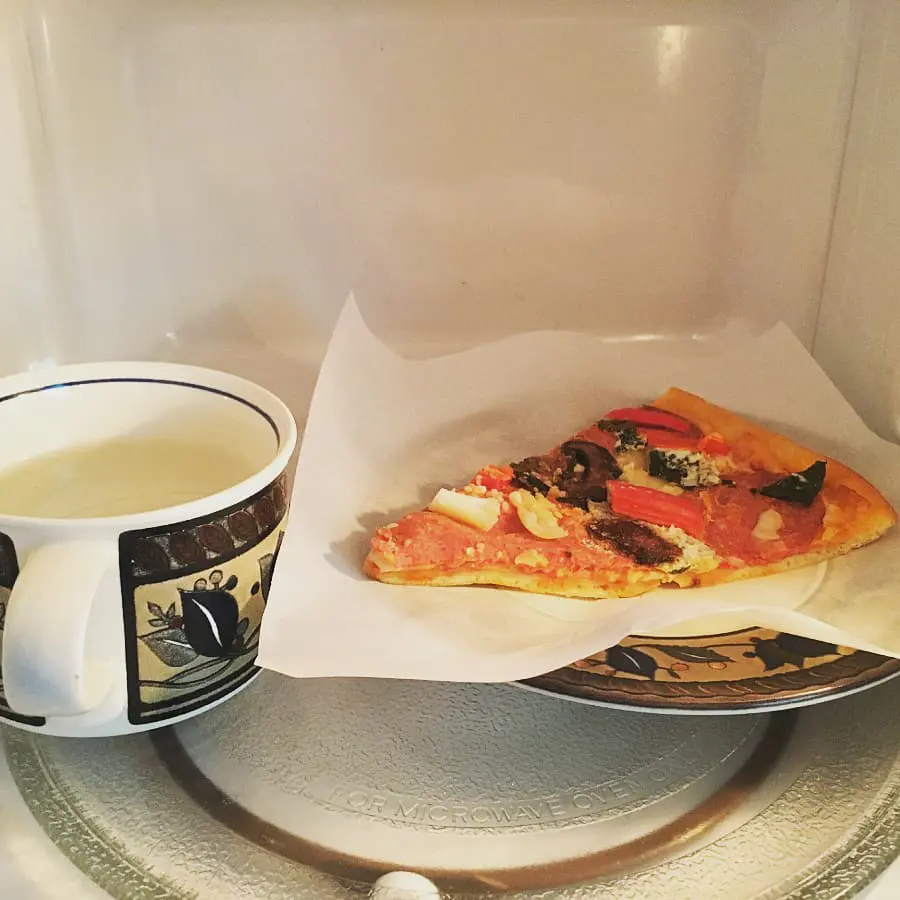
4. Reheat Pizza In the Microwave
While not the perfect technique, microwave reheating can be a quick solvent when other options aren't available. Here's how to make the best of it:
Step 1: Set the microwave
Grab a microwave-safe plate and plop your lonely pizza slice on it. Now, here's the secret weapon: fill a mug halfway with water. This isn't for drinking - it's your pizza's spa treatment!
The water will create a steamy environment, saving your slice from the dreaded microwave dryness.
Step 2: Place pizza in the microwave
Slide your pizza-loaded plate into the microwave. Now, nestle that mug of water right next to it. Think of them as spa buddies - close, but not touching. This duo is about to work some reheating magic!
Here's where patience pays off. Hit that 30-second button. I know you're hungry, but trust me, these short bursts are key. We're aiming for perfectly heated pizza, not a rubber-cheese disaster.
Step 4: Check if it's done
Every 30 seconds, take a peek at your slice. Is it steaming hot and irresistible yet? No? Give it another 30-second blast. Yes? Congrats, you've mastered microwave pizza revival!
Step 5: Cool and enjoy
I know it's tempting to dive right in but hold your horses! Let your newly rejuvenated slice cool for a minute or two. This little break lets the cheese settle into gooey perfection and saves your taste buds from an unwelcome burn.
Pros:
Speed demon: Microwaving is lightning fast. You'll go from cold slice to hot pizza in under two minutes. Perfect for when hunger strikes and patience is low!
Energy efficient: Uses less electricity than firing up a big oven. Your power bill will thank you.
No preheating required: Unlike ovens, your microwave is ready when you are. No waiting around twiddling your thumbs.
Easy cleanup: It's easy to clean a microwave. Just a plate to wash. No pans, no fuss.
Cons:
Soggy bottom blues: Microwaves and crispy crusts don't mix. Prepare for a potentially soggy pizza base.
Uneven heating: This could give you a pizza which some sectors are extremely hot while others are still cold.
Cheese catastrophe: Microwaves can transform your once tasty melted cheese into a regrettable chewy mess.
Topping troubles: Toppings might dry out or become rubbery.
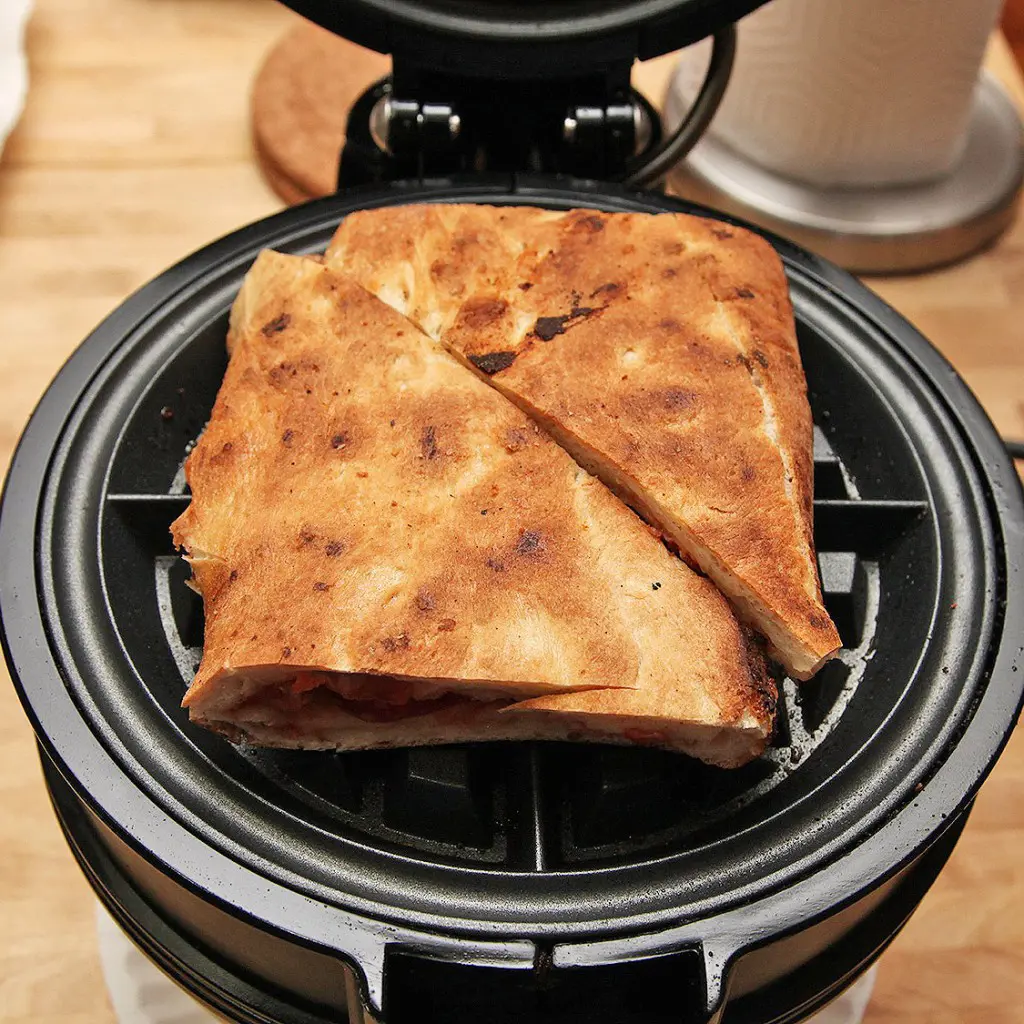
5. Reheating Pizza in Waffle Iron
This unusual method, popularized on social media platforms like TikTok, bids a peculiar twist on reheating pizza.
Step 1: Gear up
Dust off that waffle iron hiding in the back of your cupboard. Today, it's not making breakfast - it's on pizza duty! Also, grab two slices of your leftover pizza.
Step 2: Preheat and prep
Fire up your waffle iron. Once your iron's hot and ready, it's go time! Lay one slice on the bottom grid, cheese facing the sky.
And here is the insanity - mash your second slice and place it cut cheek down on top of the first. You've just invented the world's most delicious sandwich!
Close that waffle iron lid and listen to the sizzle. Don't go all Hulk on it - a gentle press will do. Now, let the magic happen for about 2-3 minutes. Your nose will tell you when it's ready.
Lift the lid and behold - you've got a pizza panini! The outside is crispy enough to wake the neighbors and the inside? It's a molten wonderland of cheese and toppings.
Pros:
Crispy texture: Creates a unique texture with a crispy exterior and gooey interior.
Fun activity: Can be a fun and novel way to repurpose leftover pizza.
Ready in no time: Relatively quick heating method.
Cons:
Shape alter: Significantly alters the original pizza experience.
Limited Capacity: Only works with two slices, limiting its practicality.
Difficulty in cleaning: Can be messy and potentially difficult to clean if cheese or toppings leak out.
Note:
While this method does effectively heat the pizza, it transforms it into a different dish altogether. It's more of a creative repurposing of leftovers rather than a true pizza reheating method.
For those seeking to maintain the original pizza experience, traditional reheating methods like oven or skillet might be more appropriate.
How Long Does Leftover Pizza Last
Leftovers from pizza night can extend the savoriness, but only if you store them correctly. If you refrigerate your pizza in good time, you will buy 3-4 days to enjoy those extra slices. Just seal it in an airtight container and keep your fridge at 40°F or below.
But let that pizza not sit out for too long! After two hours at room temperature, it falls within that 'danger zone' where bacteria just love to grow. If you've accidentally left it out for too long, it is better to say goodbye to those slices rather than hello to a stomach ache.
Want to save your pizza for longer? Freeze it! Your frozen pizza will be of best quality within 1-2 months. Longer than that and it is safe to eat but not very satisfying.
If your pizza has been in either the fridge or the freezer, your senses will be your guide before taking a bite. Watch out for: