After a busy day, all you want is an easy and quick meal that is also flavorful. For this, you can always rely on chicken breast, and baking them offers a tasty, healthy, and balanced treat.
The dish also shines at family gatherings and can be served alongside anything. So, why wait? Quickly transform those stored chicken breasts into a delicious dinner tonight!
Chicken Breast: It's wise to purchase fresh chicken breasts for the best taste, however frozen ones can also work. You simply need to completely thaw them before using. Opt for breasts that are about the same size.
Butter or Olive Oil: It’s your preference what you choose. Butter adds a wealthy, creamy taste, while olive oil has a better smoke point. You also can combine both for more flavor and moisture!
Salt and Pepper: These are fundamental seasoning ingredients. Salt is used in the brine and also to season the breasts. Pepper provides moderate heat and complexity to the dish. For an extra taste, use freshly ground black pepper.
Garlic Powder: Sometimes it’s a hassle to deal with fresh garlic—peeling and mincing it. However, you could easily use it in powder form. It’s clean to sprinkle and combines properly with different flavorings.
Paprika: For a deep, smoky flavor, pick smoked paprika. You also can use the sweet variety if you decide on a slight taste without including warmth. It also complements the shade of the meat.
Optional Herbs and Spices: Do not restrict yourself when it comes to including flavor to your dish, as there's a lot to discover. Feel free to attempt different additions: brown sugar, Italian seasoning, thyme, rosemary.
Tools Required
Baking sheet or roasting pan
Wire rack (optional)
Tongs
Meat thermometer
Aluminum foil or parchment paper (optional)
Brush or spoon
How To Bake Chicken Breast: Easy Steps
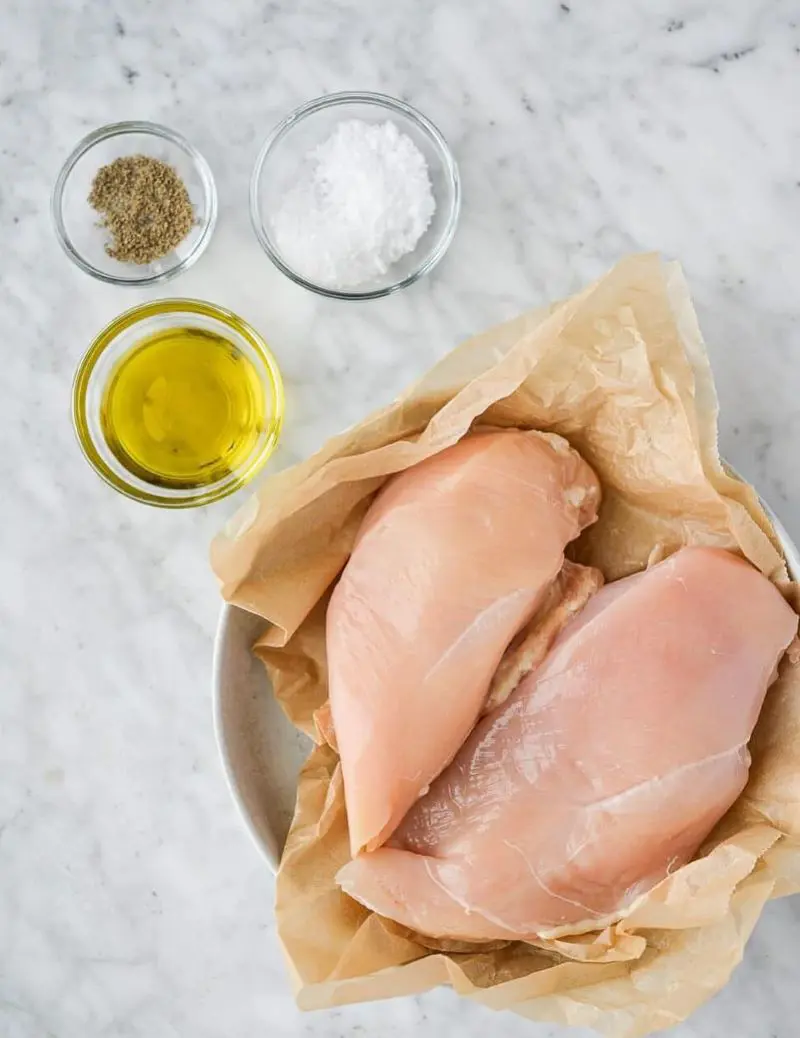
Ingredients:
4 boneless skinless chicken breasts
1 tablespoons olive oil (or melted butter or both)
½ teaspoon pepper
1 teaspoon kosher salt
½ teaspoon garlic powder
½ teaspoon smoked paprika
Instructions:
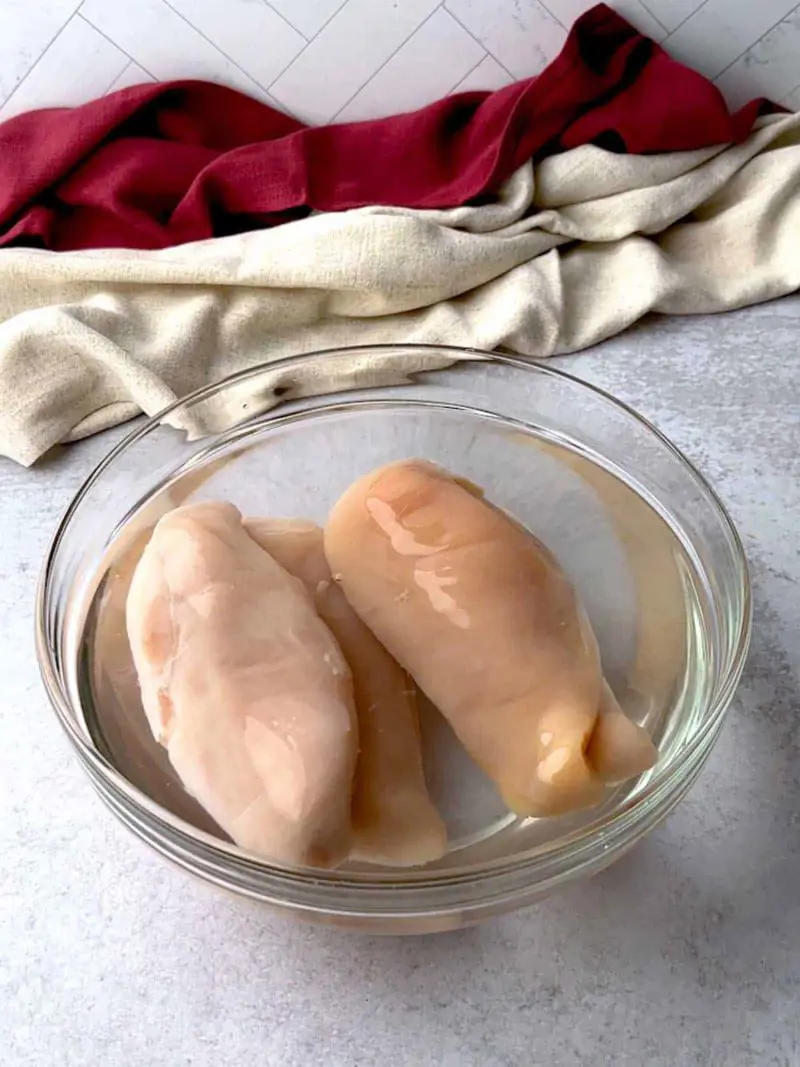
Step 1: Brine the Chicken
Fill a large bowl with lukewarm water and dissolve ¼ cup of kosher salt. Submerge the breast pieces in this solution for not less than 15 minutes.
You may also extend this time to 6 hours if refrigerated. This step not only enhances moisture retention but also brings the meat to an ideal temperature for even cooking.
Tip: before doing this step, check your packaging as some chicken comes pre-brined. If yours are, proceed directly to the next step.
Next step is to turn your oven to 450°F and let it to preheat. Next, take out the chicken from the brine and rinse with cold water. Cover with paper towels and pat dry!
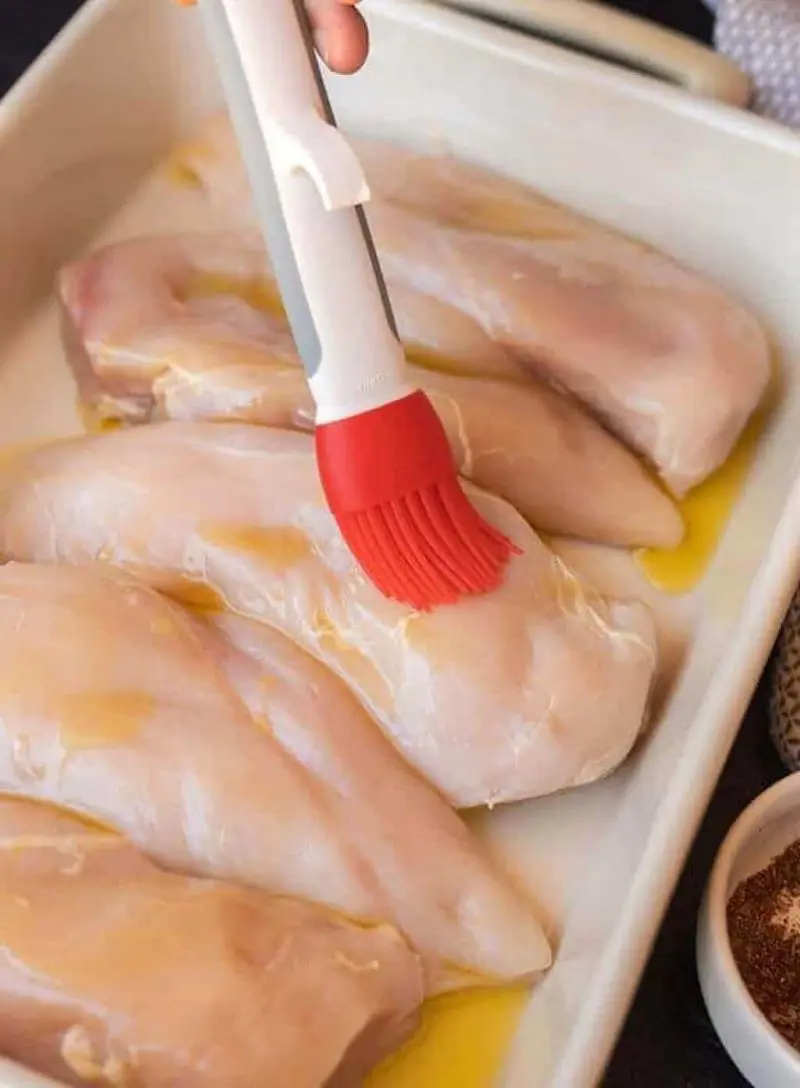
Step 3: Apply Butter
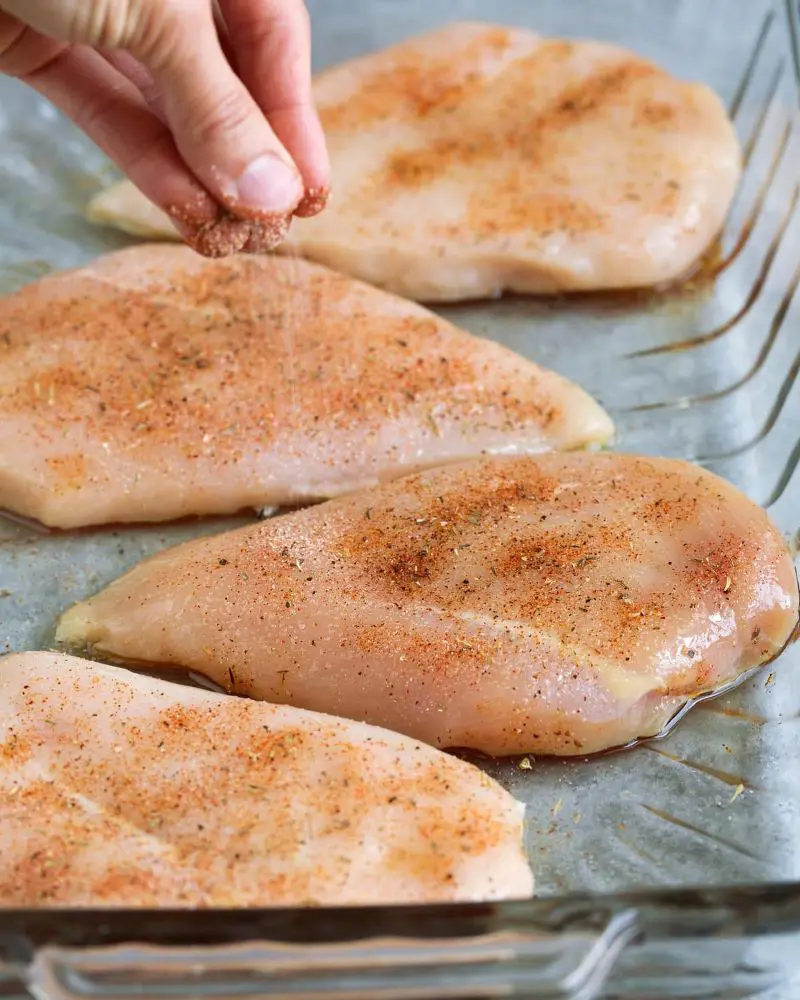
Take a large baking dish and lay your breast cuts in it in a single layer. After that brush the meat with melted butter or olive oil (or combine each) on all surfaces.
This coating serves triple duty: preventing sticking, enabling seasoning adhesion, and developing golden crust.
Take a separate bowl and whisk collectively all of the spices. While the minimalist approach of salt and pepper is excellent, adding other seasonings brings more taste.
Think of your preferred spices: garlic powder and paprika. You can also upload dried or fresh herbs: rosemary, thyme, and parsley, if you want.
After your blend is prepared, sprinkle it evenly over the breasts on each side. If you need to, use your hands so that the seasoning is evenly applied.
Slide that baking sheet into the oven and bake for around 15 to 18 minutes. The chicken should cook through with no pink remaining.
The baking time may vary depending on the thickness of the cut.
To take a look at the doneness, it’s always suggested to use a reliable meat thermometer. Insert it in the thickest part of the breast and it should measure 165°F.
If you are looking for an extra crispier and browned breasts this step is what you need. In the final 3-5 minutes of the cooking, turn the broiler on high.
Broil the chicken until it is fully cooked and you see golden on top. But you need to be careful here, or you may overcook and/or burn those breasts.
Step 7: Rest
At this point, the breast pieces should be ready for pulling out, put the pan out of the oven and place the pieces on a plate.
The very last, non-negotiable step is the relaxation duration. Resist the urge to slice straight away; as an alternative, tent your baked chicken breasts with aluminum foil and allow them to rest for 5-10 mins.
This patience is rewarded as the inner temperature equalizes and the juices redistribute, making sure each chunk is as succulent as intended.
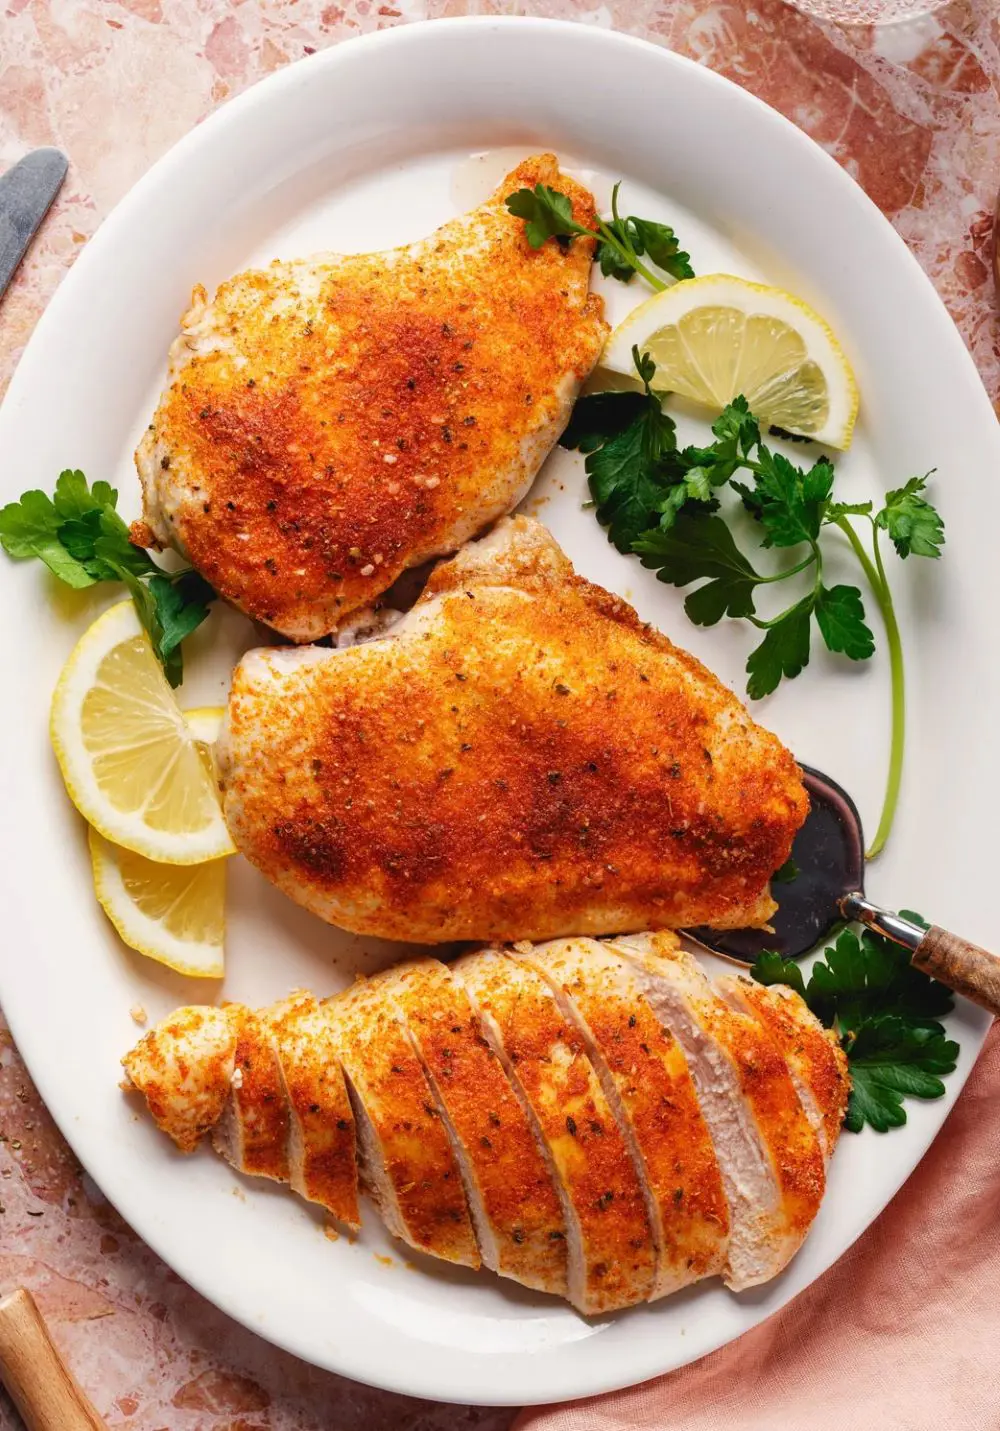
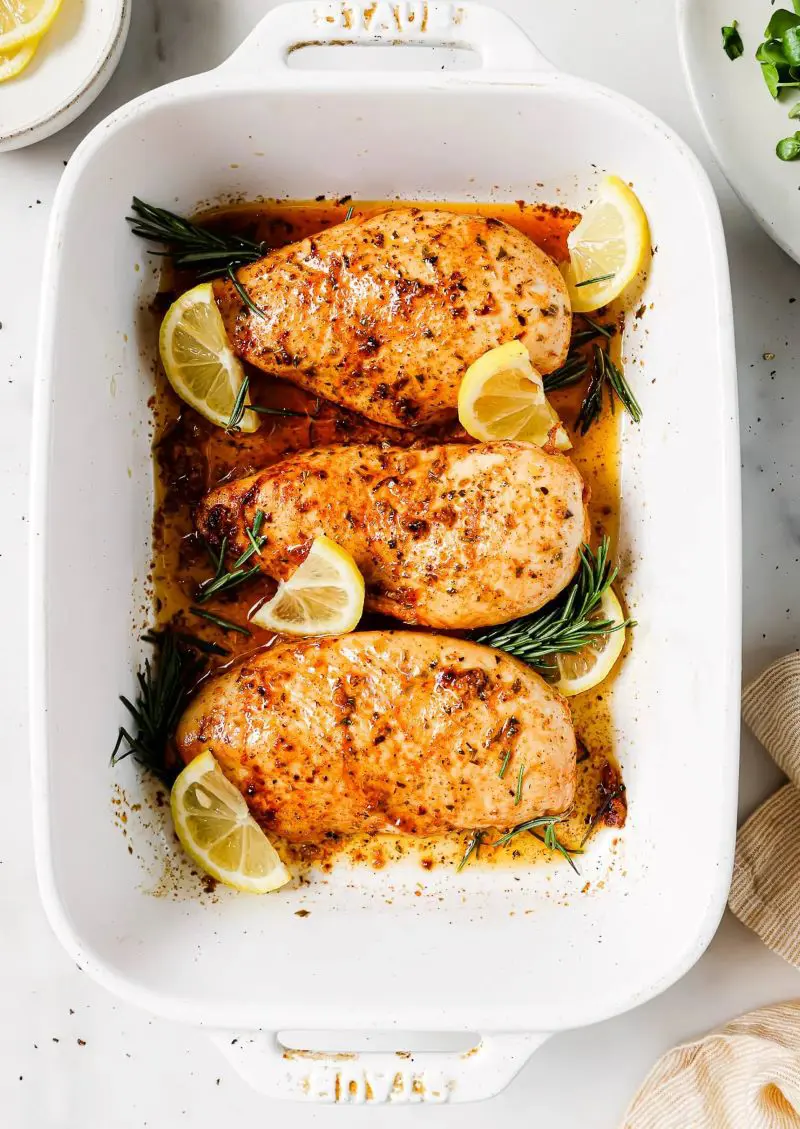
Step 8: Serve and Enjoy
Now your dish is ready to satisfy your cravings—and your hunger! Add some herbs if desired and serve warm with your favorite sides: roasted vegetables, salad, or any of your preferred options will work!
A usual type of medium chicken breast will take somewhere between 15-20 minutes to bake at 425-450°F. You want to cook it hard and fast at high to get that beautiful caramelization and juicy inside.
The timing highly depends on the size of the chicken breasts and the performance of the oven. So, you need to adjust the baking time accordingly.
Here’s a general guideline (for 425°F):
Small Breasts (5oz): 18 to 20 minutes.
Medium Breasts (7oz): 20 to 22 minutes.
Large Breasts (9oz): 22 to 25 minutes.
The goal is to reach an internal temperature of 165°F for safe consumption. So, a few minutes before the envisioned cooking time, it is smart to test the temp of the breasts.
This habit will save you from overcooking or burning your dish.
Similarly sized cuts: If you bake an 8 oz chicken breast with a 5 oz one, the smaller piece will likely turn rubbery by the time the larger one is done. So, choose the cuts wisely.
Bring to room temperature: When you prepare chicken straight from the fridge, it’s more likely to cook unevenly. The outside may overcook while the inside remains undercooked. It's important to let the chicken sit on the counter for about 15 minutes.
Pound them: Since chicken breasts are thicker on one end, you can gently pound the thicker part to create a more even thickness.
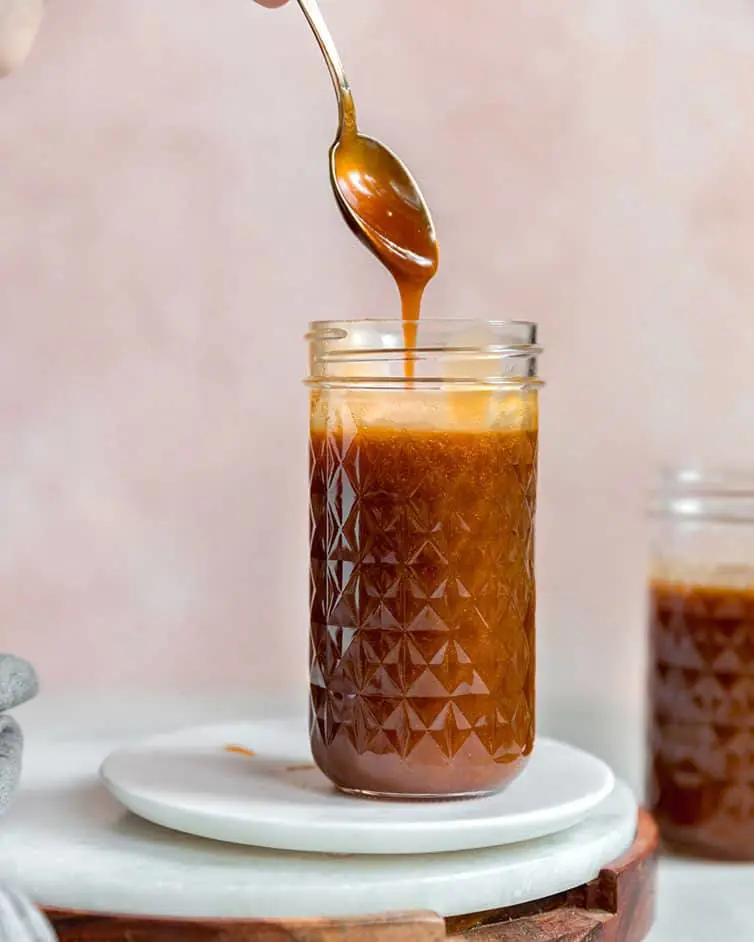
Use marinades: This only adds extra flavor. It’s simple: just combine the ingredients and coat the chicken for at least 30 minutes (or up to overnight) before cooking.
Brine: A great tip is to brine the chicken breast for optimal results. It is also ideal if you meal prep. This simple, though optional, step makes all the difference in taste. Just 15 minutes of soaking in salted lukewarm is all you want before you start baking.
Different spices: There are many more seasonings to explore. While simple is often better, sometimes we crave something extra. Try unique combinations of spices -honey and mustard or lemon and minced garlic.
Storing Baked Chicken
Baked chicken doesn't always get completely finished at the dinner table; we often have leftovers from time to time. But there's no need to worry -you can store them for later.
First, you need to let those pieces cool down. Then put them in an airtight container and refrigerate for 3 to 4 days. A perfect treat throughout the week!
If you looking to save them for longer period, freeze the chicken instead. It’s recommended to slice, dice, or shred it before freezing. This way, reheating process is easier.
To do this, transfer the leftovers to a freezer-safe plastic bag or container and wrap tightly. You want to take out as much air as you can to avoid something known as freezer burn.
Typically package the food and ensure it is labeled with the date when it was frozen in order to monitor its freezer time. Store those leftovers in the freezer for up to three months.
Have you noticed that the chicken can get a bit dry when reheated the following days.
You need to try this: add a teaspoon of water to the top of the piece, then cover with a microwave-secure lid before reheating using microwave.
It will steam barely, allowing the chicken to absorb a little moisture and rejuvenate it!
Frozen pieces must be thawed in the refrigerator the night before they are used for cooking. As a word of caution, do not get into a habit of removing chickens to room temperature to defrost – this encourages harmful pathogens to thrive.
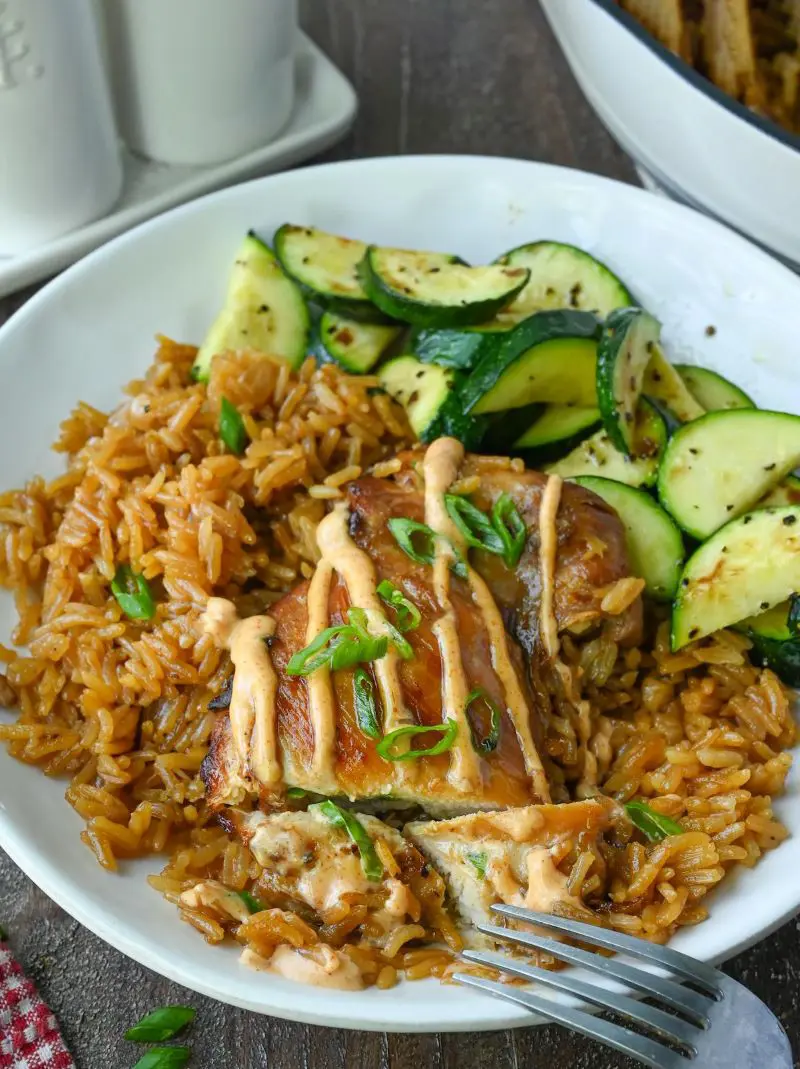
To create a complete meal, consider pairing your baked chicken breast with some delicious side dishes. Here are several suggestions:
1. Rice options:
Garlic Butter Rice with Kale: A one-pot dish combining carbs and vegetables.
Tomato Basil Rice: A flavorful alternative.
Mushroom Rice: Another tasty option.
2. Potato dishes:
Lemon Potato Salad: A zesty choice.
Classic Creamy Potato Salad: A traditional favorite.
No-Mayo Red Potato Salad with Charred Corn and Bacon: A lighter version with added flavors.
3. Fresh salads:
Spring Salad: A seasonal option.
Creamy Cucumber Salad with Lemon Yogurt Dressing: A refreshing accompaniment.
Then for those who would prefer even simpler meal, the chicken can be accompanied by steamed vegetables or a garden salad. Any of these can be complemented with a choice of dressing.
You could make your own balsamic vinaigrette or you can use Italian or French sauce.