Cleaning Cherries
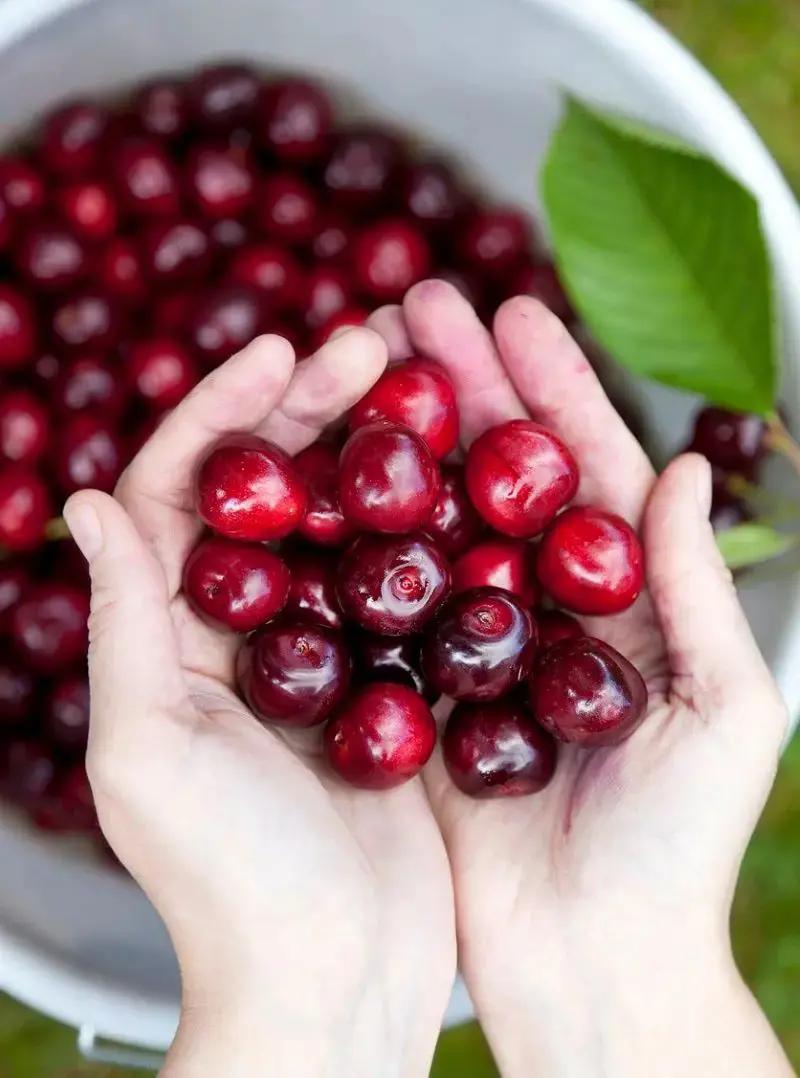
Cleaning cherries involves preparing them for consumption by removing any dirt, residue, or pesticides that may be on the fruit. This process is essential to ensure that cherries are safe to eat and enjoyable to taste, while also helping to maintain their freshness and prolong their shelf life.
If you're curious about how to wash cherries, it's actually easier than you might imagine! Let's explore various methods to effectively clean cherries and keep them fresh for longer.
1. Basic Water Rinse
Cleaning cherries with a simple water rinse method is essential for ensuring they are safe to eat and maintain their freshness. Here’s how to effectively clean cherries using the water rinse method:
Tools Needed
- Colander or Strainer: To rinse and drain the cherries.
- Bowl or Sink: To hold the cherries and water.
- Paper Towels or Clean Kitchen Towels: For drying the cherries after rinsing.
Prepare the cherries
Before rinsing, inspect the cherries. Sort through them to remove any visibly damaged or spoiled ones.
Keep the stems intact
It's recommended to keep the stems on cherries during washing and storage. The stems help maintain freshness and prevent excess moisture from entering the fruit. Throughout the washing process, it's important to handle cherries delicately to preserve as many stems as possible.
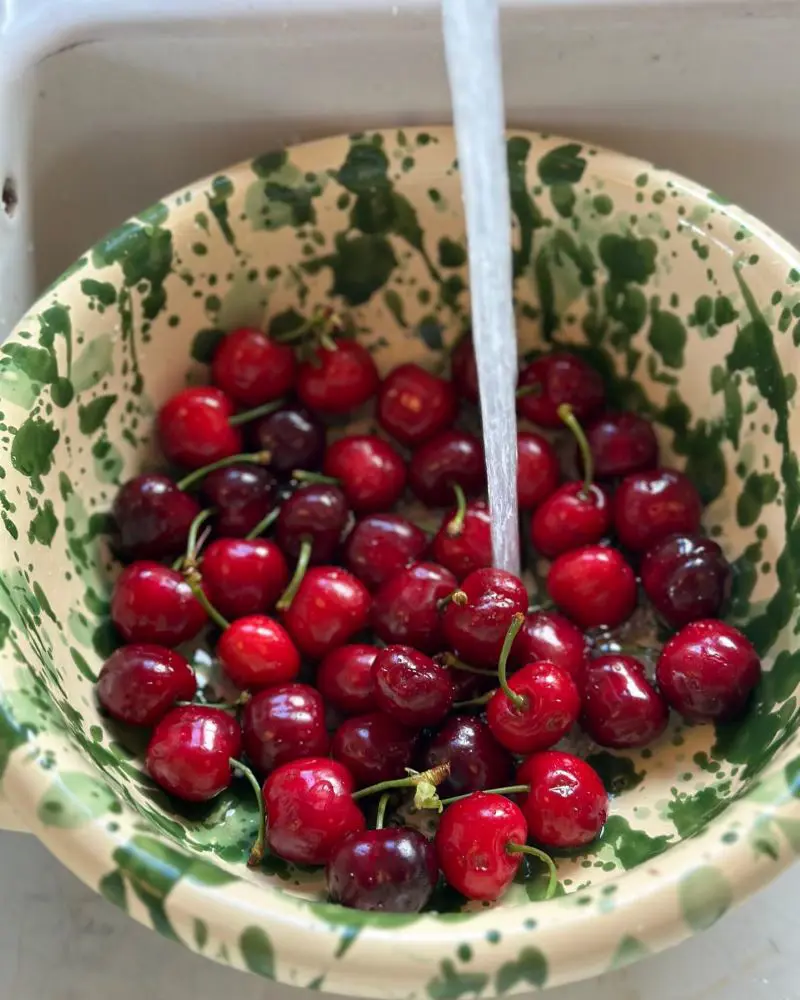
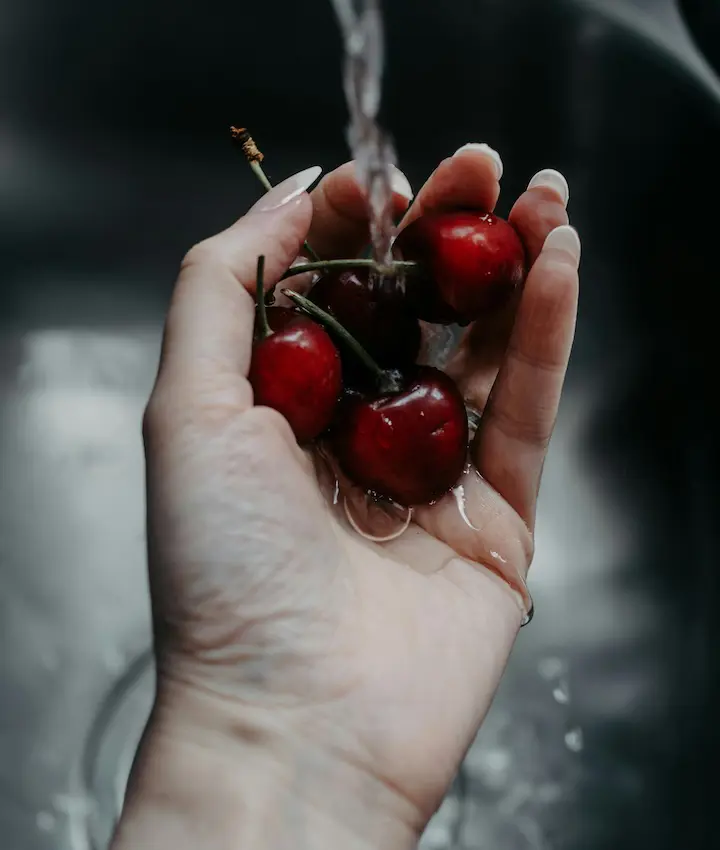
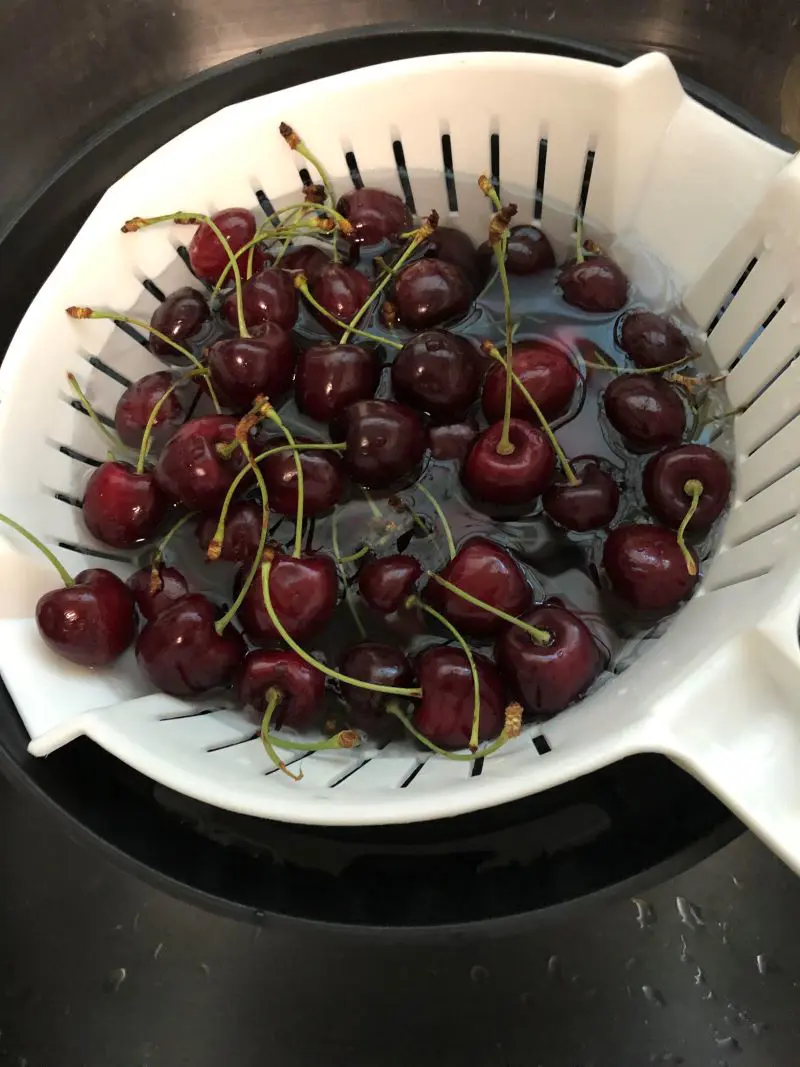
Rinse under cool water
Place the cherries in a colander or sieve and rinse them thoroughly under cool running water. Use your fingers to gently rub each cherry to ensure all surfaces are cleaned.
Inspect for residue
After rinsing, visually inspect the cherries. Look for any remaining dirt, debris, or pesticide residues. If necessary, you can gently scrub stubborn spots with a soft brush or cloth.
Dry carefully
Once cleaned, gently pat the cherries dry with a clean kitchen towel or paper towel. Avoid rubbing them vigorously, as cherries are delicate fruits and can bruise easily.
Serve
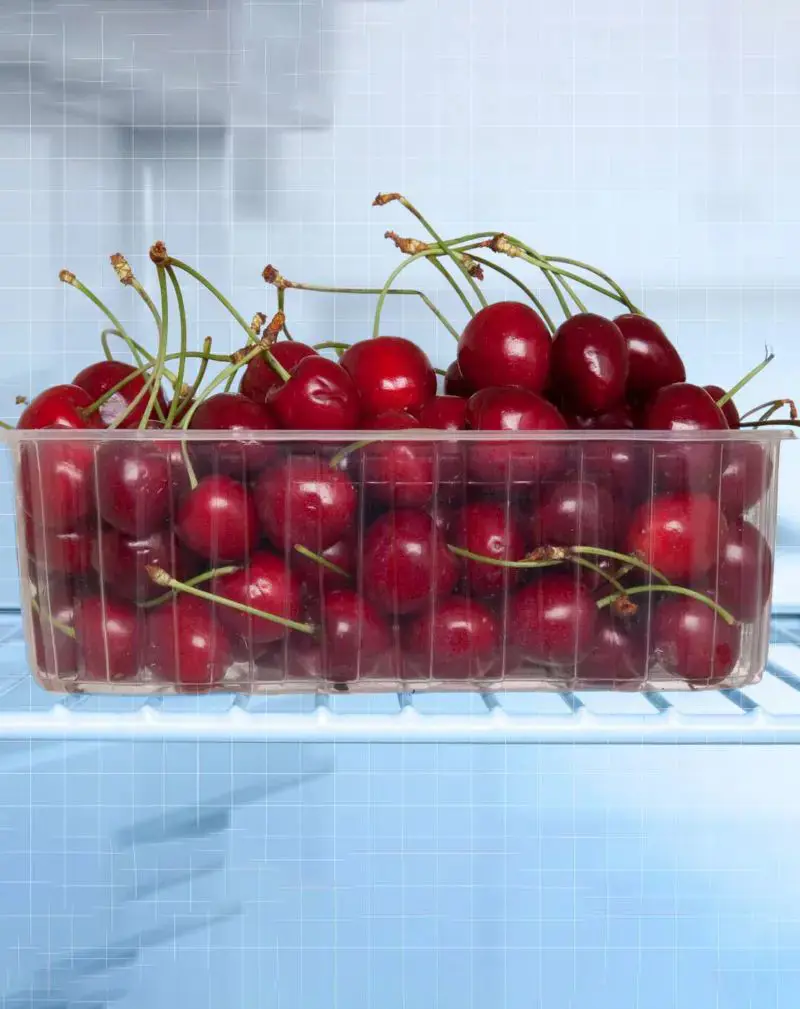
You can serve them whole as a refreshing snack or incorporate them into various dishes. Simply keep them chilled until ready to serve to enhance their crispness and flavor. If you have leftover cherries, store them in a breathable container or a perforated plastic bag in the refrigerator.
2. Vinegar Solution
For a quick and effective way to cleanse fresh cherries from your local grocery store or farmers' market, use a vinegar solution. This method involves using diluted vinegar to remove residues and enhance freshness.
Tools needed
- Large Bowl or Container
- Colander or Strainer
- Water
- White Vinegar
- Measuring Cup or Spoon
- Paper Towels or Clean Kitchen Towel
Prepare the solution
Mix a solution of vinegar and water. A good ratio is typically 1 part white vinegar to 3 parts water. Use enough solution to completely submerge the cherries.
Submerge the cherries
Place the cherries in a bowl or container large enough to hold them comfortably. Pour the vinegar solution over the cherries until they are fully submerged.
Soak
Allow the cherries to soak in the vinegar solution for about 5-10 minutes. This soaking period helps loosen any dirt or pesticide residues clinging to the fruit.
Swish gently
Gently swish the cherries around in the vinegar solution. This action helps ensure that all surfaces of the cherries come into contact with the cleaning solution.
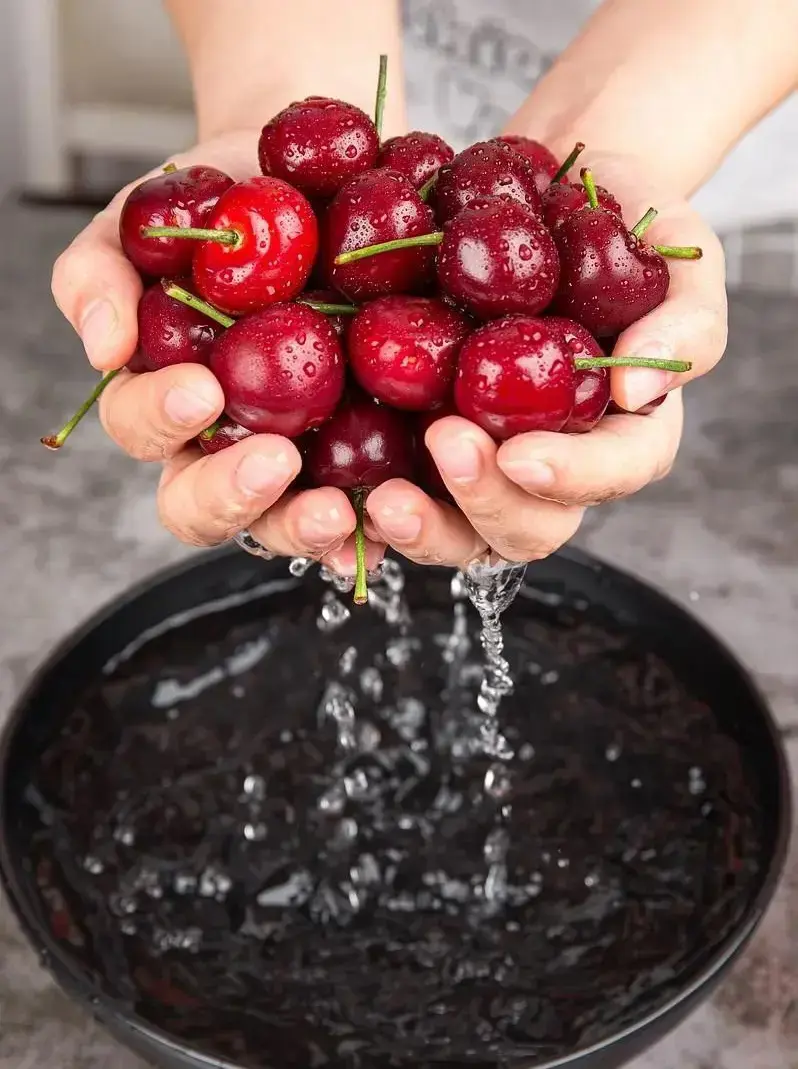
Rinse thoroughly
After soaking, remove the cherries from the vinegar solution and rinse them thoroughly under cool running water. Use your fingers to gently rub the cherries to remove any remaining vinegar taste or residues.
Dry carefully
Pat the cherries dry with a clean kitchen towel or paper towel. Avoid rubbing them vigorously to prevent bruising.
Store or serve
Once cleaned and dried, you can either serve the cherries immediately or store them in a breathable container in the refrigerator. Proper storage helps maintain their freshness and quality.
3. Baking Soda Solution
Here's a simple way to create your own fruit and vegetable wash using baking soda mixed with cool water, which effectively removes pesticides. Here’s how to make it:
Tools needed
- Large Bowl or Container
- Colander or Strainer
- Water
- Baking Soda
- Measuring Cup or Spoon
- Paper Towels or Clean Kitchen Towel
Prepare the solution
Mix a solution of baking soda and water. A good ratio is about 1 tablespoon of baking soda to 4 cups of water. Stir well until the baking soda is completely dissolved.
Submerge the cherries
Place the cherries in the baking soda solution, ensuring they are fully submerged. This solution helps to loosen any dirt or residues on the cherries' surface.
Soak
Allow the cherries to soak in the baking soda solution for approximately 10-15 minutes. This soaking period aids in effectively removing dirt and contaminants.
Gently scrub (optional)
If needed, you can gently scrub the cherries with a soft brush or cloth while they are soaking. This can help remove stubborn residues or dirt.
Rinse thoroughly
Remove the cherries from the baking soda solution and rinse them thoroughly under cool running water. Use your fingers to ensure all surfaces are cleaned.
Dry carefully
Gently pat the cherries dry using a clean kitchen towel or paper towel, handling them delicately to avoid bruising.
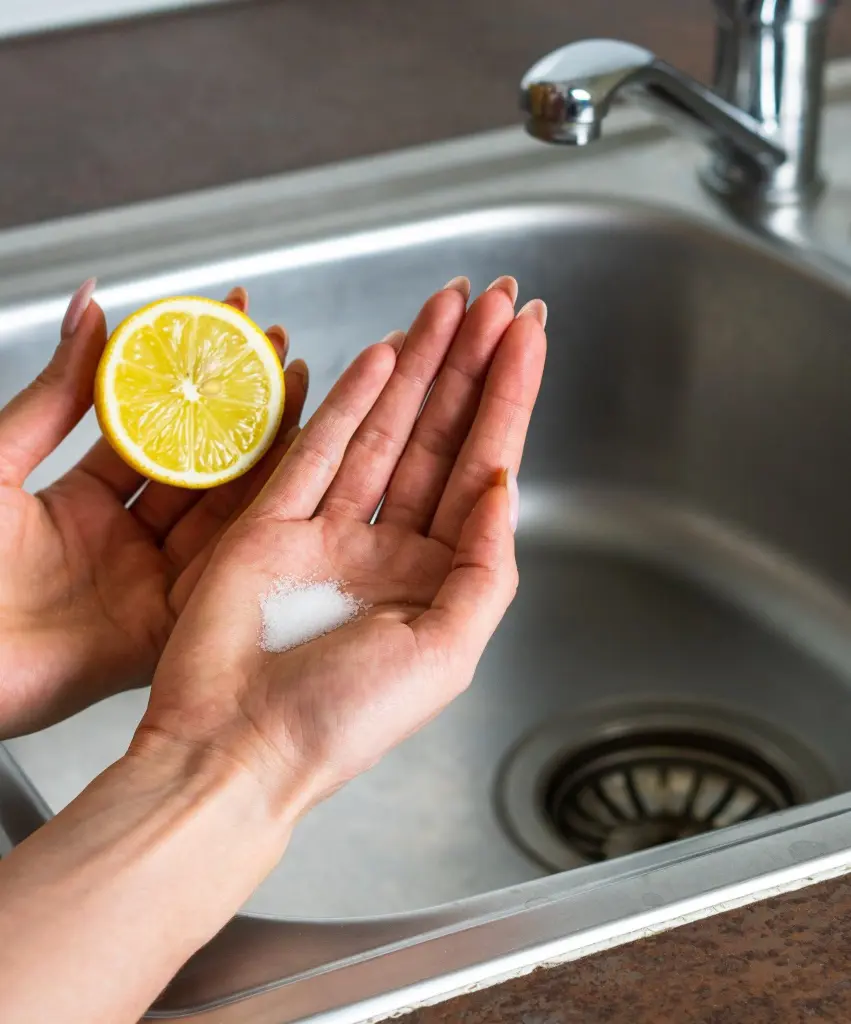
4. Saltwater Solution
Using a saltwater solution to clean cherries is a simple and effective method to remove dirt, bacteria, and pesticide residues. Here’s how to do it:
Tools needed
- Large Bowl or Container
- Colander or Strainer
- Water
- Salt
- Measuring Cup or Spoon
- Paper Towels or Clean Kitchen Towel
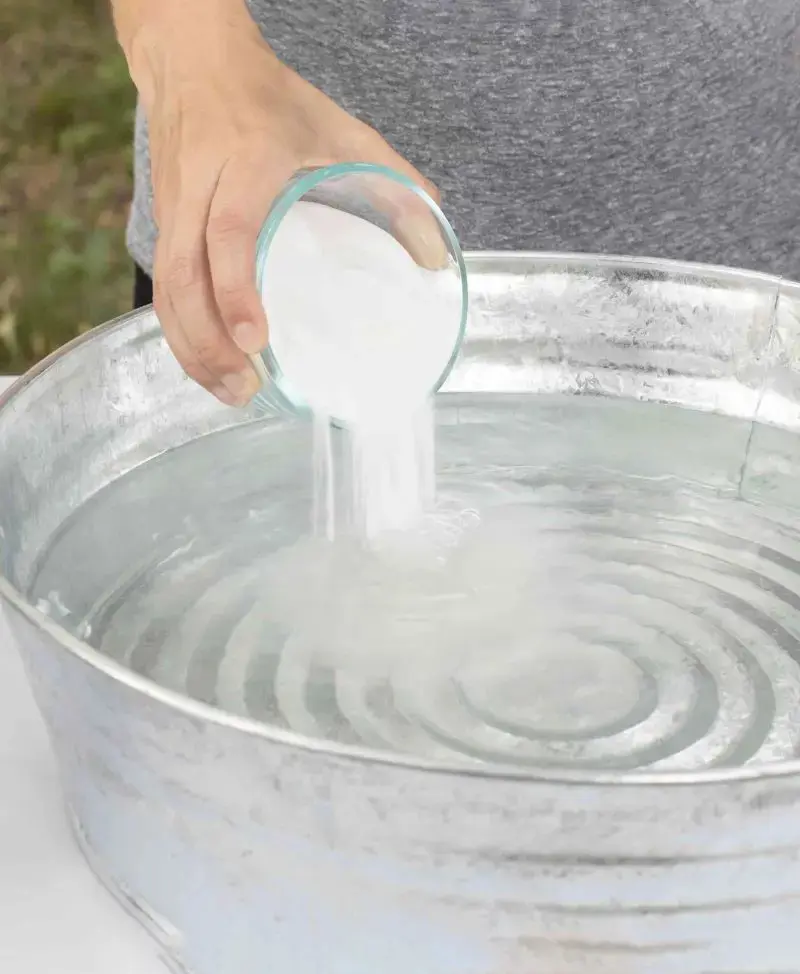
Prepare the solution
In a large bowl, combine 1 part salt with 9 parts water. This ratio provides enough salt to effectively clean the cherries without leaving a salty taste.
Submerge the cherries
Place the cherries in the saltwater solution, ensuring they are fully submerged.
Soak the cherries
Allow the cherries to soak in the saltwater solution for 20-30 minutes. This time allows the salt to kill bacteria and loosen dirt and residues from the cherries' surface.
Agitate gently (optional)
If desired, gently swirl or agitate the cherries with your hands or a spoon to help dislodge any stubborn dirt or debris.
Rinse thoroughly
After soaking, transfer the cherries to a colander or sieve and rinse them thoroughly under cold running water. This step removes the salt and any loosened residues.
Dry the cherries
Spread the cherries on a clean kitchen towel or paper towel to air dry or gently pat them dry with a towel. Ensure they are completely dry before storing or consuming.
Store or use
Once dry, store the cherries in an airtight container in the refrigerator to maintain freshness. Alternatively, use them immediately in your favorite recipes or enjoy them as a healthy snack.