Recipe

How To Make Oat Milk At Home

Source : instagram

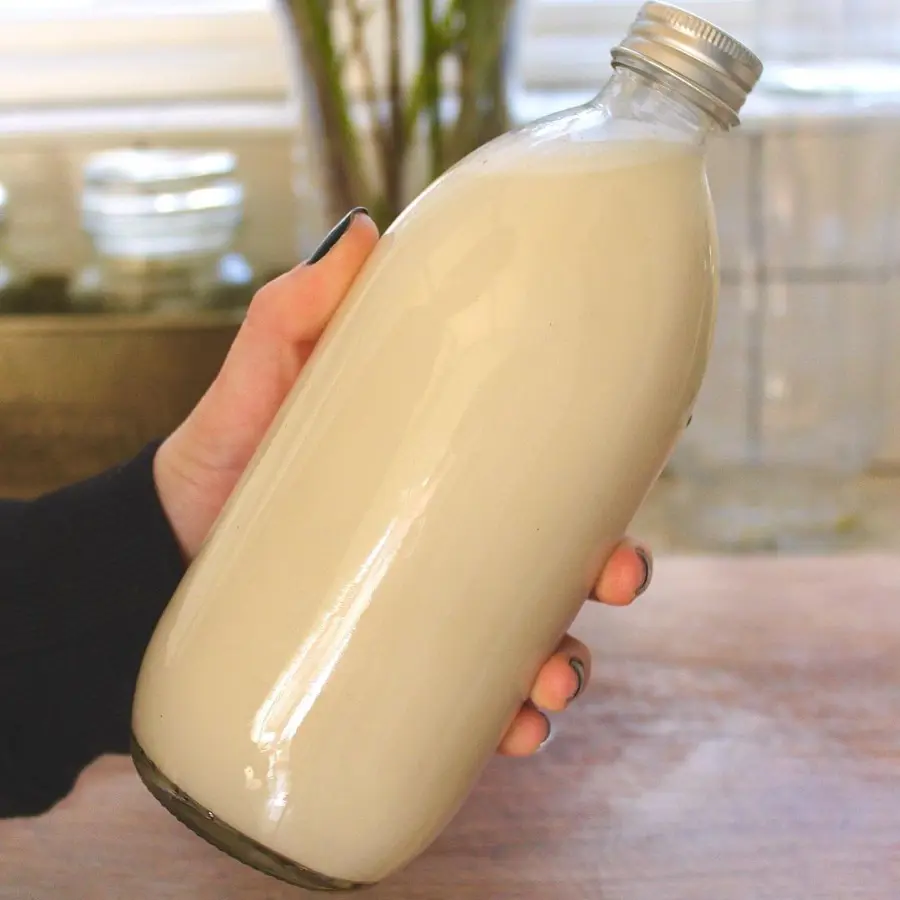
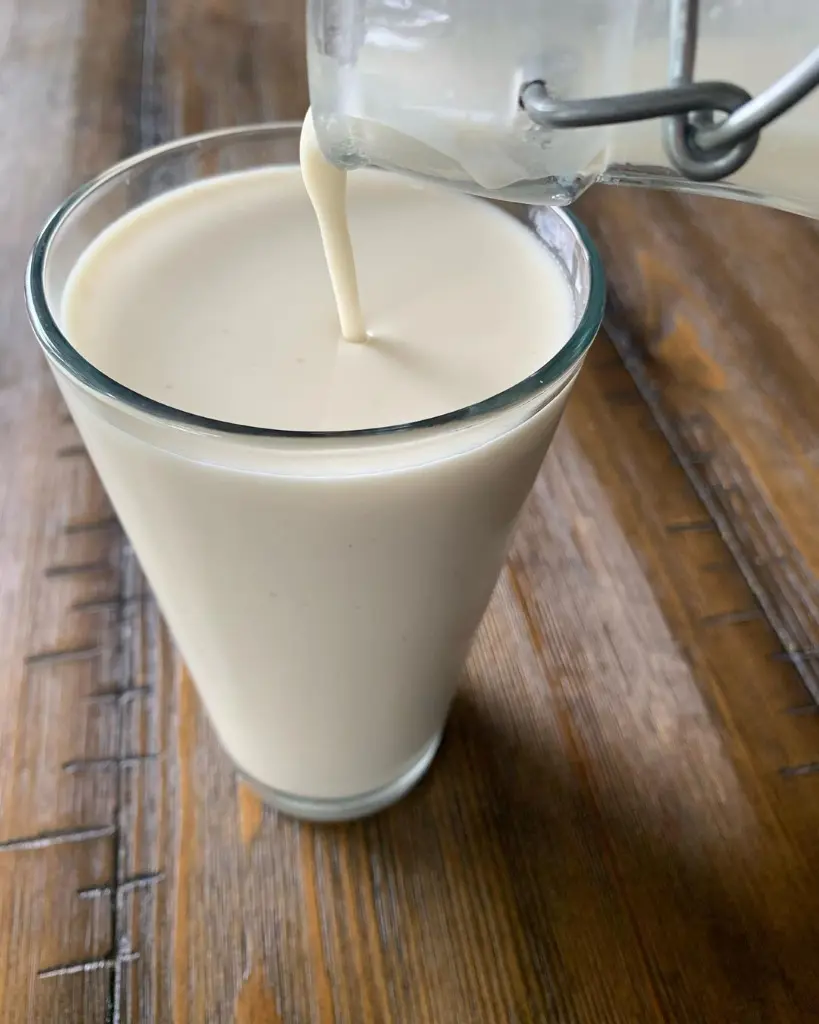
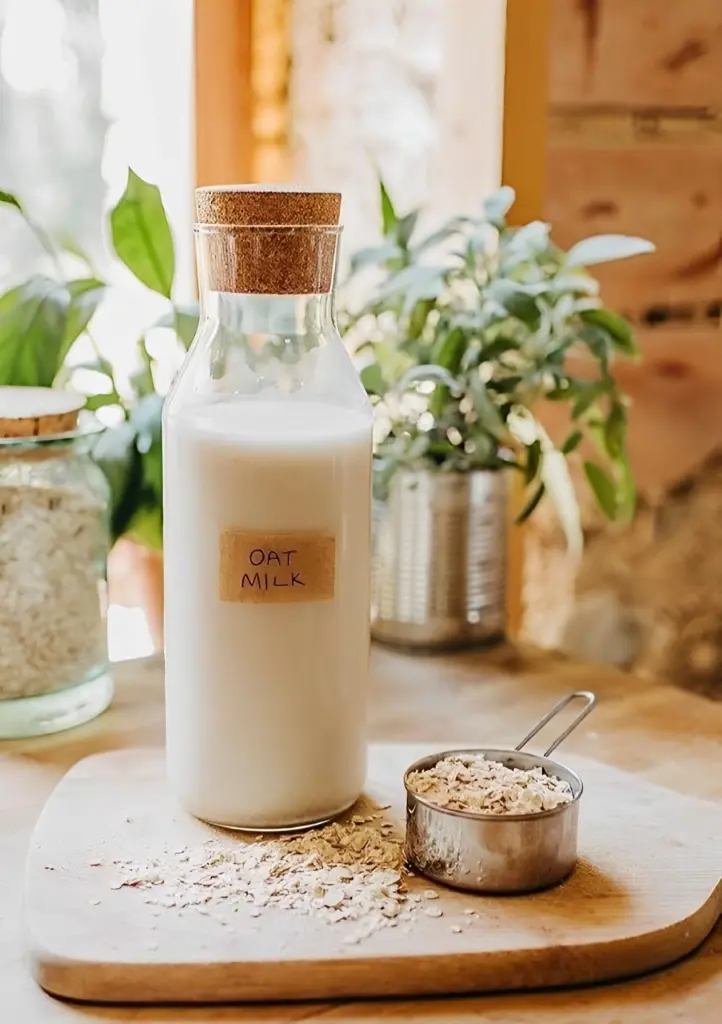
Turning whole rolled oats into smooth, dairy-free milk is simpler than you might think! All it takes is 5 minutes, a handful of oats, filtered water, a fine mesh strainer, and a reliable blender. That's it - no tricky steps or special equipment required. 

Toss this easy recipe into your kitchen routine and you’ll whip up your own homemade oat milk to enjoy in your coffee, baking, or on it’s own. Let us learn how to make oat milk at home!

Ingredients In Oat Milk

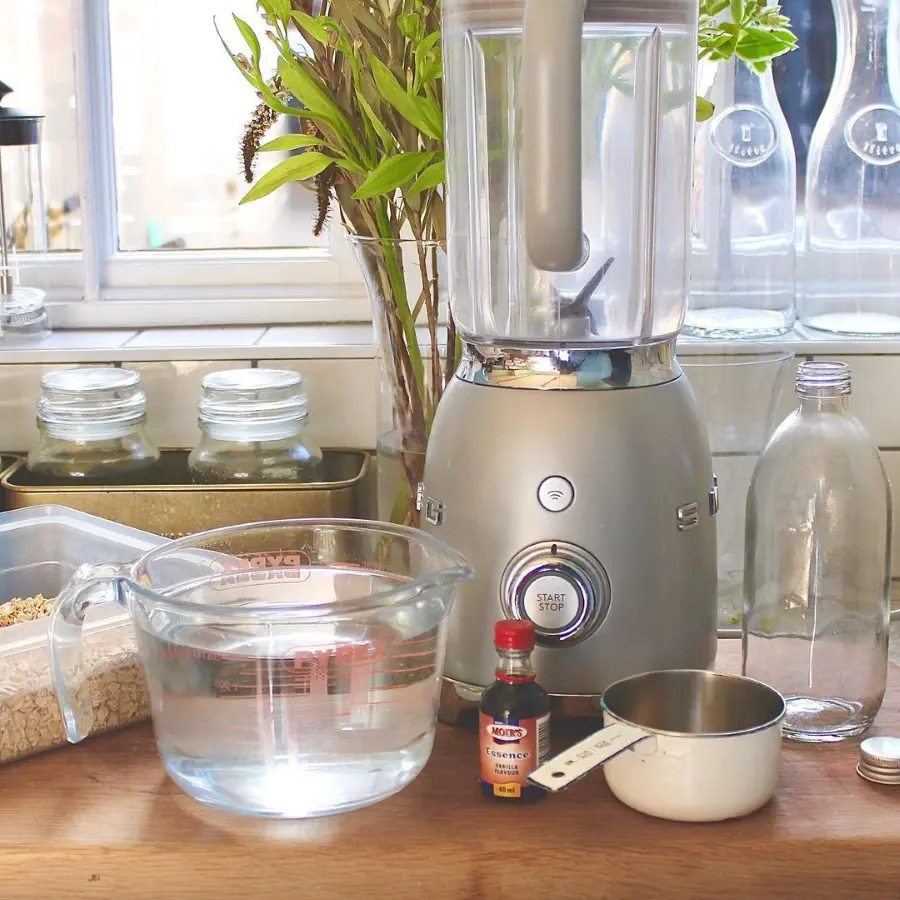
Making your own oat milk at home is really easy and only requires a handful of basic ingredients that you probably already have in your kitchen.

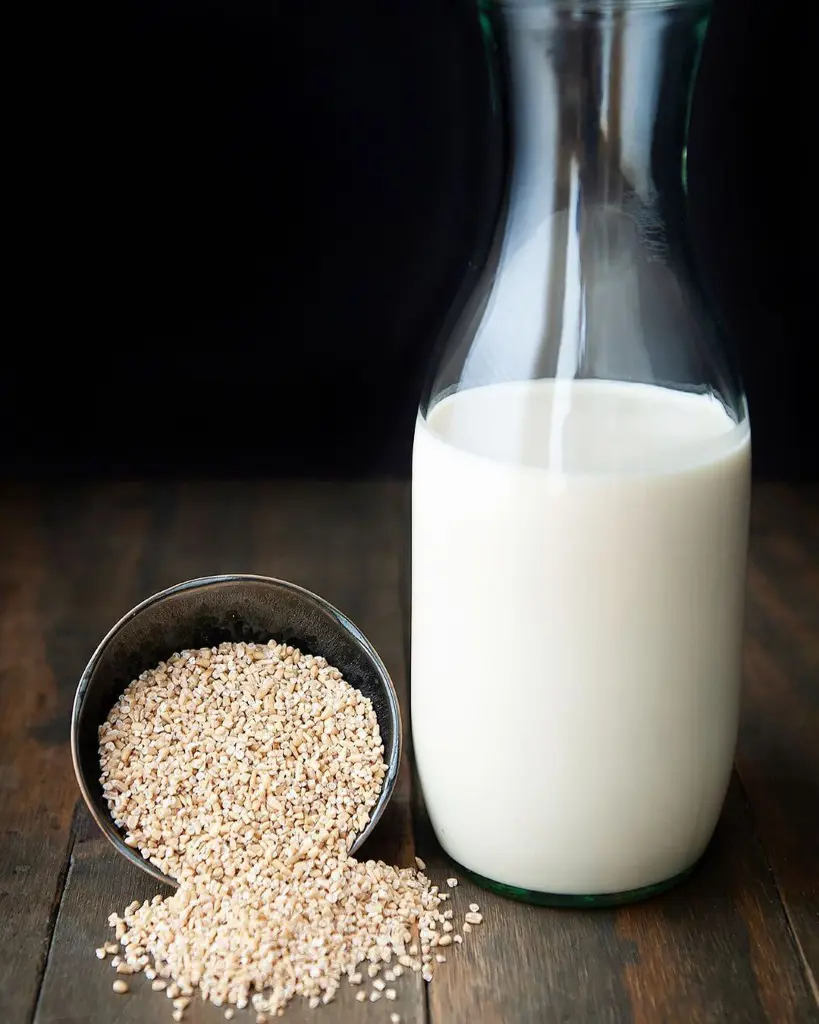
  • Oats: The major thing you need is oats. Specifically, you'll want to use regular old-fashioned rolled oats, not the quick-cooking kind. The rolled oats have a heartier texture that blends up into a nice creamy milk. The quick oats are much more finely ground, so they tend to just turn into a thick, sludgy liquid when you blend them with water.
  • Water: Along with the oats, you'll need some regular drinking water. It's important to use cold water when making the oat milk. Warm or hot water can actually make the natural starches in the oats become too hydrated, which results in the final milk being way too thick and gloppy.
  • Salt: You will also need a pinch of table salt. You might think that adding salt to sweet milk is very weird, but it really balances all tastes. The salt enhances the oats' natural sweetness and creaminess.
  • Vanilla: Most homemade oat milk recipes also call for a splash of vanilla extract. Adding vanilla not only gives depth but an even complex flavor profile to the milk that really does work wonders. It takes the oat milk from being just good to being truly great.
  • Sweetener: Finally, you can add a small quantity of sweetener if you want to. Things like brown sugar, maple syrup, honey, or even regular white sugar work well. The sweetener is totally optional though - the oat milk tastes great on its own without any added sweetness.
Source : instagram

How To Make Oat Milk

Homemade oat milk provides a fresh, economical substitute to store-bought versions. This simple process requires minimal ingredients and offers customizable results.

Essential Ingredients

  • 1 cup rolled oats (regular or sprouted)
  • 4-6 cups cold filtered water
  • 1 teaspoon vanilla extract (optional)
  • 1 date or a pinch of cinnamon (optional)

Step-by-Step Instructions

Step 1: Initial Soak

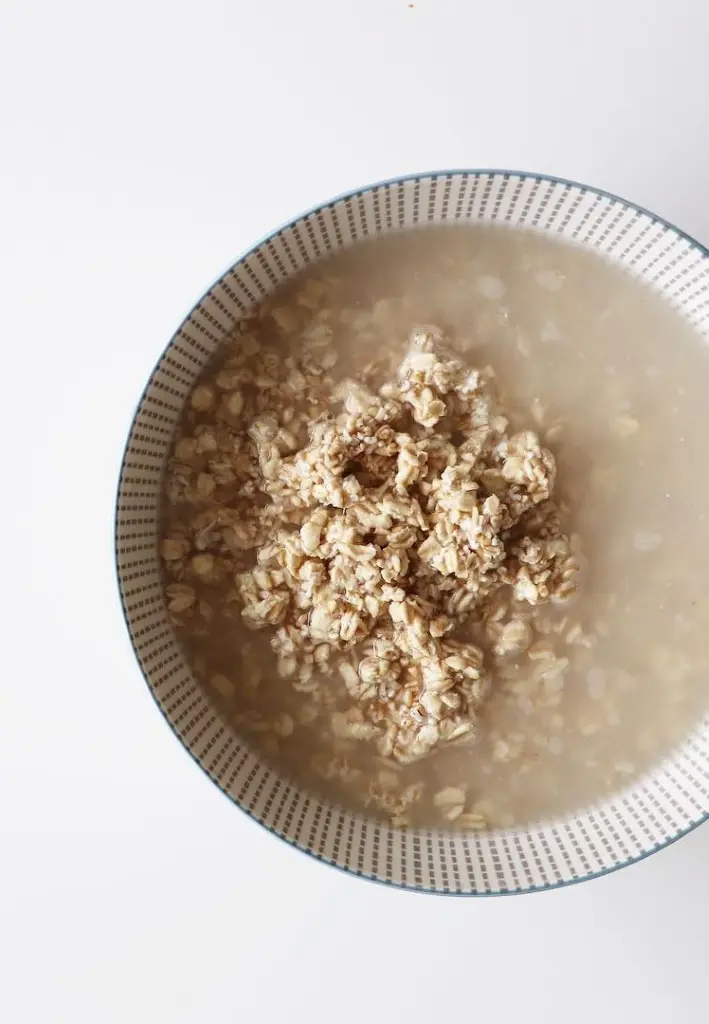
Meld one cup of old-fashioned rolled oats with four cups of cold water. Allow soaking for 10-30 minutes. This process softens the oats for optimal blending.

The soaking time directly impacts the final creaminess - shorter soaks produce lighter milk while longer soaks create richer results. Keep the water temperature cold throughout this process to prevent unwanted starch release.

Source : instagram

Step 2: Rinse Process

Drain the soaked oats into a fine-mesh strainer. Wash thoroughly under cold running water until the water runs clear. This removes excess starch and prevents sliminess.

Gentle stirring during rinsing ensures all oats receive proper cleaning. The cleaned oats should feel slightly softened but still maintain their shape.

Step 3: Blending

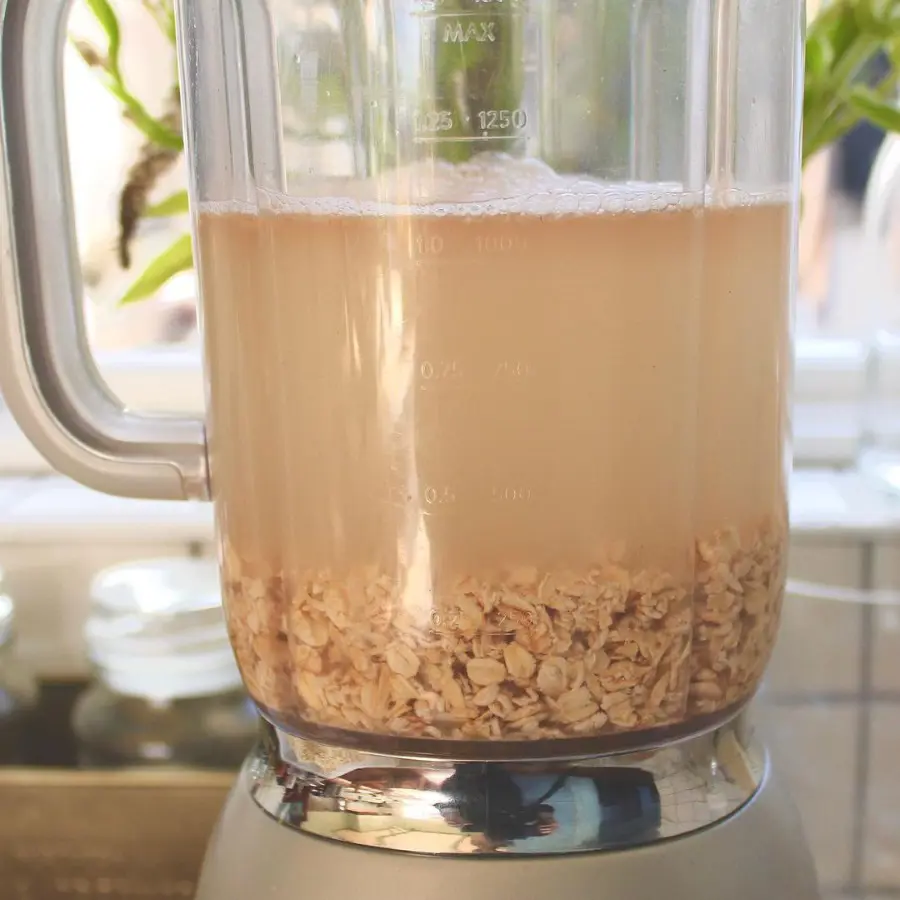
Transfer rinsed oats to a high-powered blender. Add four cups of fresh cold water. Begin blending on low speed for 30 seconds, then increase to high speed for 1-2 minutes. The mixture should transform into a creamy white liquid.

Watch for the consistency change - when the liquid becomes uniformly white and creamy, stop blending. Extended blending releases too much starch and creates unwanted thickness.

Source : instagram

Step 4: Flavor Enhancement (optional)

Once blended, add the chosen flavor enhancers directly to the blender. Add 1/4 teaspoon salt that balances natural sweetness. 1 tablespoon honey or maple syrup for sweetness and a few drops of vanilla extract to create depth. Pulse blend for 10-15 seconds to incorporate flavors evenly.

Step 5: Straining

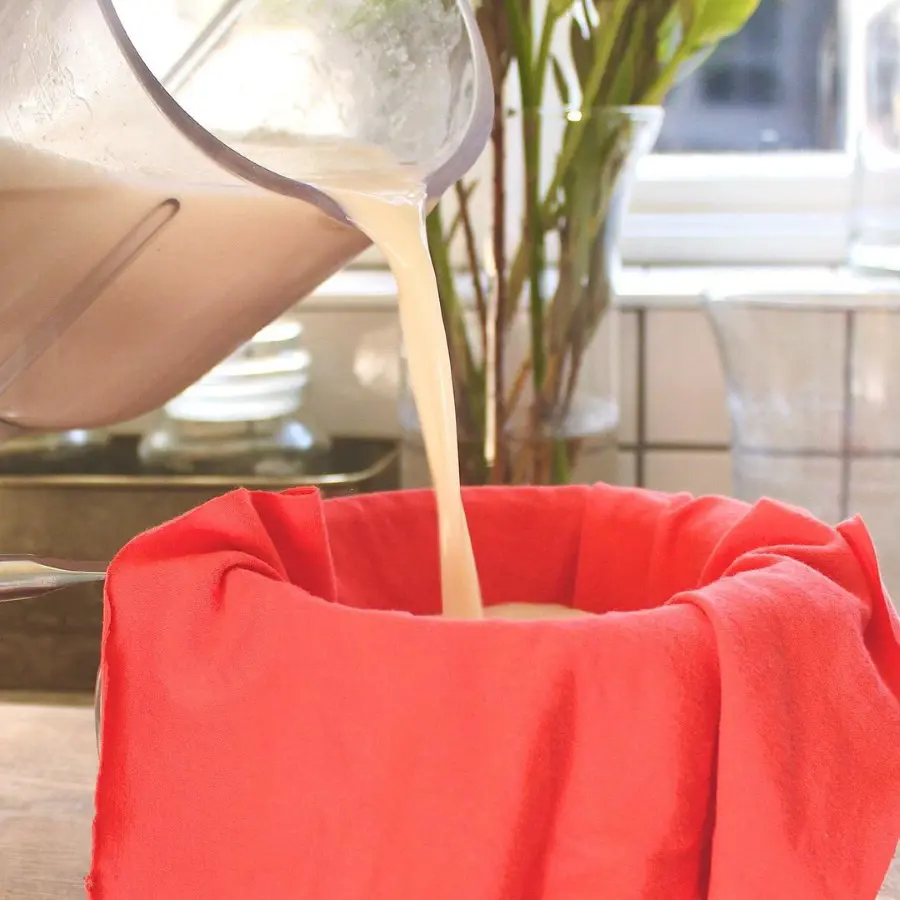
Line a large bowl with a nut milk bag or several layers of cheesecloth. Pour the blended mixture slowly through the strainer. Let it drain naturally for 1-2 minutes.

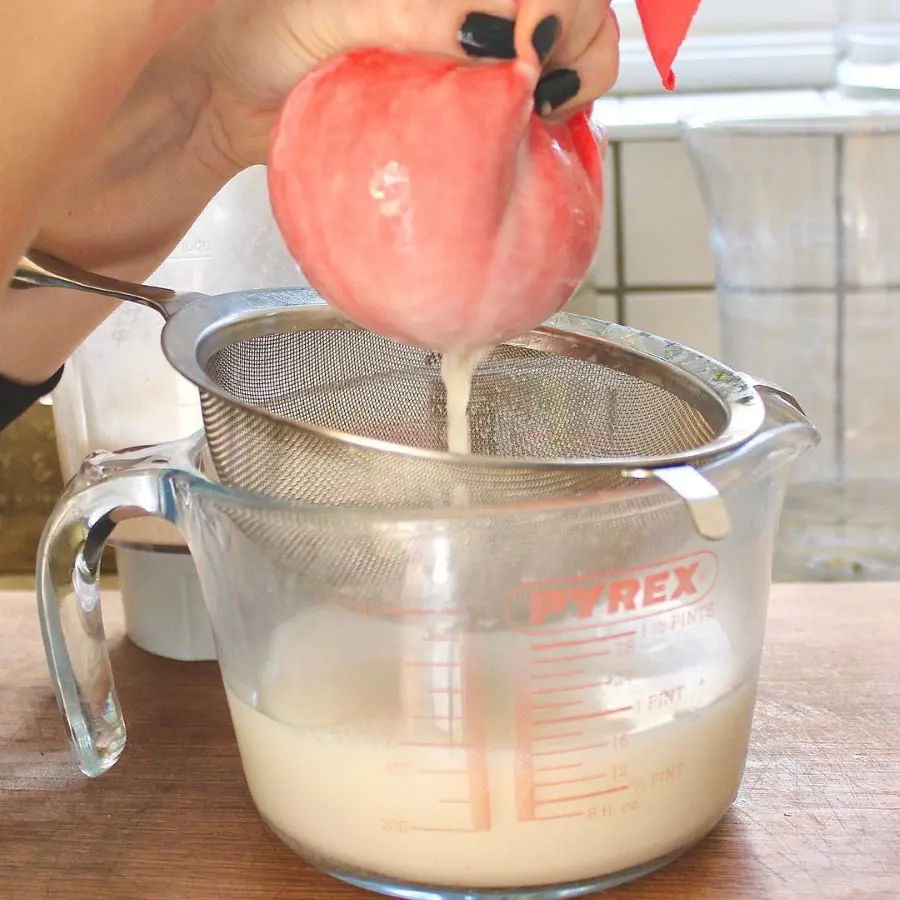
Gently squeeze the remaining liquid from the pulp without applying excessive pressure. This patience ensures smooth, non-slimy milk. The collected pulp should feel mostly dry when properly strained.

Source : instagram

Step 6: Double Straining (optional)

For professional-quality results, perform a second strain. Clean the nut milk bag or replace cheesecloth layers. Pour the first-strained liquid through again.

This extra step removes any remaining fine particles and creates silky-smooth milk. The second straining should flow more quickly than the first.

Source : instagram

Step 7: Storage

Transfer finished milk to a clean glass container with an airtight lid. Fill to minimize air space. Seal tightly and refrigerate immediately. The milk keeps fresh for five days when properly stored.

Natural separation occurs so shake container gently before each use to redistribute contents.

Source : instagram

How To Make Oat Milk Not Slimy

Homemade oat milk can develop a slimy texture, a common challenge for many home brewers. Understanding the science behind this texture and implementing proper techniques ensures a smooth, creamy result every time.

1. Use Ice Cold Water

Cold water plays a crucial role in preventing sliminess. The cold temperature stops oat starches from becoming gelatinous, a process that naturally occurs when oats meet warm water.

Using ice-cold water or replacing part of the water measurement with ice cubes during blending maintains the oats' natural structure. This simple temperature control creates the foundation for smooth, professional-quality oat milk.

2. Precise Blending Time

Blending duration directly impacts the final texture of oat milk. Extended blending breaks down oat starches excessively, releasing compounds that create an undesirable sticky consistency.

A precise blending time of 30 seconds provides the perfect balance, breaking down the oats enough to release their creamy essence while preserving their natural structure.

3. Proper Straining Methods

The straining process requires specific tools and techniques. A high-quality nut milk bag with ultra-fine mesh serves as the optimal straining tool.

This specialized filtration removes oat particles and sediment effectively, producing clean, smooth milk. Standard kitchen strainers or regular cheesecloth lack the necessary fine weave, allowing starchy particles to pass through and compromise the final texture.

4. Gentle Pressing Technique

The final pressing stage demands a delicate approach. Aggressive squeezing forces out unwanted starchy compounds, leading to a slimy consistency.

Natural draining through the nut milk bag, without forceful pressing, ensures only the purest liquid passes through. This patience during straining rewards you with silky, professional-quality oat milk.

5. Controlled Temperature

Maintaining cold temperatures throughout the entire process prevents starch activation. Refrigerate the finished oat milk immediately after straining. This temperature control preserves the milk's smooth texture and prevents the development of any unwanted consistencies during storage.

6. Quality Ingredients

Starting with high-quality, fresh oats ensures better results. Steel-cut or rolled oats provide optimal results compared to quick-cooking varieties. The oats' quality and type directly influence the final texture and taste of the milk.

7. Clean Equipment

Thoroughly clean and dry all equipment before starting. Residual moisture or food particles can affect the final texture. Using clean tools ensures no external factors influence the oat milk's consistency.

How To Make Oat Milk Creamer

Source : instagram

Selecting the right coconut milk makes all the difference in creating perfect oat milk creamer. Look for brands like Native Forest that don't contain added gums or thickeners.

While coconut milk with gums creates extra creaminess, it often becomes too thick to work well in drinks. Natural, additive-free coconut milk gives you better control over the final texture and ensures proper blending.

The amount of coconut cream requires careful balance. Using too much, like half a can of coconut milk, creates an extremely rich but overly thick mixture that won't froth. The solution lies in using less coconut cream, particularly varieties without guar gum.

This creates the perfect balance between richness and function, allowing your creamer to blend smoothly while frothing beautifully in hot beverages.

The creamer's texture matters greatly for everyday use. It should pour easily and create lovely foam when frothed. Using pure coconut milk without additives helps achieve this ideal consistency. 

Tips For Making Homemade Oat Milk

Source : instagram

Creating excellent homemade oat milk requires attention to specific ingredients and methods. These essential tips ensure consistent, high-quality results with every batch.

  • Soaking oats for 15-30 minutes before blending enhances digestibility and smoothness. This pre-blending step breaks down oat starches naturally. Thorough rinsing of soaked oats removes excess starch, preparing them for optimal blending.
  • The water-to-oat ratio determines the final consistency. Use 4 cups of water per 1 cup of oats for rich, creamy milk. Adjust to 5 or 6 cups of water for thinner consistency. This flexibility allows customization based on personal preference and intended use.
  • Precise blending prevents excess starch release. A 30-second blend creates ideal creaminess without developing sliminess. This short duration breaks down oats sufficiently while maintaining proper texture.
  • Use a fine-mesh nut milk bag or premium strainer for thorough filtration. Allow the milk to strain naturally without forceful squeezing. This patience ensures smooth texture without graininess.
  • Natural separation occurs during storage. Shake the container well before each use to redistribute ingredients evenly. This simple step maintains consistent texture and taste throughout use.
  • Customize taste with natural additions: a few drops of vanilla extract, a pinch of ground cinnamon, one pitted date for subtle sweetness, or a touch of sea salt to enhance flavor.
  • Maintain cold temperatures during preparation and storage. Refrigerate immediately after straining and keep cold to preserve freshness and prevent texture changes.
  • Track measurements and techniques that work best. Note preferred ratios and additions for consistent results with future batches. This record helps perfect personal recipes over time.

How Long Does Oat Milk Last?

Homemade oat milk maintains freshness for approximately 5 days when properly stored in the refrigerator. This shorter shelf life, compared to commercial versions, results from its natural composition without preservatives or stabilizers.

Store homemade oat milk in clean glass containers with airtight lids to prevent contamination and absorption of refrigerator odors.

Position containers at the back of the refrigerator where temperature remains most consistent. The refrigerator door location should be avoided due to temperature fluctuations during opening and closing.

Label containers with production dates for accurate tracking. This simple practice ensures timely consumption and prevents spoilage. Mark both the production date and expected expiration date for clear reference.

How To Tell If Oat Milk Is Bad?

It's easy - just use your nose and eyes! Fresh oat milk should smell sweet and pleasant. It will have consistent creamy white color, smooth texture when shaken, natural separation that recombines easily, no visible discoloration or spots, and uniform consistency without lumps.

Indicators of Spoilage

Watch for these warning signs:

  • Sour or unusual odors
  • Discoloration or spots
  • Inability to remix when shaken
  • Lumpy or extremely thick texture
  • Unusual separation patterns
  • Changed taste or smell

Preservation Methods

Implement these practices for maximum freshness:

  • Use sterilized containers and equipment
  • Maintain consistent refrigeration
  • Handle with clean utensils only
  • Avoid cross-contamination
  • Keep container sealed when not in use
  • Monitor temperature stability

Position containers away from strong-smelling foods. Clean the container thoroughly before each new batch. Check freshness before each use through visual inspection and smell test. Return to refrigerator promptly after each use.

How To Use Oat Milk

Source : pexels

Oat milk stands as a versatile plant-based alternative to dairy milk. Its natural smoothness and subtle flavor work splendidly in both sweet and savory dishes, making it a perfect choice for various cooking needs.

The creamy texture and balanced taste make it an excellent replacement in nearly any recipe calling for traditional milk.

1. Hot Drinks Made Better

Oat milk creates rich coffee drinks and smooth hot chocolate. The natural sweetness blends perfectly with coffee, producing silky lattes and cappuccinos that rival café offerings.

It stays stable when heated, making it excellent for all hot beverages without any separation or curdling. The milk adds wonderful depth to chai tea, matcha lattes, and golden milk recipes, bringing out the best flavors in each drink while maintaining perfect temperature stability.

2. Smoothies

Oat milk provides an excellent base for making smoothies. It mixes beautifully with fruits and vegetables while adding natural sweetness and smoothness without overpowering other ingredients.

The natural fiber creates thick, satisfying green smoothies and fruit blends that keep you full longer. Each blend becomes creamy and substantial, perfect for breakfast or post-workout refreshment.

3. Better Baking Results

In baked goods, oat milk performs just like dairy milk. It creates soft, tender cakes, muffins, and breads that stay moist for days.

Its subtle flavor allows the proper shining of other ingredients, keeping it at the right texture and structure. Pancakes turn fluffy and golden, waffles are crispy at the outside and tender inside, and quick breads develop perfectly both in texture and crumb structure.

4. Flavorful Cooking

The milk stays stable during cooking, making it ideal for creamy soups, casseroles, and sauces. It adds richness without changing the main flavors of dishes, allowing spices and seasonings to shine through.

The milk creates excellent pasta sauces with perfect consistency, smooth gravies that complement any meal, creamy mashed potatoes that taste indulgent, and satisfying cream-based soups that warm you from the inside out.

5. Enhanced Breakfast Options

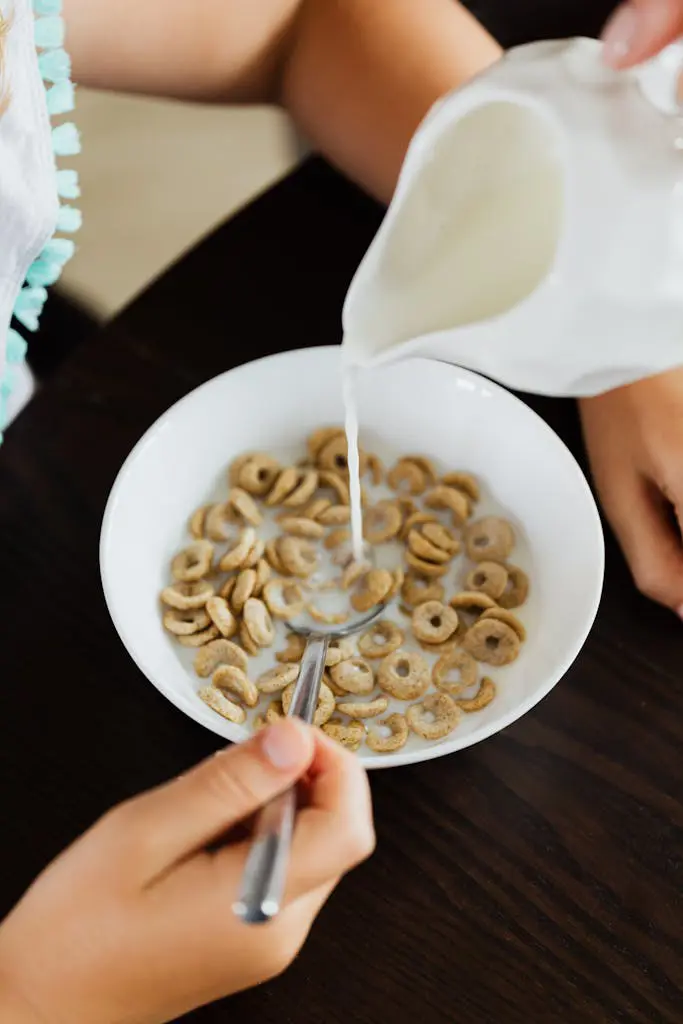
Oat milk pairs perfectly with cereals, granola, and oatmeal. Its creamy texture makes breakfast grains more delicious while adding subtle sweetness and nutrients without excess sugar.

The milk works wonderfully as a base for making overnight oats and chia puddings, creating perfect breakfast consistency with just the right amount of thickness and creaminess.

6. Delightful Frozen Desserts

The smooth texture of oat milk creates excellent frozen treats. It serves as a base for creamy sorbets that melt perfectly on your tongue, rich popsicles bursting with flavor, and dairy-free ice creams that scoop beautifully.

Frozen oat milk cubes blend perfectly into smoothies and create thick, satisfying milkshakes that taste just like the classic versions.